19 Budget friendly DIY Kitchen Project Ideas
The cost of remodeling a kitchen can be astronomical. The good news is that a kitchen makeover is possible if you start with small changes and are willing to tackle a DIY kitchen project or two. Learning new DIY skills and having a lot of patience can make a small budget go a long way.
Here is a recap of each DIY kitchen project that, together, gave my kitchen a complete overhaul. It was not a quick update by any means. These projects were done over almost three years as time, money, and energy allowed.
This is how the kitchen looked before we moved in. Nothing was broken or decades old; it simply wasn’t to my taste.

DIY Kitchen Project Ideas to Make a Builder-grade Kitchen More Custom
1
Replace the Backsplash Tile
Shortly after we moved in, I realized I could not live with the chocolate brown backsplash in our kitchen. How bad could it be, you ask? Well, on its own, maybe not that bad, but considering that the cabinets were dark brown, the hardwood floors were brown, and the built-ins in the living room were also a dark reddish brown. It was just too much brown!

You can read the whole process in the post: “Replacing the Kitchen Backsplash“.
2
Update Electrical Outlets and Light Switches
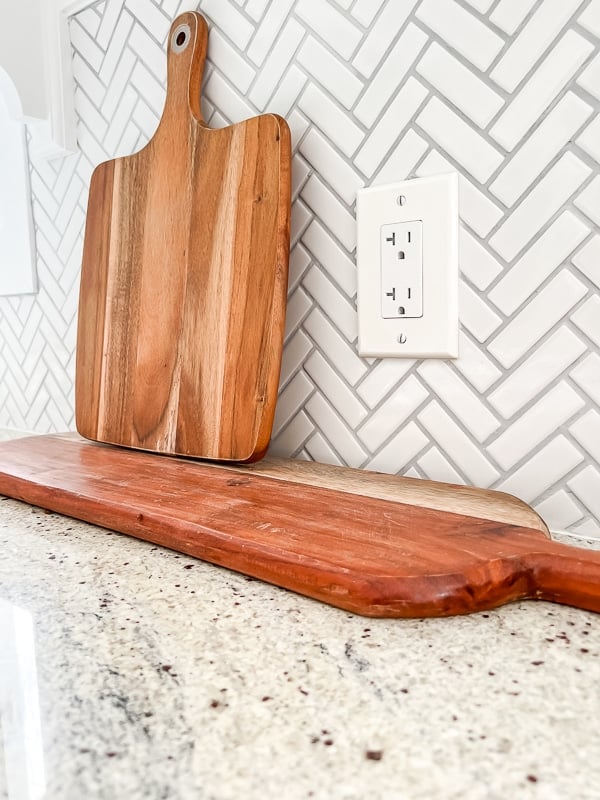
The original kitchen had black outlets and switches with dark brown backsplash tiles. I wasn’t a fan of either. The white-on-white looks so much better. Old, discolored, or worn-out outlets instantly date a kitchen. Remember that electrical work is inherently dangerous and should always be performed by a professional or someone with the proper knowledge and experience.
3
Give the Original Cabinets a Fresh Coat of Paint
Painting kitchen cabinets is a huge job, but also a substantial upgrade. As with most painting jobs, the preparation takes longer than the actual painting, but doing it right pays off in the long run.

Read the full post: “Painting Kitchen Cabinets“.
4
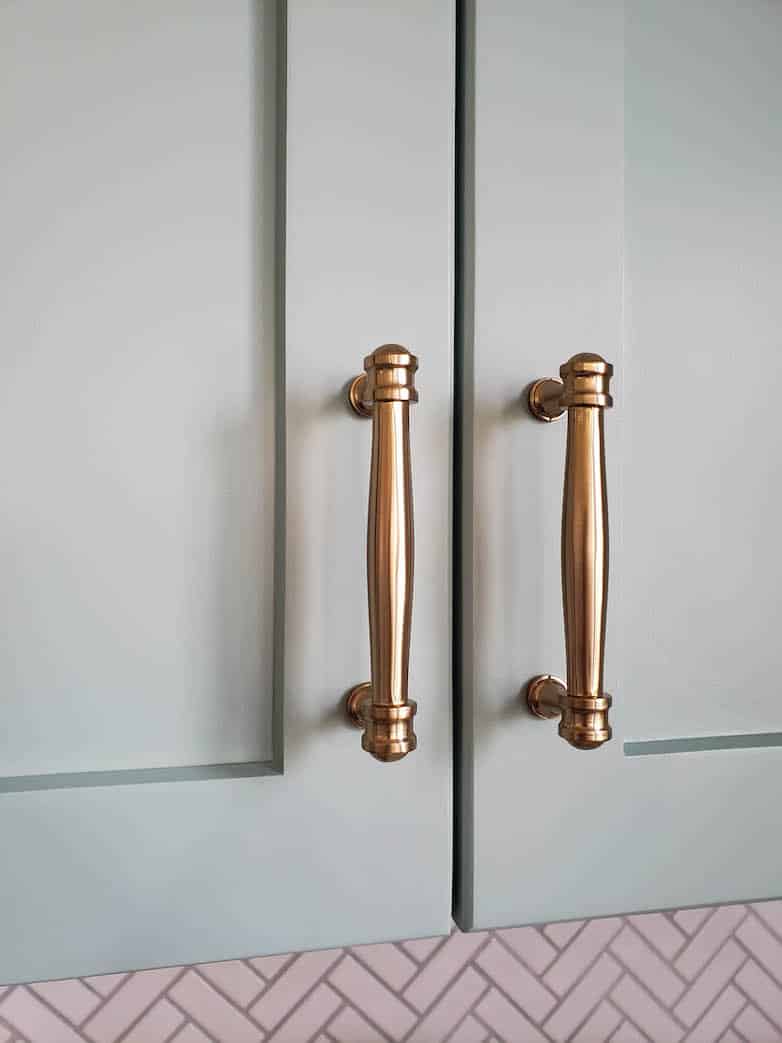
Install New Cabinet Hardware
Once the cabinets were painted, I couldn’t wait to update the hardware. I’m convinced the old cabinet handles on my cabinets were already outdated when the kitchen was installed.
5
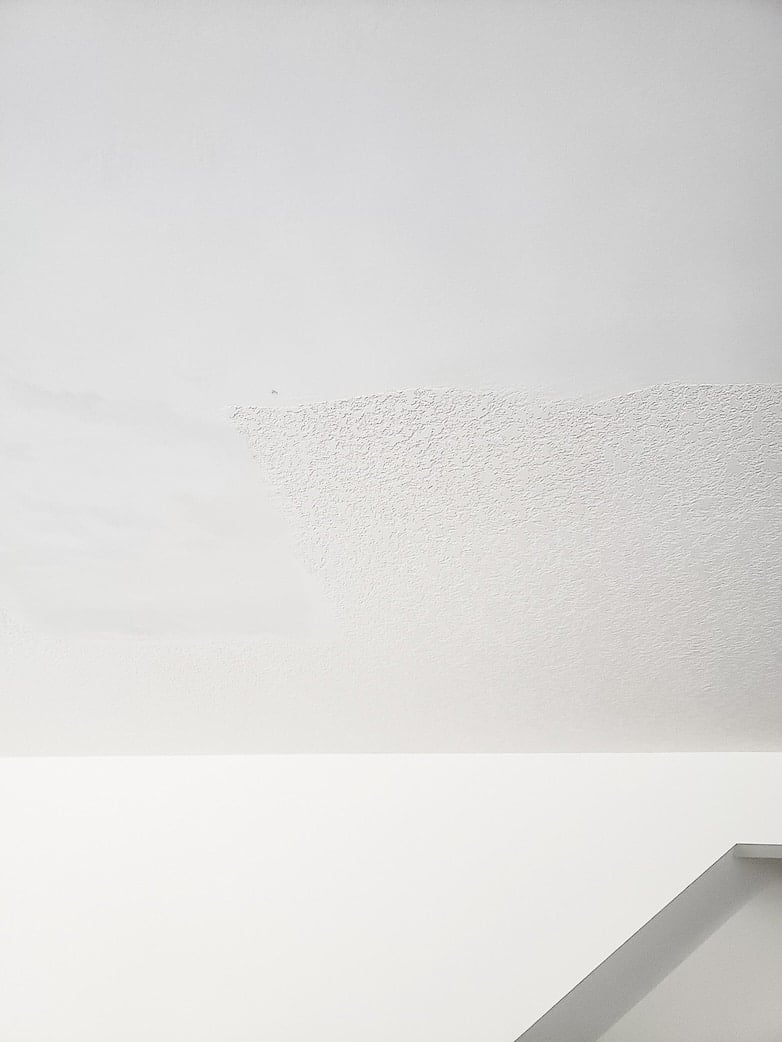
Remove Texture from the Ceiling, then Paint
No textured ceiling is safe when I’m around and I’m smoothing them out, one room at a time, as I renovate our home. The kitchen, living room, and everything in between are connected, so this was a major area to refinish. I explained the process of removing ceiling texture in detail in the post: “Getting the Basics Right” during my office remodel.
6
Install Crown Molding
I love crown molding! In fact, I love any kind of molding. It just gives so much character to a space. Once again, I had to install it on the entire main level in one go. In the photo below, you can see where I randomly stopped before building the display boxes on top of the kitchen cabinets.
7
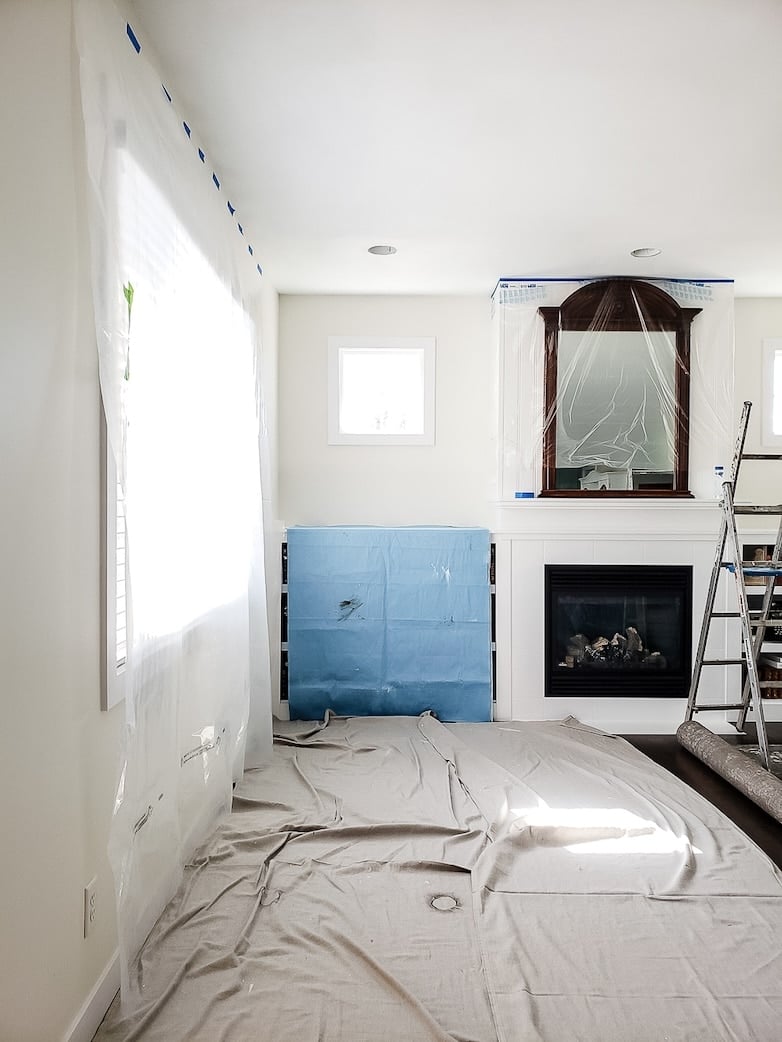
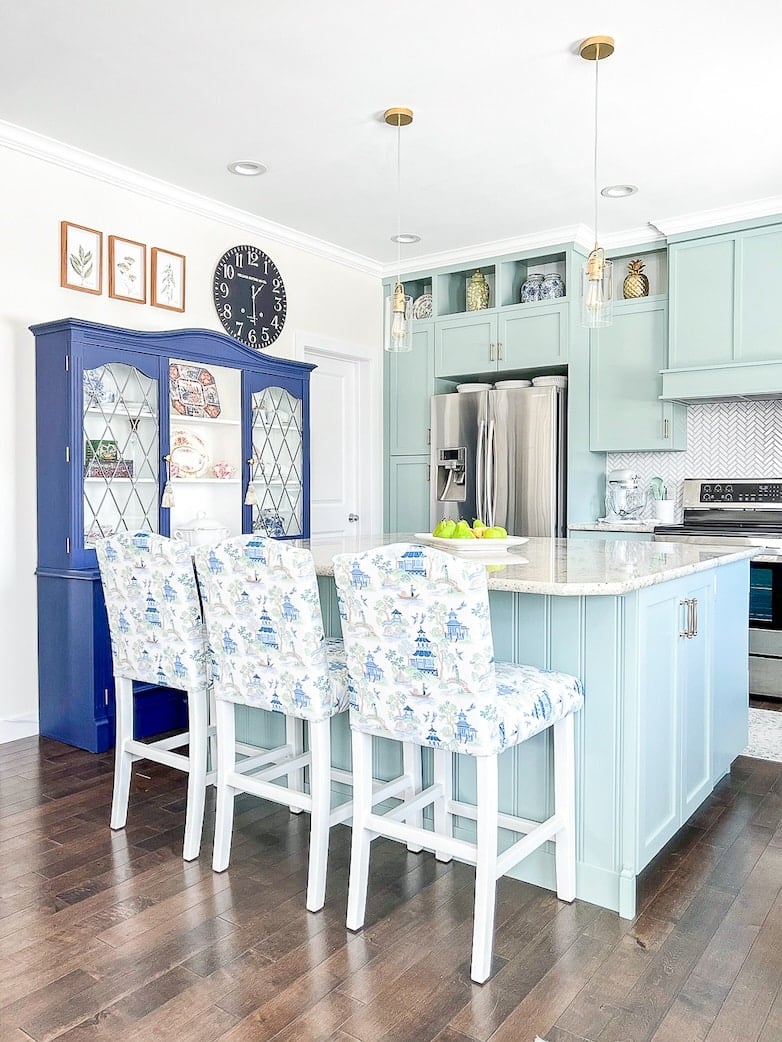
Paint and Decorate the Walls
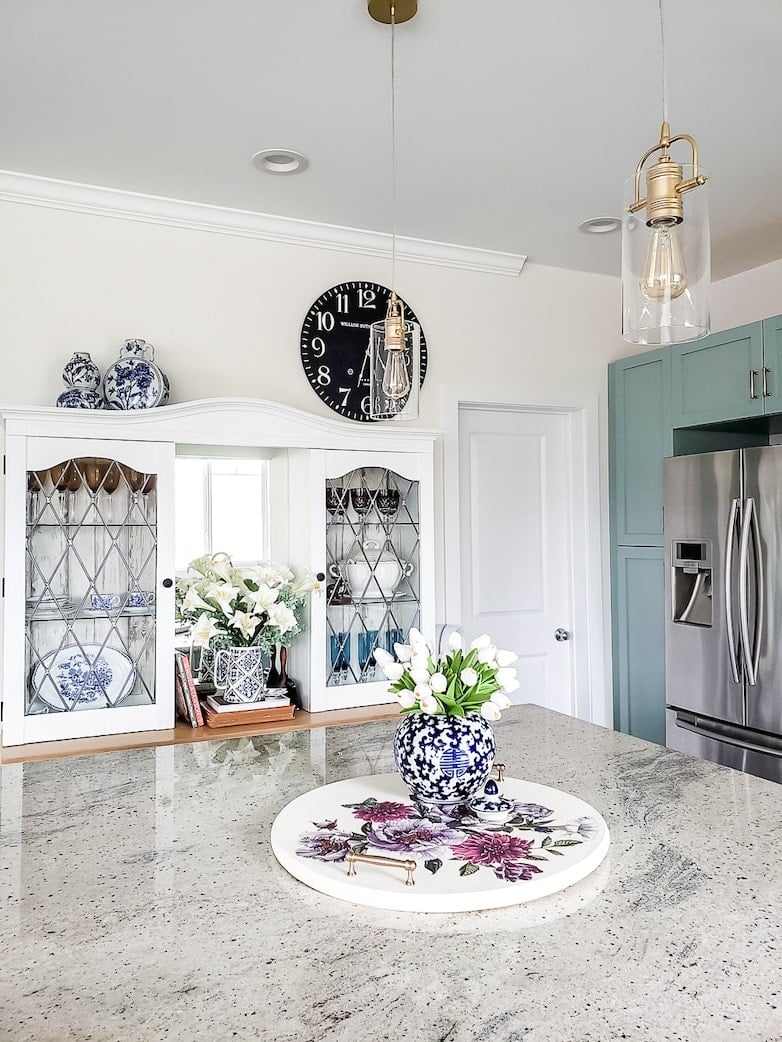
The walls are painted with Behr’s color Blank Canvas.
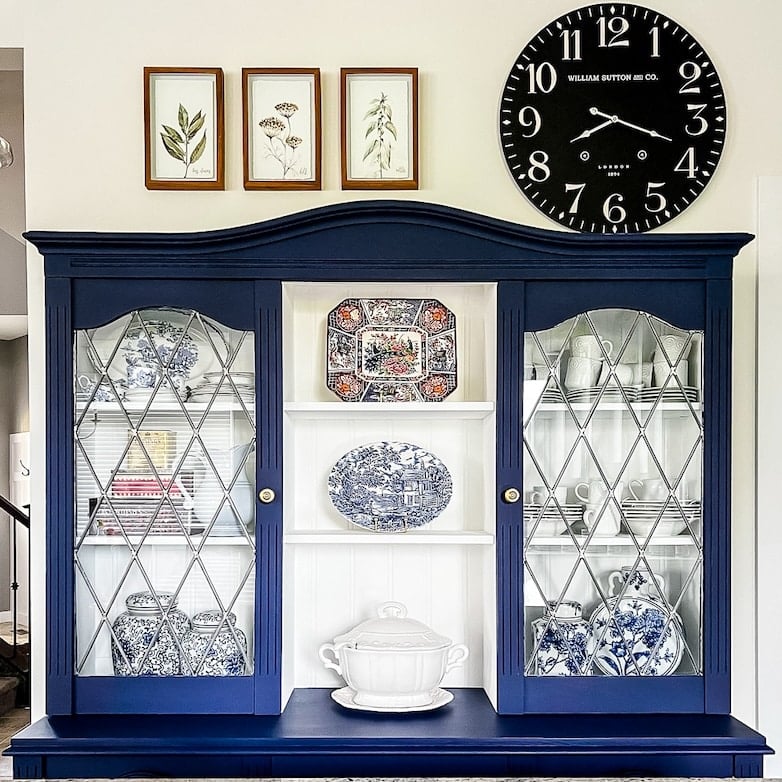
Lately, I have heard more than one designer say how much they dislike oversized wall clocks like the one in my kitchen, to which I say: pfft, whatever. It may not be cool, but I check the time on this clock several times a day, and I will be lost without it.
8
Build a Custom Range Hood
Nothing says custom kitchen like a custom range hood instead of an over-the-range microwave. People commenting on my YouTube video love to fight me on this statement. I’m not saying they are wrong; it is simply a matter of taste.

I removed the old over-the-range microwave and built a custom hood with a much more efficient vent.
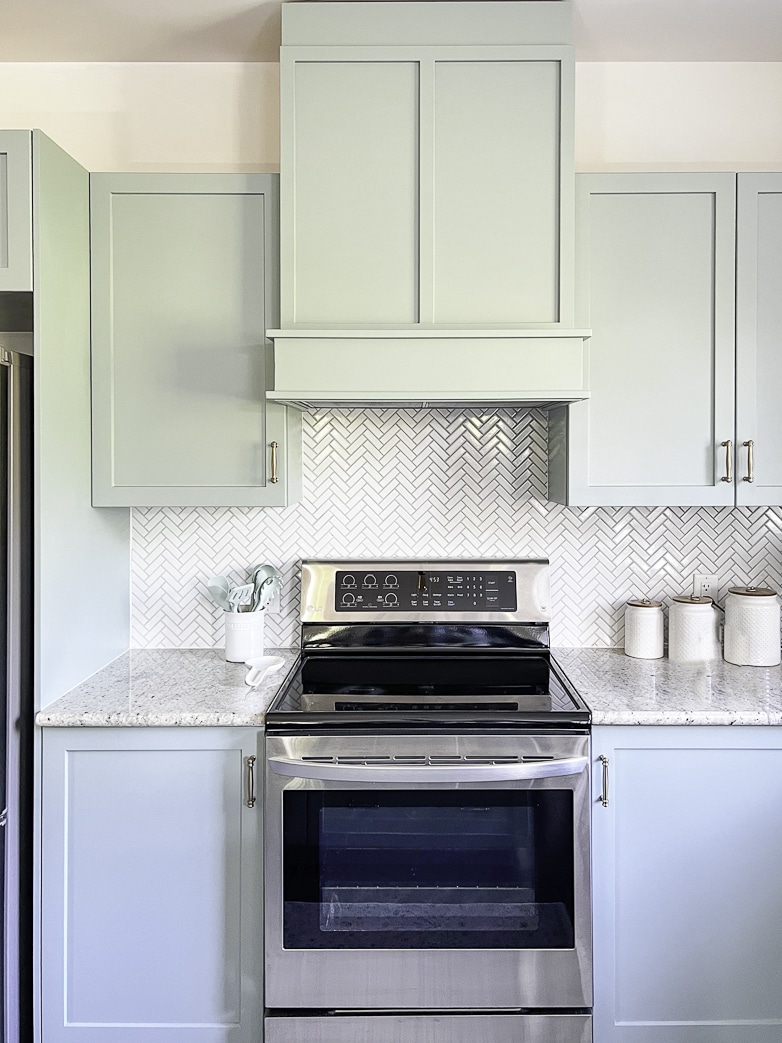
This is by far my most opinion-provoking blog post, and you can read it here: “Replacing an Over-the-range microwave with a Custom Vent Hood“.
9
Close the Space Above the Cabinets
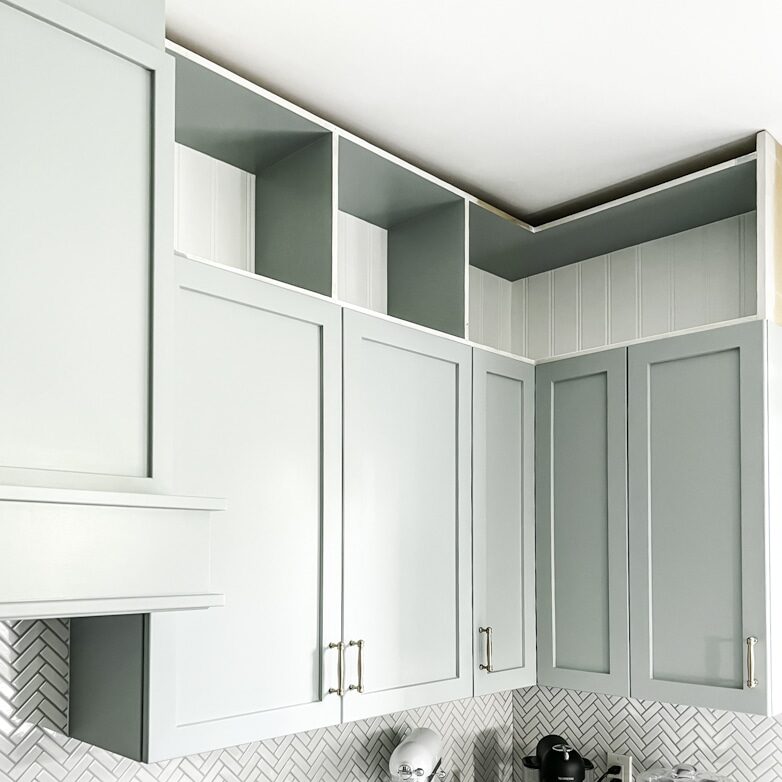
Of all the individual projects I’ve done to give my kitchen a budget-friendly makeover, building the cubbies above the kitchen cabinets was my favorite. It changed the look of the kitchen entirely and gave it a lot more character.
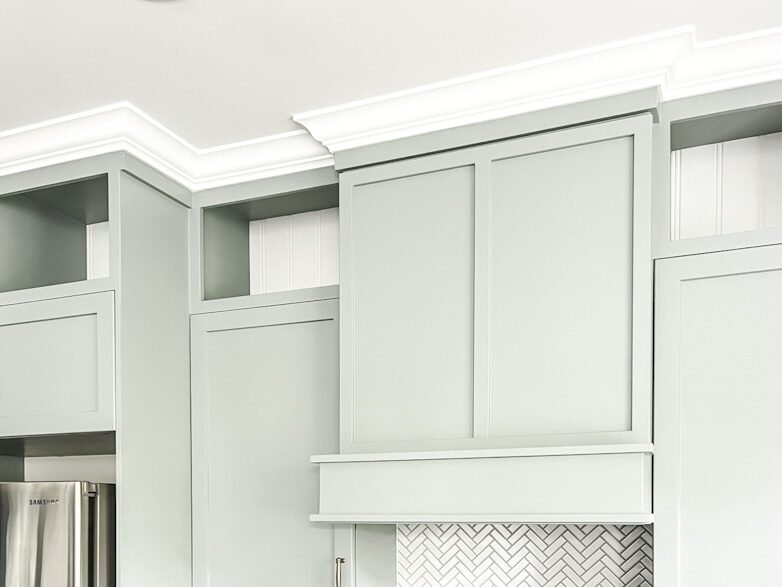
Read the post on “Building Cubbies Above the Kitchen Cabinets“.
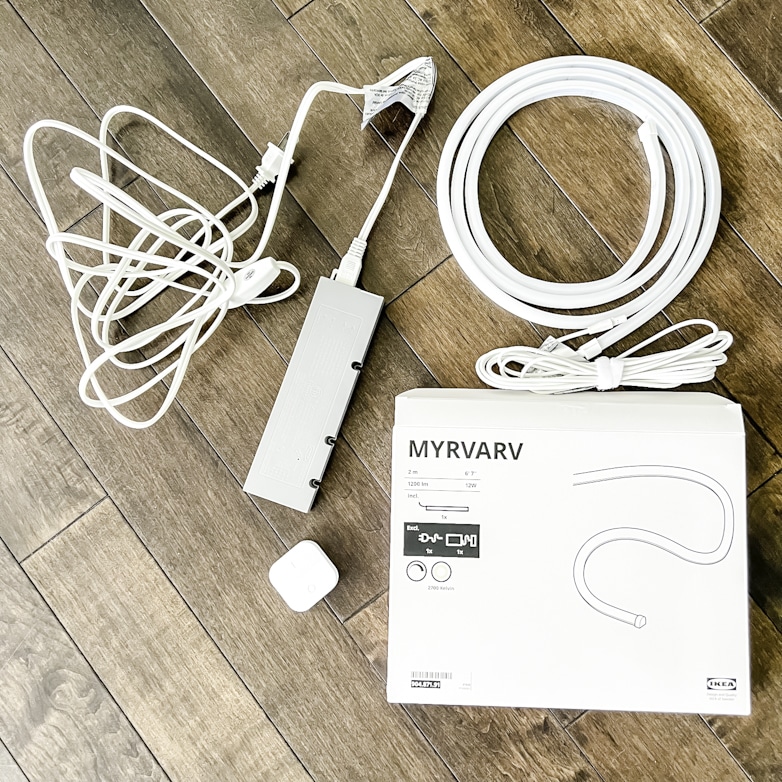
10
Install Cabinet Lighting
To add interest to the display boxes above the cabinets, I installed light strips that I found at Ikea. The plug and wires are neatly hidden in the top of the vent hood.
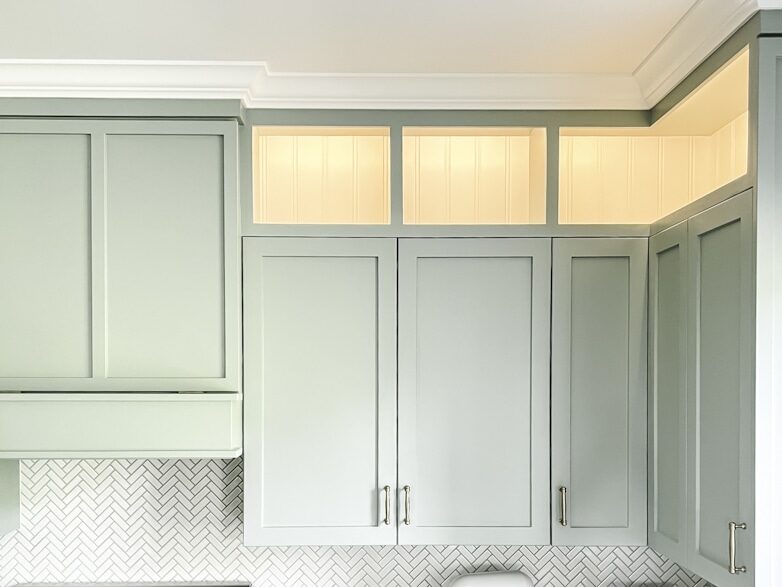
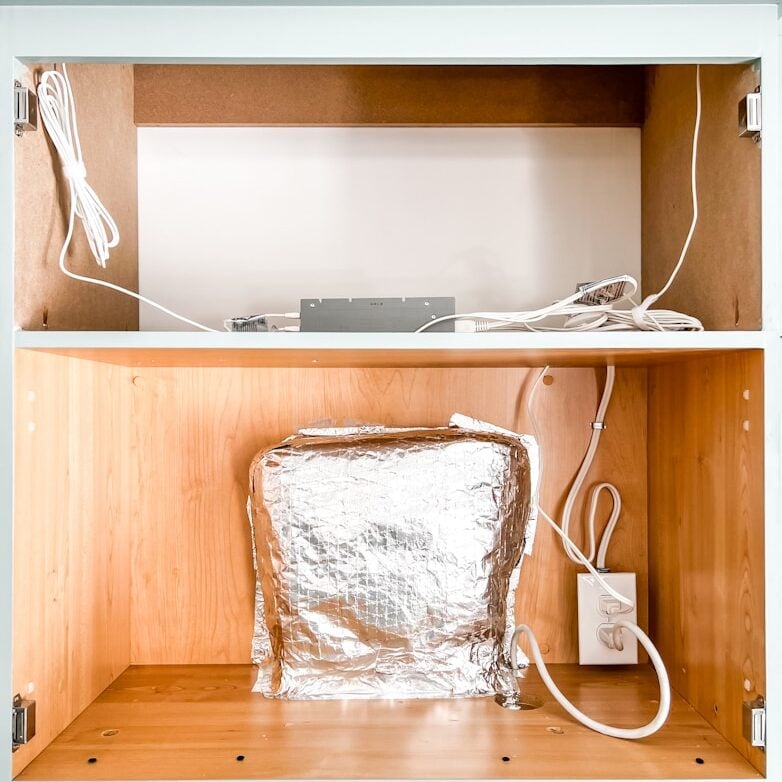
The complete tutorial can be found in the post: “Closing the Gap Above the Cabinets“.
11
Update the Light Fixtures
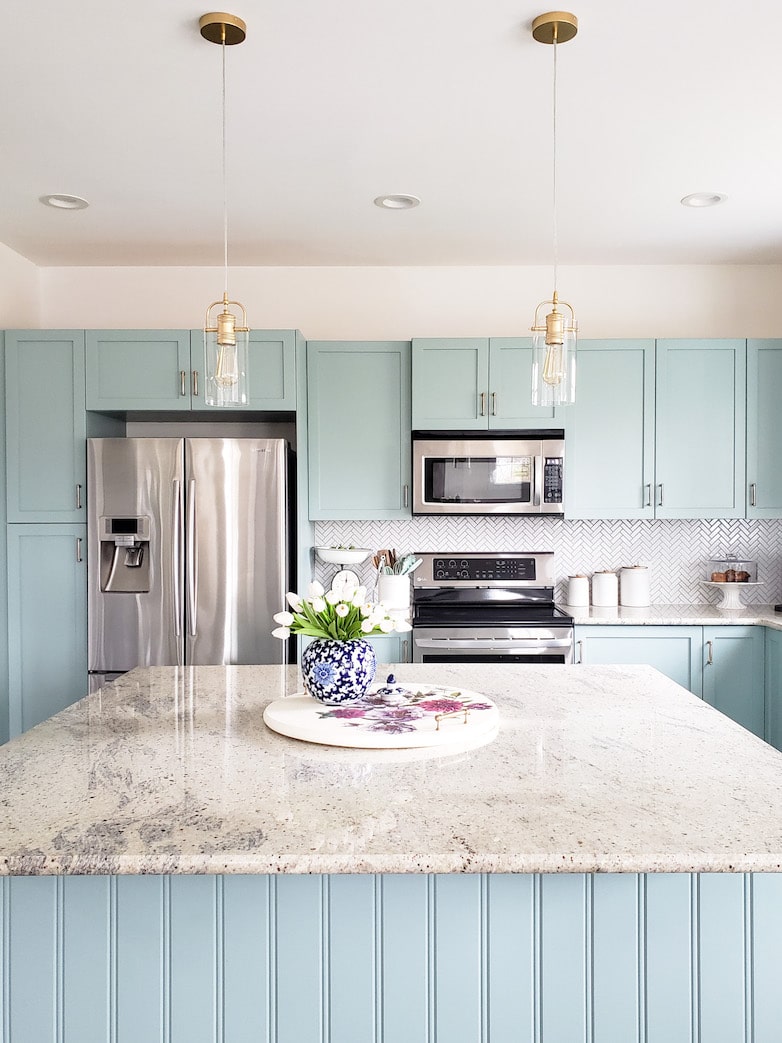
The kitchen lighting needed an upgrade. I replaced the ugly old pot lights with retrofit LEDs that are closed units. No more dust and cobwebs.
I installed the pendant lights over the island shortly after we moved in. Two years later, I decided to give them a makeover and spray the shiny chrome parts with gold spray paint to match the cabinet hardware. For more details, read the post “Updating Kitchen Lighting on a Small Budget“.
12
Install Custom Trim & Paneling
Beadboard and plinth blocks added to the exposed side of the cabinets gave the kitchen a more custom look.

I added the same detail to the front of the kitchen island.
13
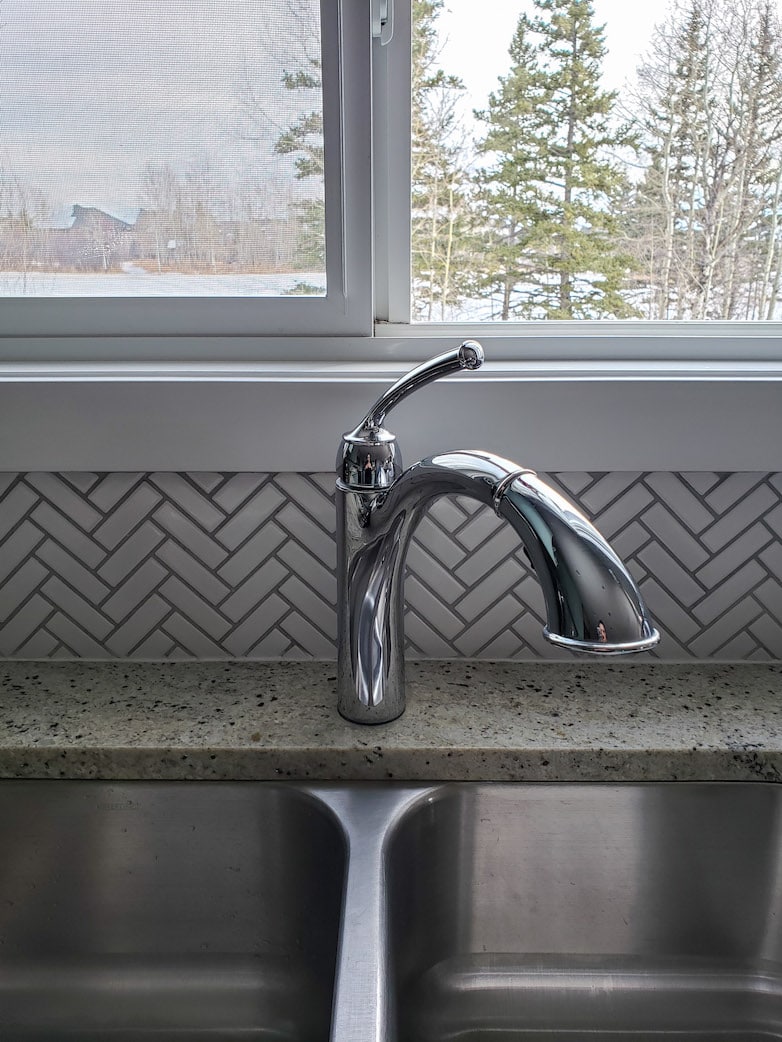
Replace the Old Faucet
When the ugly old faucet developed a constant drip, I was more than happy to replace it since I never liked it.
I found an affordable option in the champagne bronze finish I was searching for.
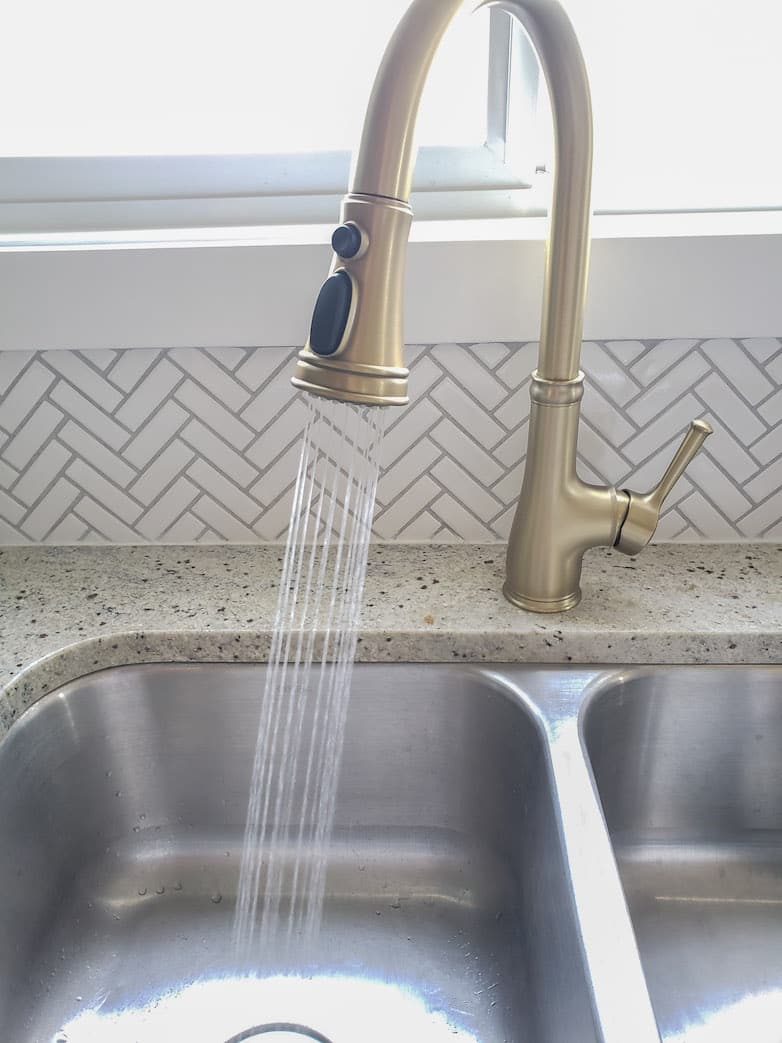
This DIY kitchen project will only take an hour or two, but it will have a big impact on your kitchen aesthetic. Read the post on “How to Replace a Kitchen Faucet“.
14
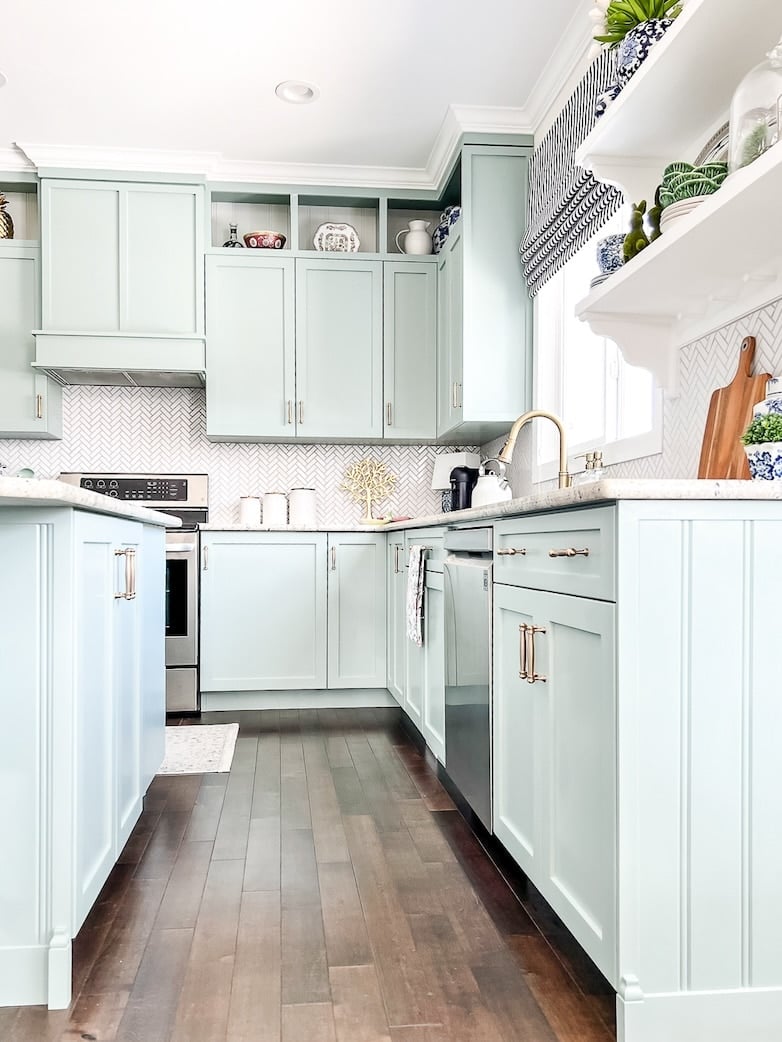
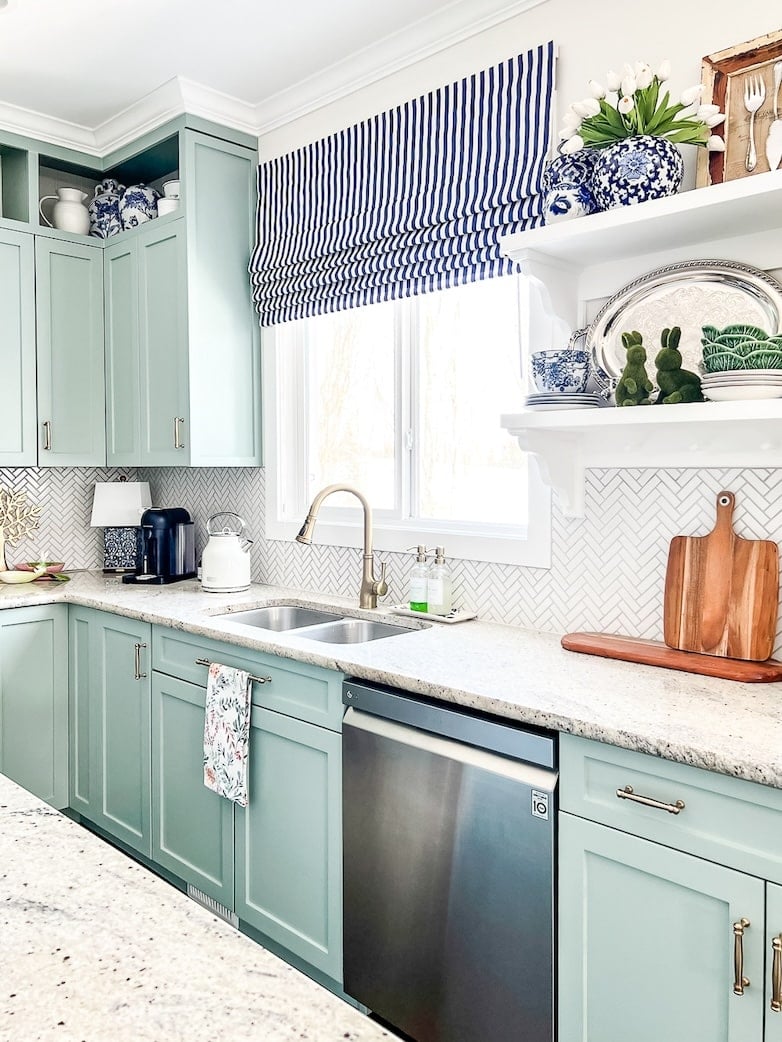
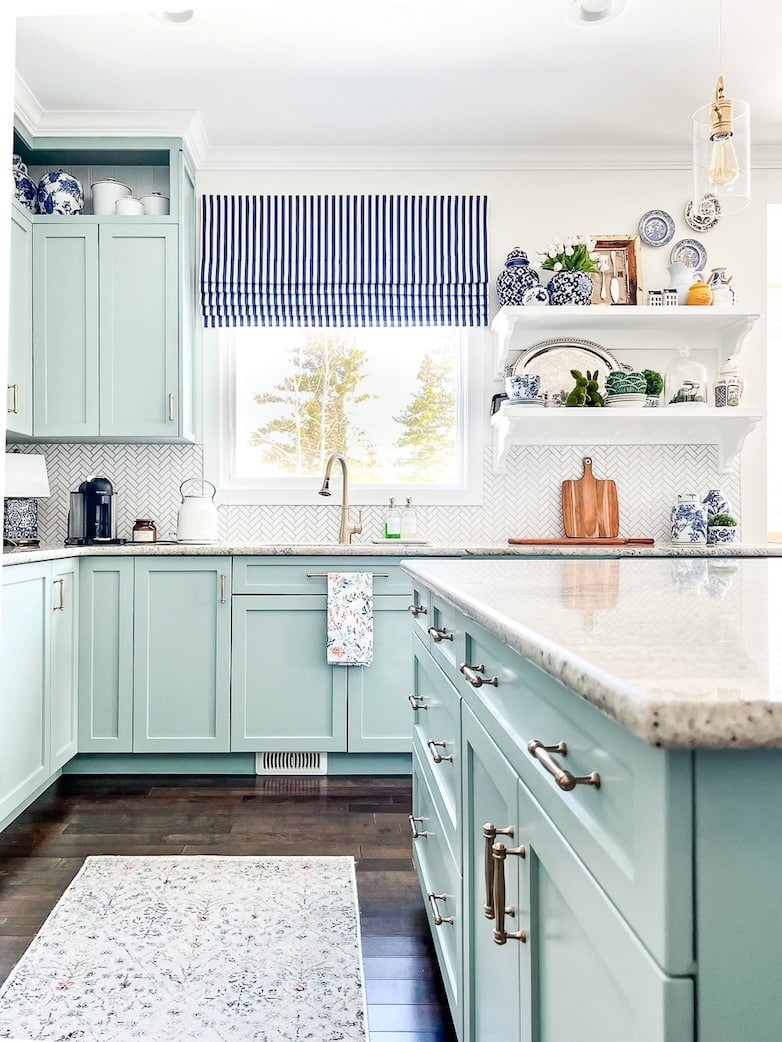
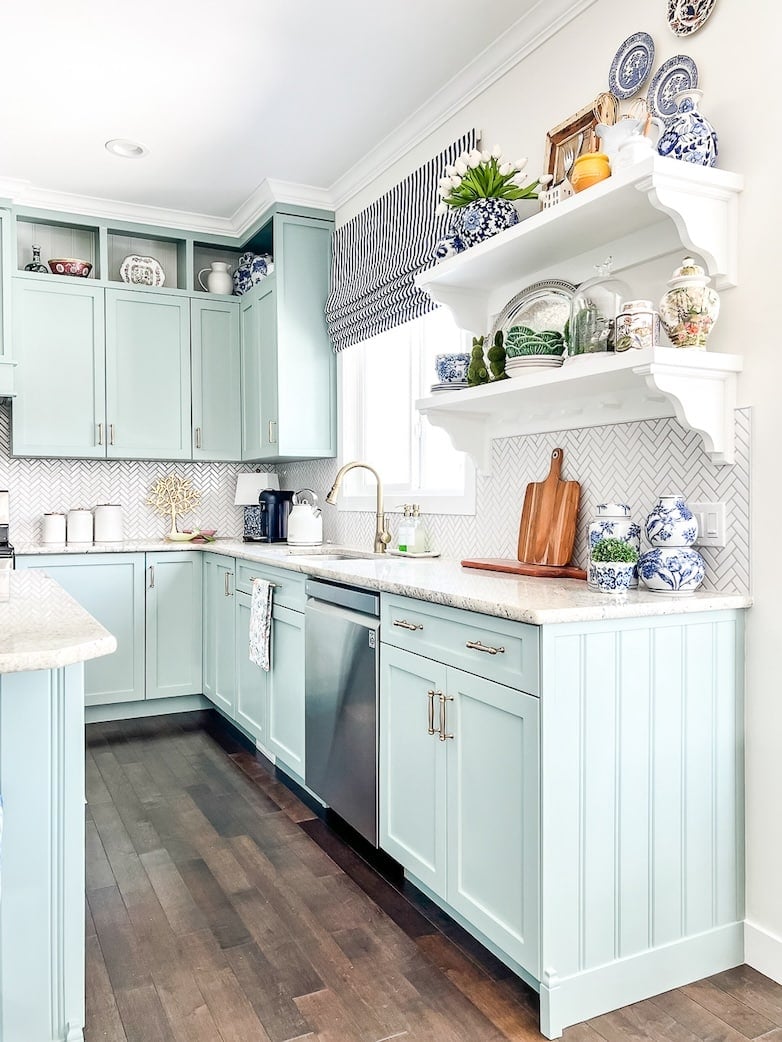
Add Open Shelving
Next to the kitchen window was a small section of upper cabinets that was more annoying than useful. It wasn’t essential storage. Adding open shelving in its place allows more light to shine into the rest of the living area.
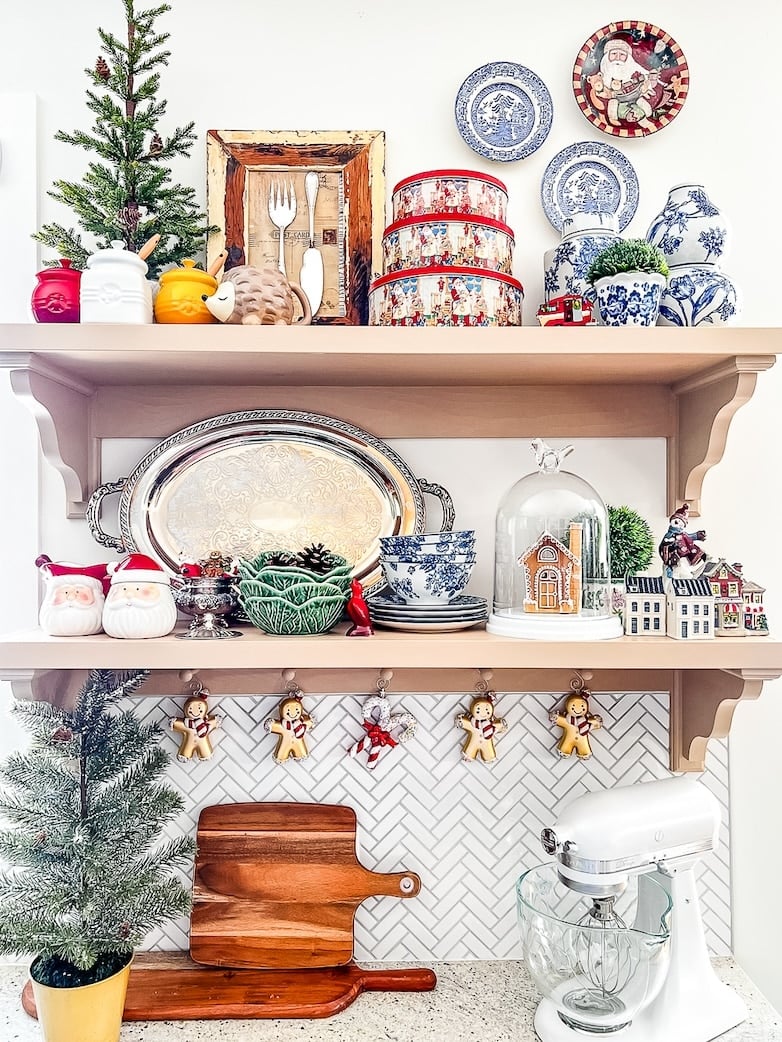
It’s also a fun display area to style when I decorate for the holidays.
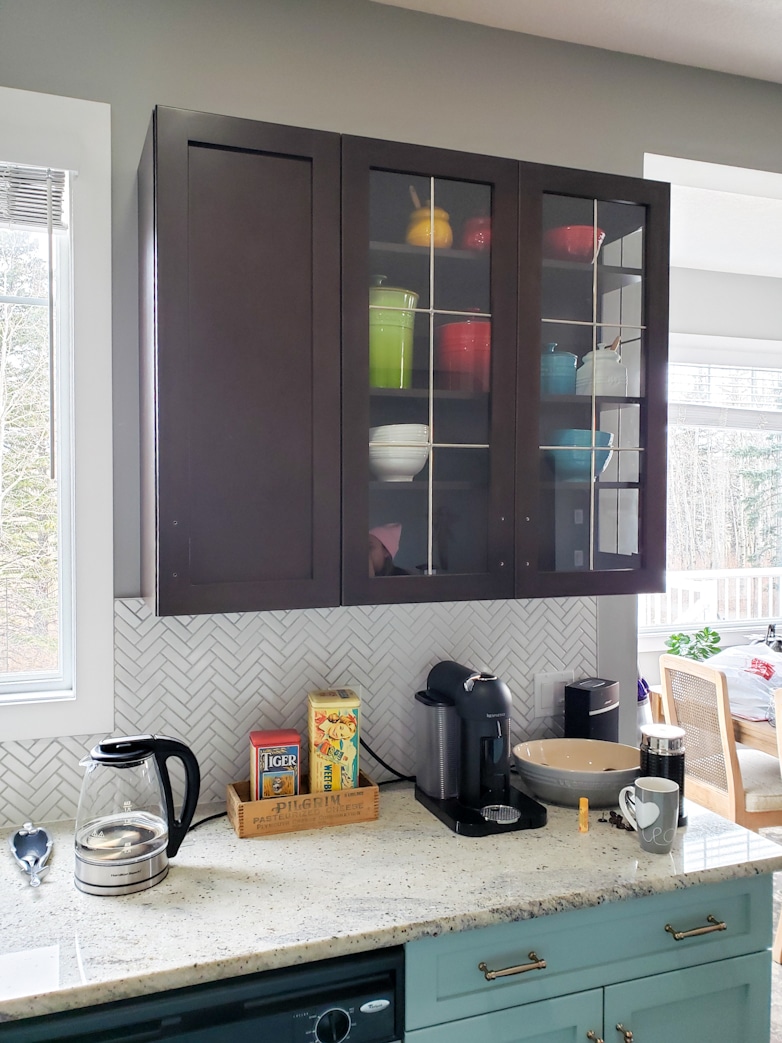
Read the full tutorial: “How to Replace Cabinets with Open Shelving“
After a couple of months, I painted the shelves white, and now I love them even more!

15
Build a Peg Rail
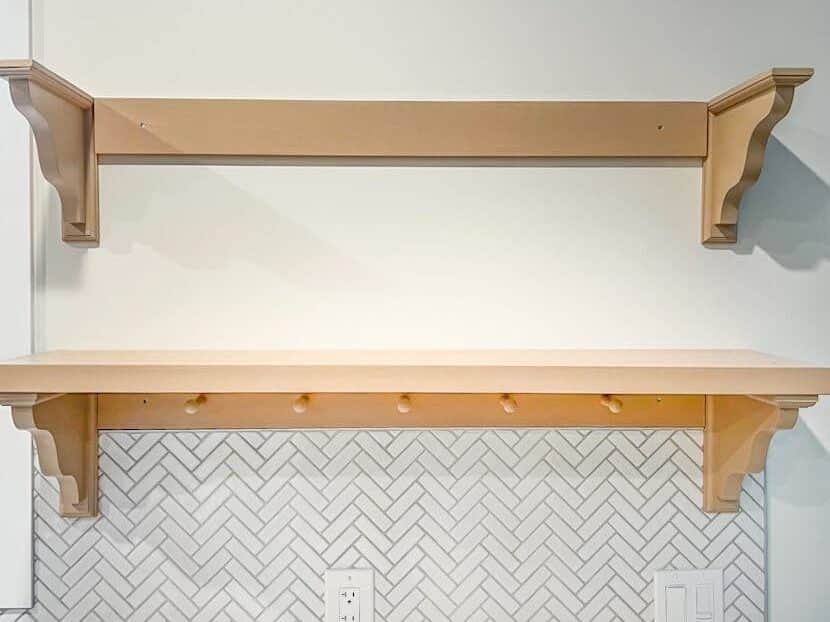
The peg rail is purely decorative. It’s something I had wanted to try, and I decided to add a few wooden pegs to the bottom shelf. The pegs can be useful for hanging dish towels, measuring cups, or cute decorations.
16
Create Custom Storage Solutions
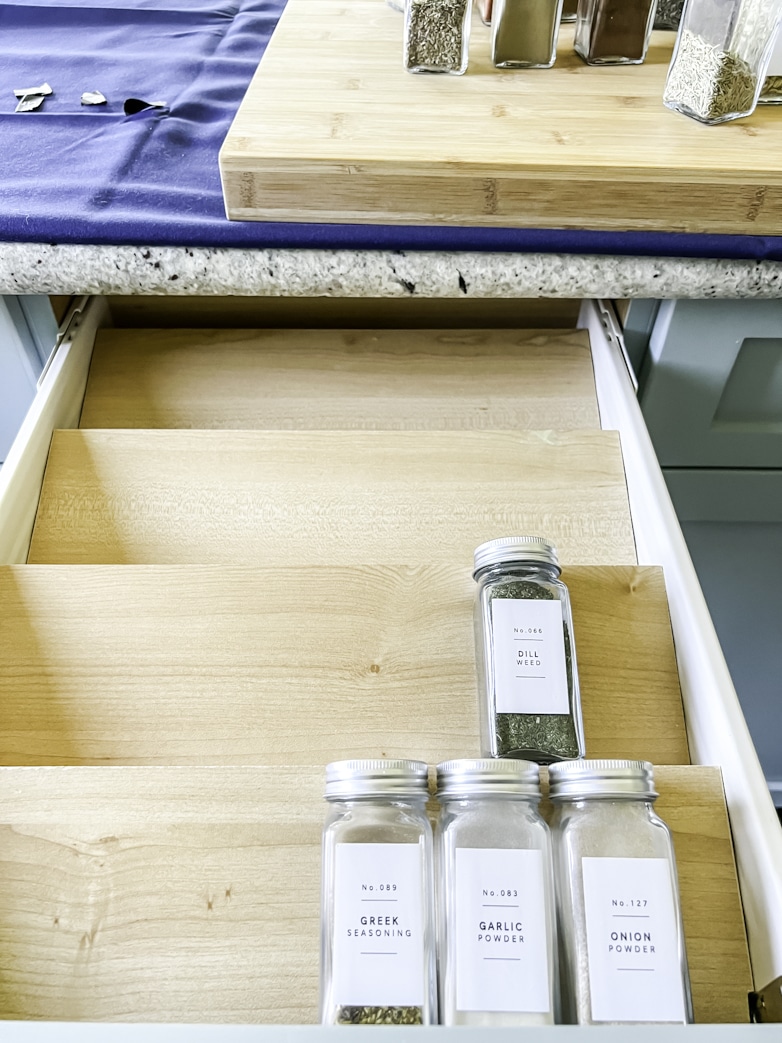
Customize kitchen storage to your needs. I used a leftover piece of MDF that matched the inside of my cabinets and drawers to build a spice drawer organizer. Organizing and labeling all the spices and herbs in this drawer makes my life much easier while cooking. Read “How to Build a Spice Drawer Organizer“.
17
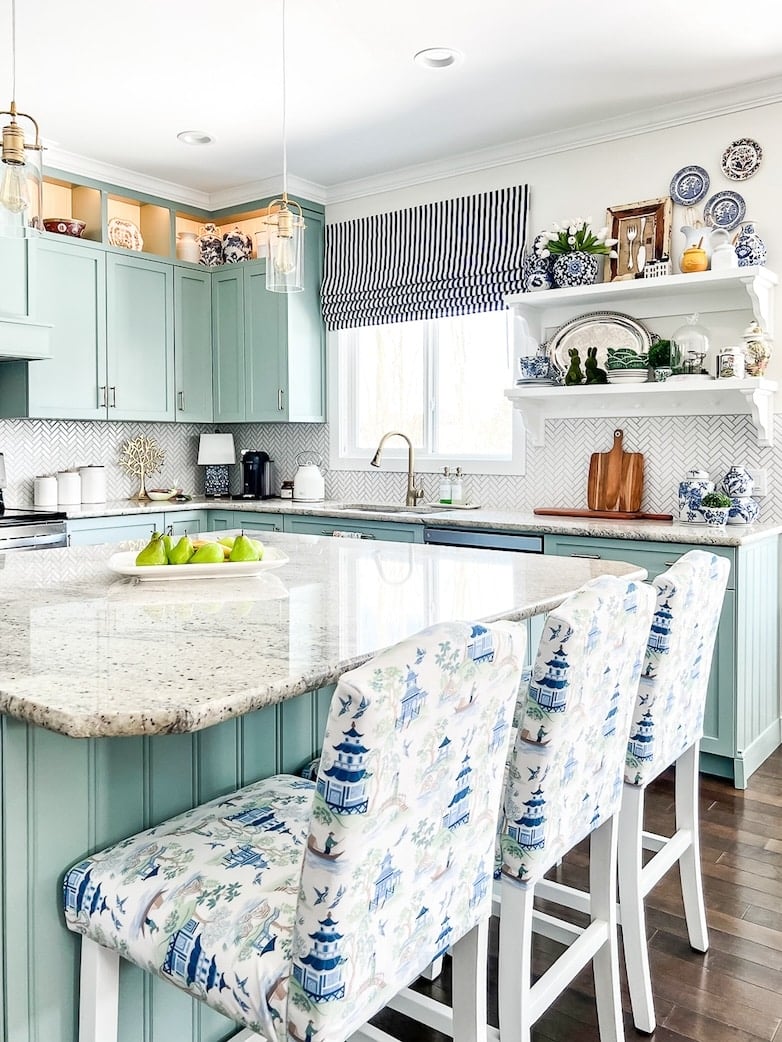
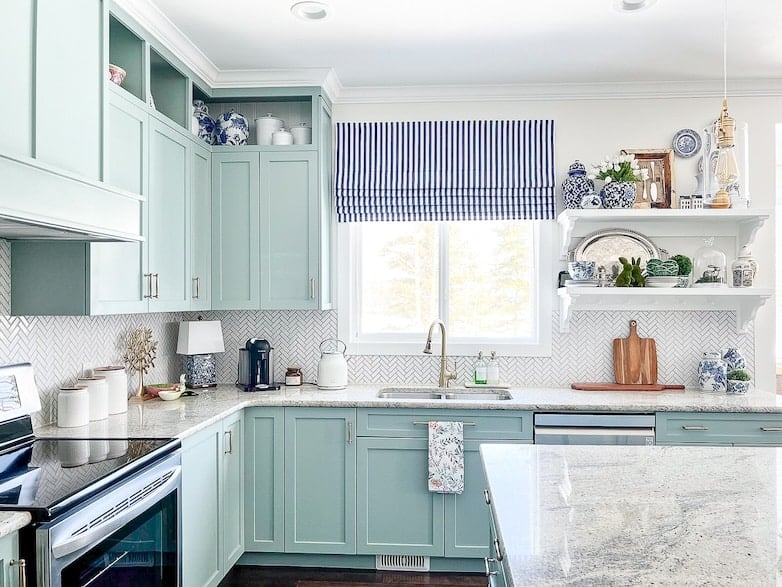
Make or Install a Window Covering
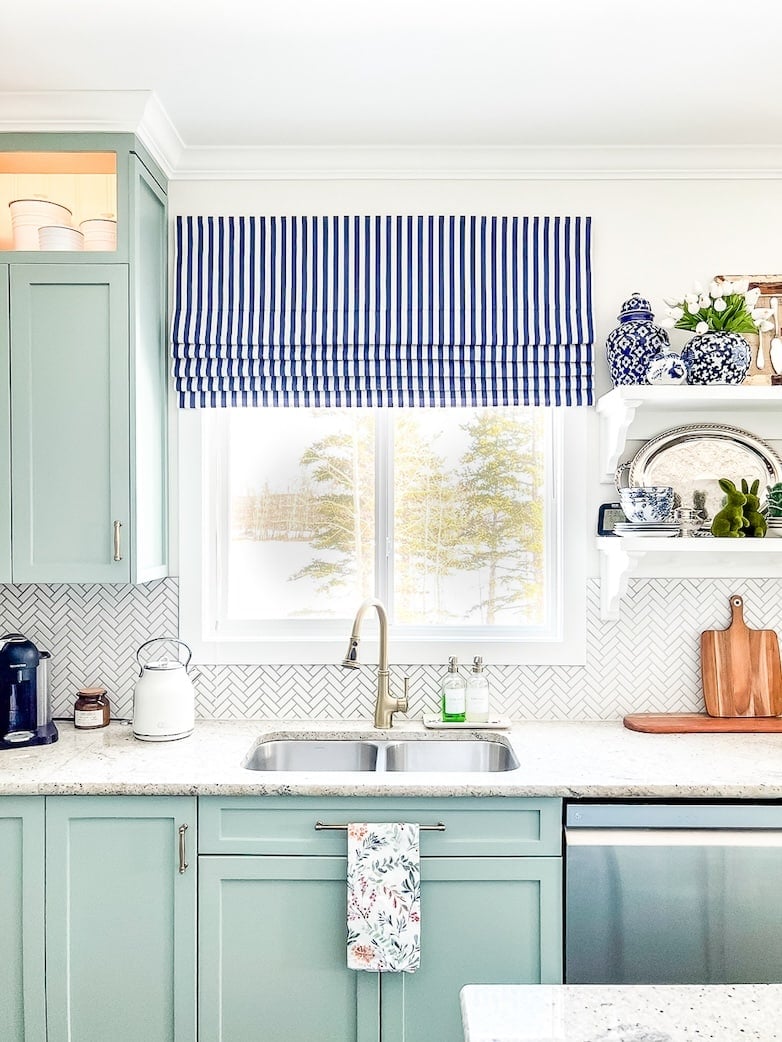
The striped Roman shade is not what it appears to be… This window (like all the others in our home) already had a white wooden blind, and the striped fabric is more of a valance to give a bit of color and a more polished look to the window.
There was a time I could make Roman shades in my sleep, but to be honest, I’m out of practice and had a hard time putting this one together.
The plan was to do a tutorial, but I needed a tutorial myself! If I ever get back in the groove of Roman shade making, you will be the first to know.
18
Reupholster Counter Chairs or Bar Stools
A lick of paint and fabric with a fun design gave these barstools a new lease on life.
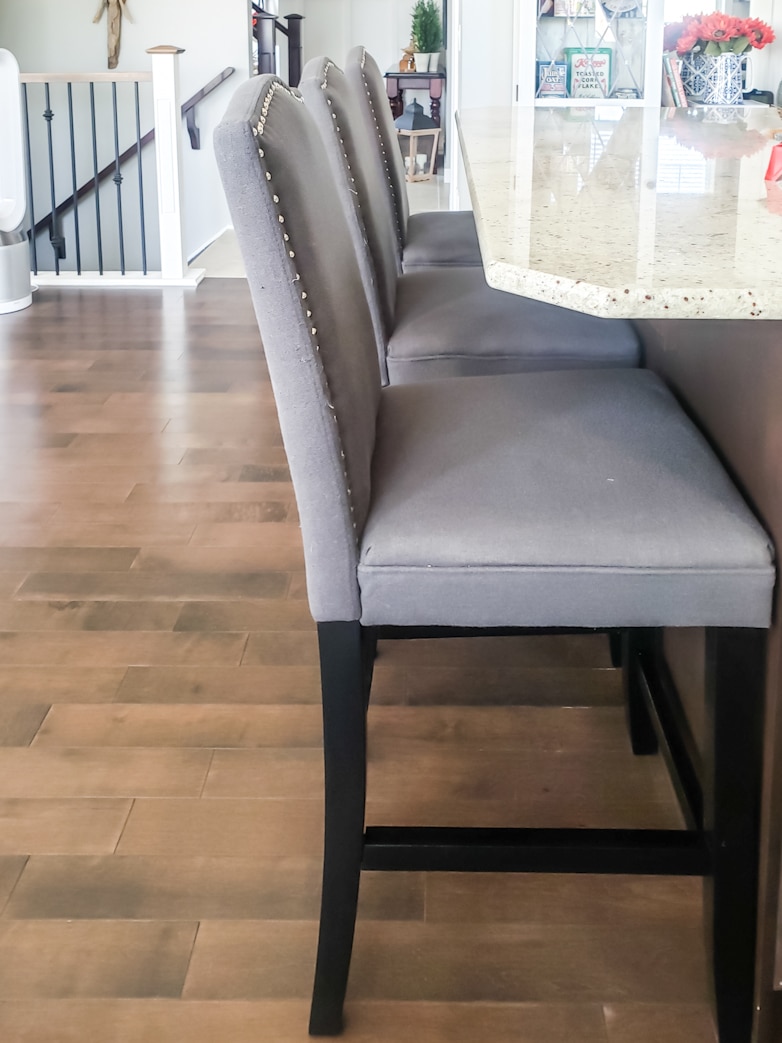
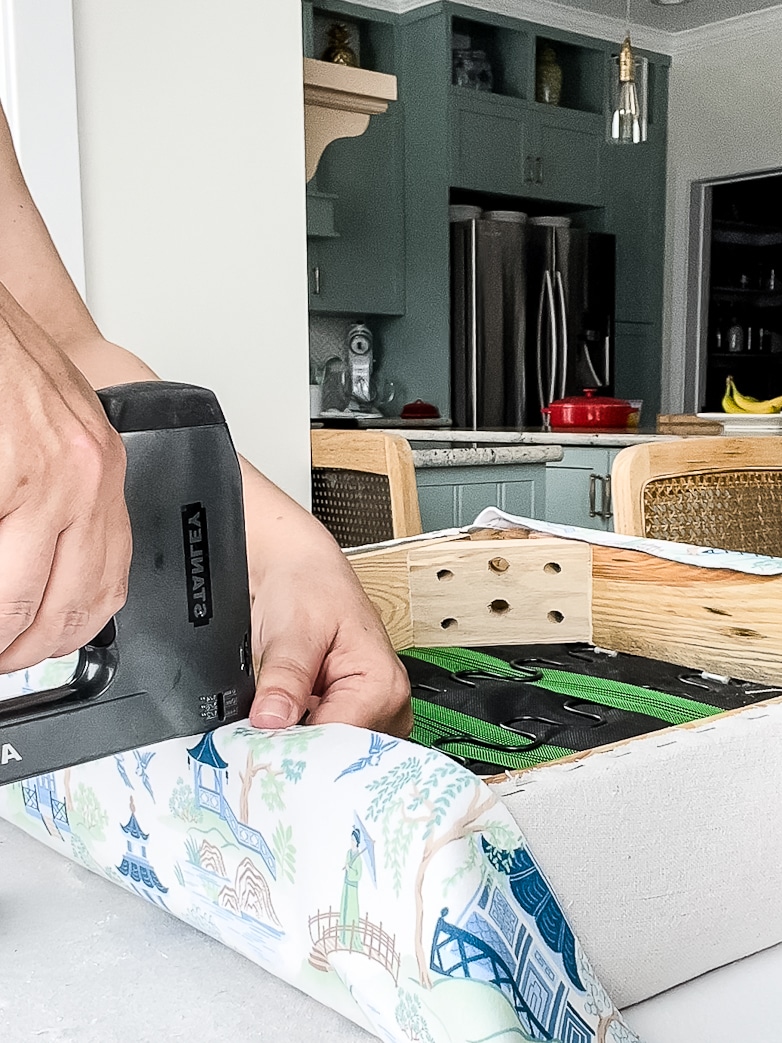
Read the post on “How to Reupholster Bar Stools“.
19
Add a Rug or Runner
This light runner may not be the most practical option for a kitchen, but it does help to brighten up the kitchen. I would love to replace the dark hardwood flooring, but then it would not be a “budget-friendly” kitchen makeover anymore. Especially, since it’s an open-plan kitchen with flooring connecting the entire main floor.
The most expensive updates are the ones I skipped – replacing kitchen countertops, new appliances, and new flooring.
In my kitchen, replacing the flooring requires replacing it on the whole main floor.
Our massive kitchen island requires a custom countertop.
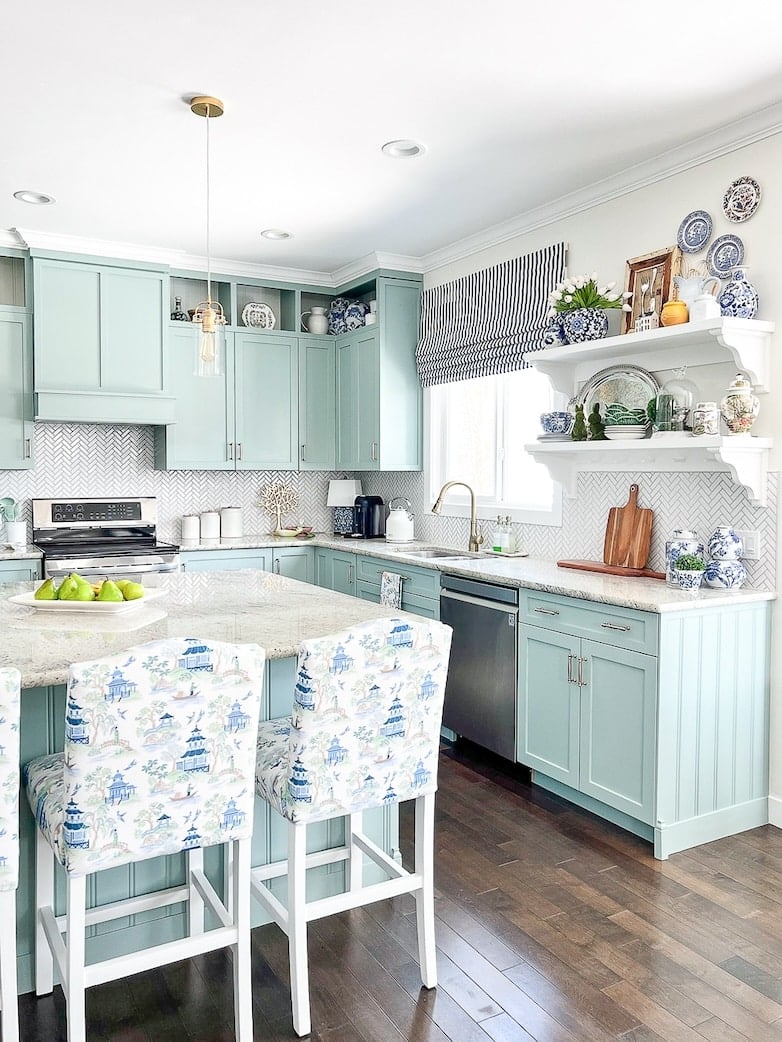
Personal styles differ, and the projects I did in my kitchen might not be what you have in mind, but they might give you some ideas or inspiration for your next project.
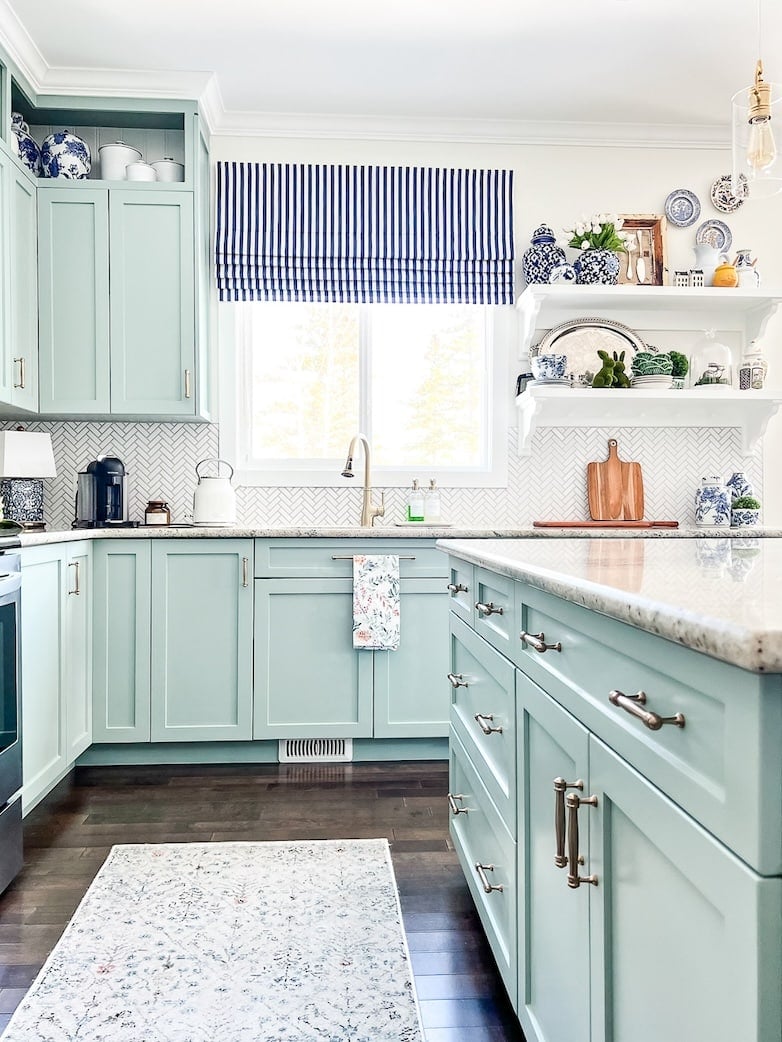
After 19 DIY projects, this is the result of my budget-friendly kitchen makeover.

More Budget Kitchen Makeover Ideas You May Like
Budget-friendly Remodeling Ideas – HGTV
Stylish Ideas for Remodeling a Kitchen on a Budget – Better Homes & Gardens
Budget-Friendly Kitchen Makeover (under $1,000) REVEAL! – Kaleidoscope Living


