I really like how functional my kitchen is. I love the layout, but not so much the look or finishes. As I’ve said before, that is not a deal-breaker because it’s something that can be changed. Replacing a kitchen backsplash is an easy and inexpensive way to update your kitchen quickly.
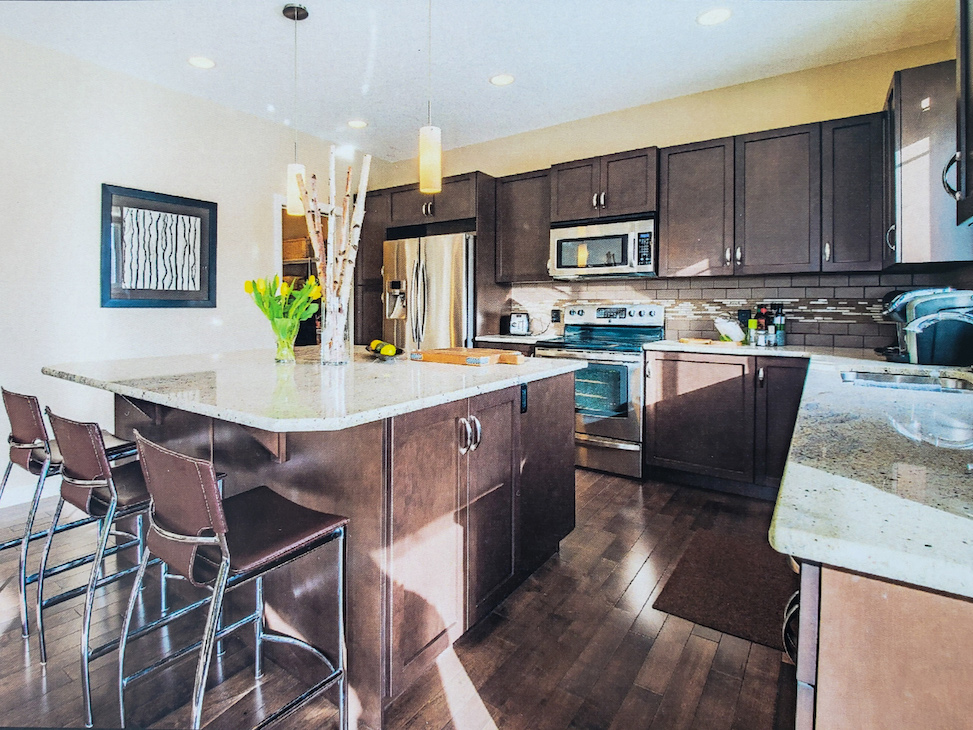
As we started to settle in after the big move, I quickly realized that I just could not live with the chocolate brown backsplash in our kitchen. How bad could it be, you ask? Well, on its own, maybe not that bad, but considering that the cabinets are dark brown, AND the hardwood floors, AND the built-ins in the living room, AND the leather couches AND the dining room table… Just too much of the same brown!
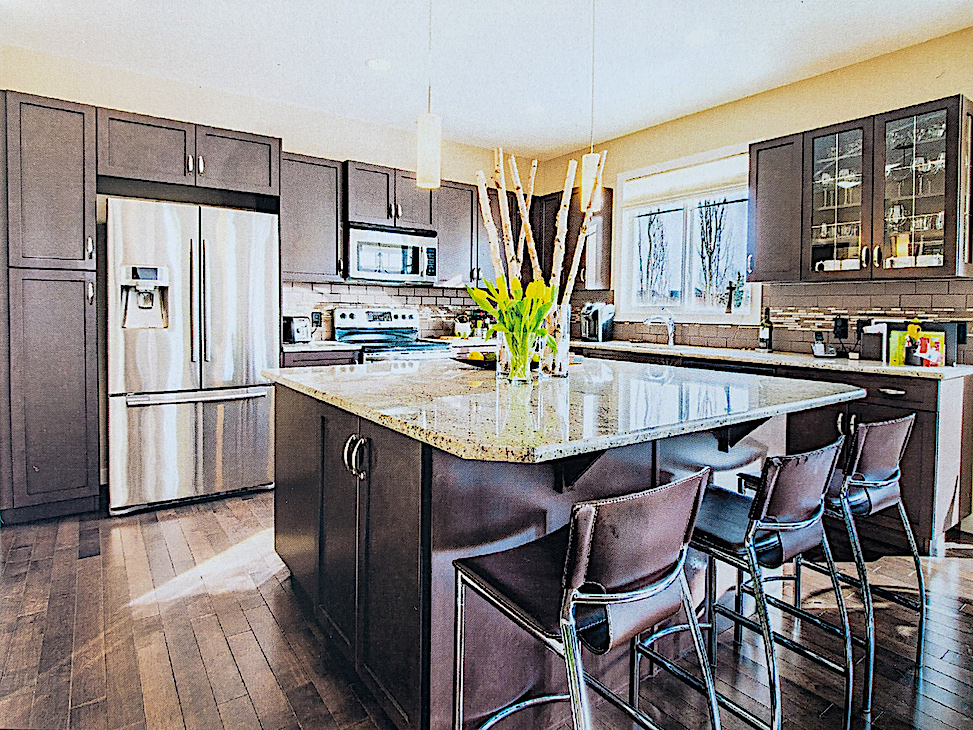
I had to dig deep to find photos of how the kitchen used to look. You can also see the wall and trim color in these photos before I painted it all grey and white. I never imagined that I would ever want to look at that again.
The Solution
Paging through the local paper one day, my eye caught the Home Depot leaflet, and they had a massive sale on certain mosaic sheets. I figured I needed a quick fix for the backsplash, and knowing myself, it might not be a permanent fix so the less expensive, the better. I went with a very basic, plain white mosaic in a herringbone pattern.
Super stoked and ready for action, I started chiseling away at the ugly brown tiles. Something I have done before, but from brick walls, not drywall! The combination of the impact from hitting the chisel and pulling the tiles away made that drywall crumble to dust. Replacing a kitchen backsplash is a messy business!
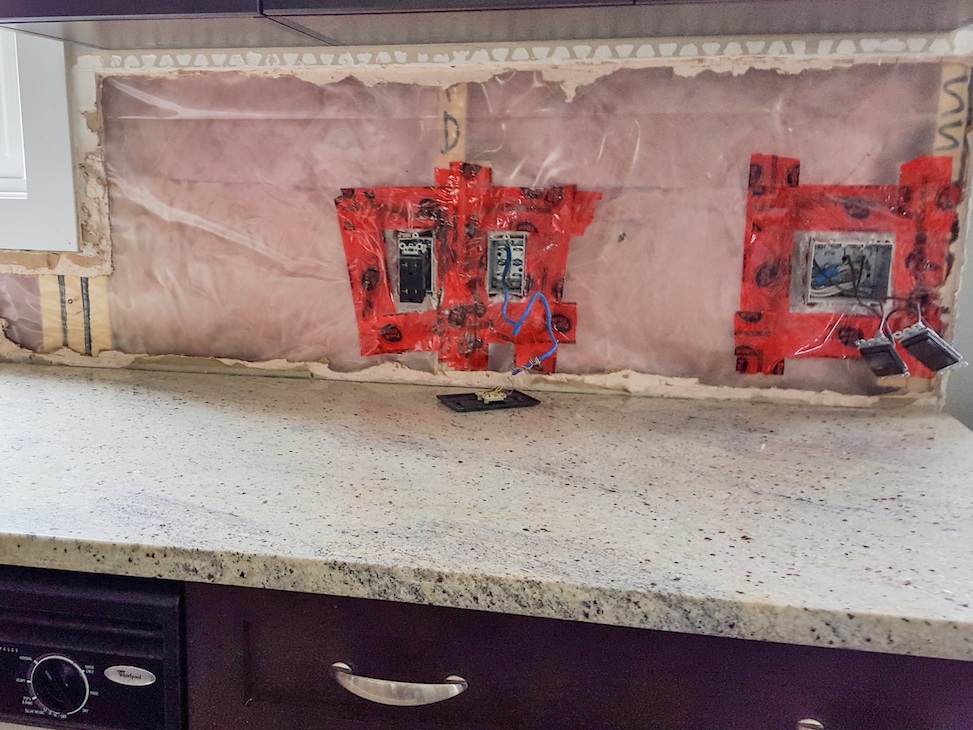
I had no experience putting up new drywall, never mind mudding and taping it to a smooth finish. In the same way, I acquired all my other DIY skills, I watched various YouTube videos and gave it a try. These newly acquired skills would come in handy later when finishing our basement.
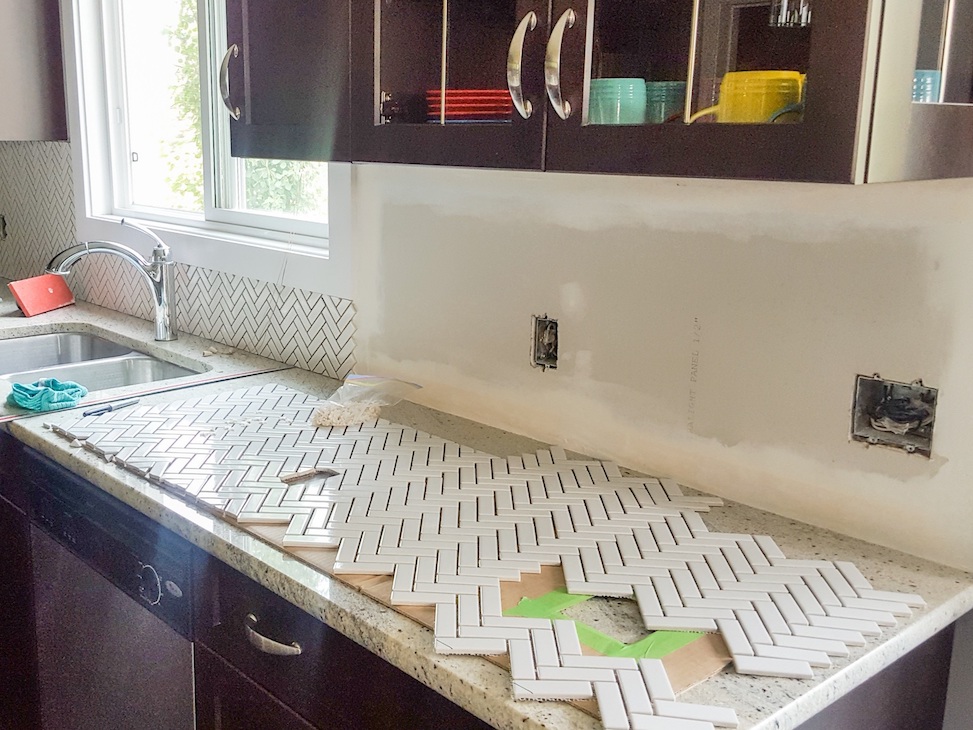
Luckily, I started with the wall where a side is facing forward because replacing a piece of drywall might be easy, but getting the old bit out is a messy task. The second wall has both sides covered, and I decided to install the new tile on top of the old ones. Maybe not the best option, but definitely the easiest. I smoothed out the grout lines between the old tiles with tile adhesive to create an even surface rough enough for the new tiles and adhesive to grip on.
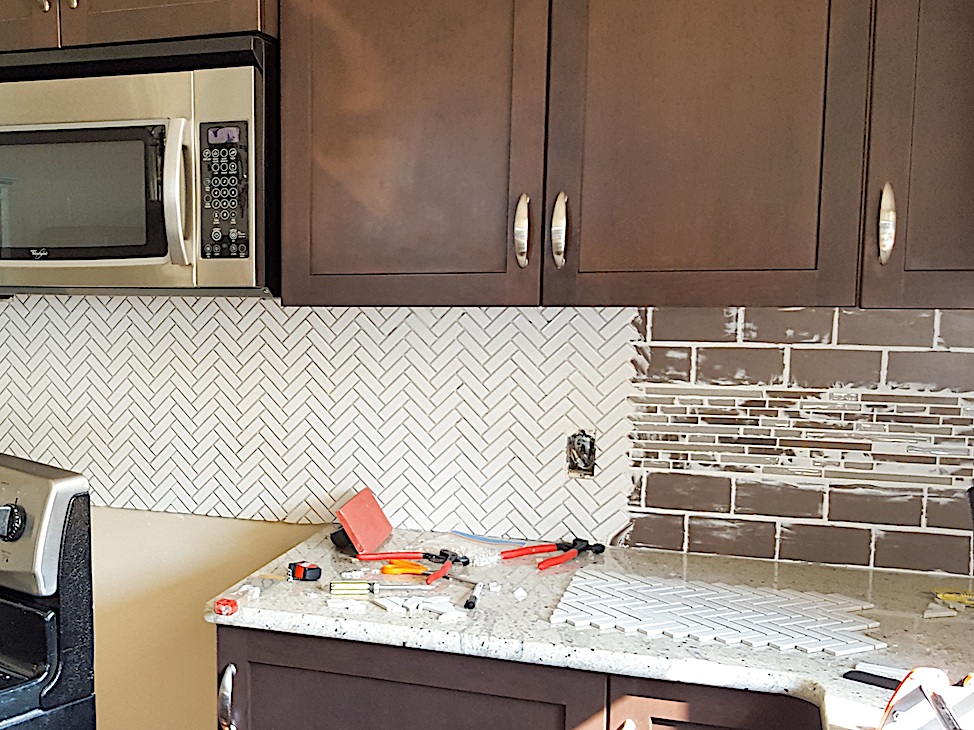
I soon discovered my next obstacle. A manual tile cutter can only break big tiles with the pressure applied, not sheets of tiny mosaic tiles. I knew this would take me several days and was supposed to be a cheaper option, so no hiring a wet saw tile cutter. Being an avid crafter, I had mosaic snips. I must be crazy because I snipped every single tile around the edges by hand. I must really like to torture myself because I always end up doing these crazy things. Well, it turned out well, and it’s done now. Story of my life!
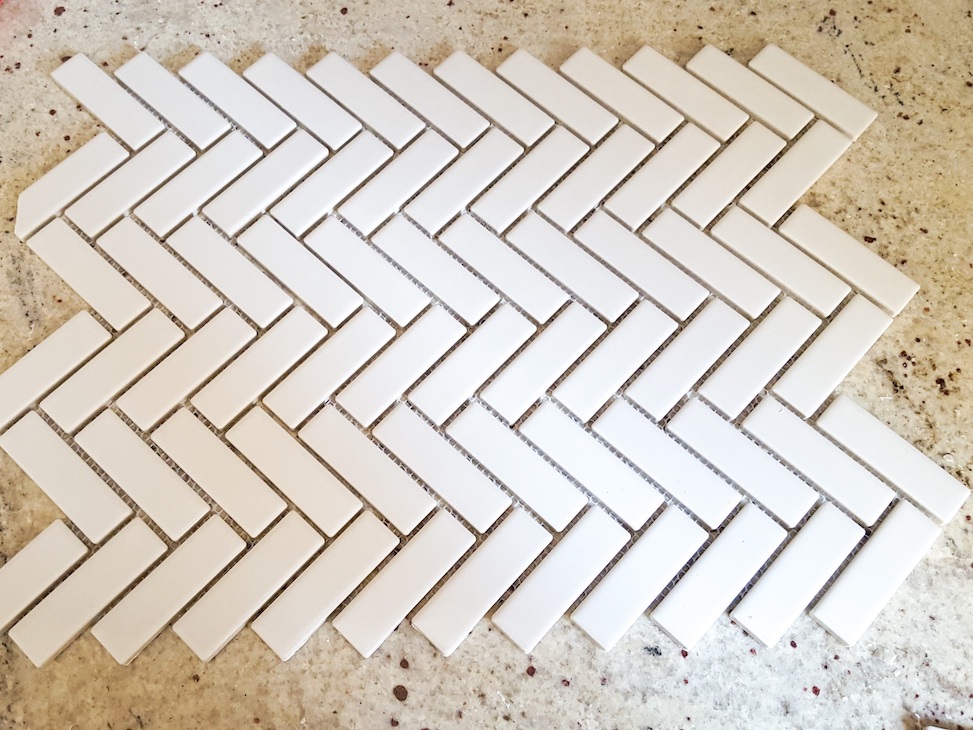
Why on earth did I choose white tiles that don’t really go with my granite countertops, you ask? A long-term vision, my friends, a long-term vision! I have been (and still am) dreaming of an all-white or mostly-white kitchen. Replacing the kitchen backsplash was only step one.
My hands are aching to paint my cabinets, and I promise you it is high on my priority list. Probably the next project once the basement is finished. Judged by the current rate, I get projects done; that might be a while still.
I’m hoping that with the cabinets and tiles both white, the countertops will somehow work. And if they don’t, well, then we plan the next project! In the meantime, the kitchen is at least a little whiter and brighter, and I actually love the backsplash pattern.
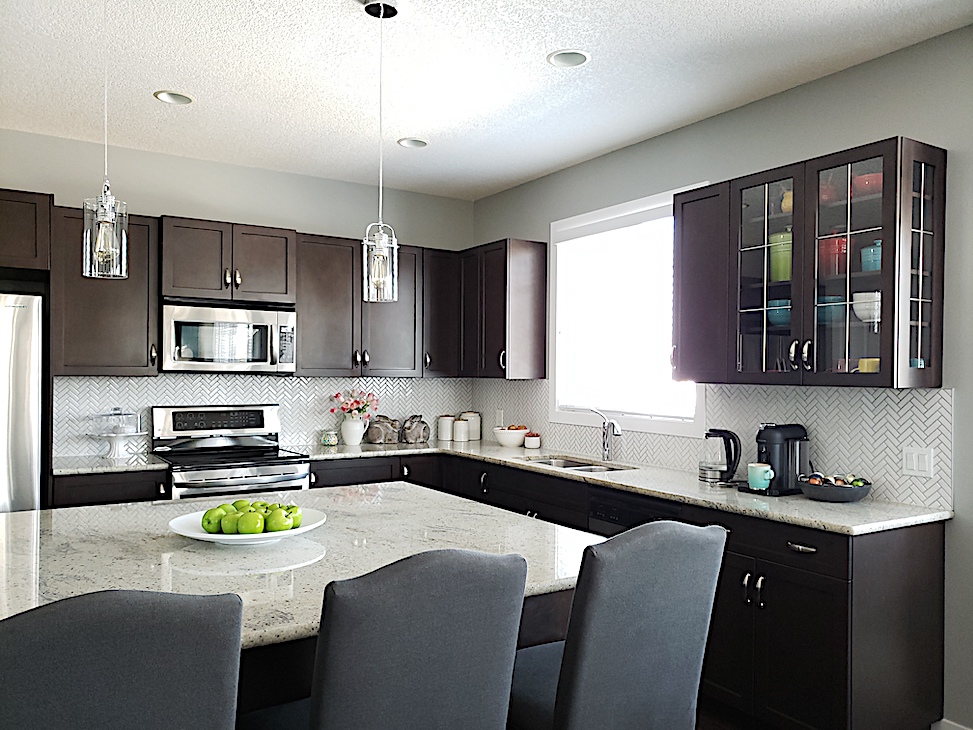
When the time comes to paint the cabinets, you will be the first to know! Keep an eye out.
