A Super Inexpensive Makeover with Painted Kitchen Cabinets
If you have been dreaming about painted kitchen cabinets, this post is for you! Let me show you how I did it, step by step.
Painted Kitchen Cabinets is part two of the budget-friendly kitchen makeover series.
Part one was How to Prep Cabinets for Painting
You Will Thank Yourself For Doing This!
(Technically, this step should be included with the prepping, but these are real-time updates.)
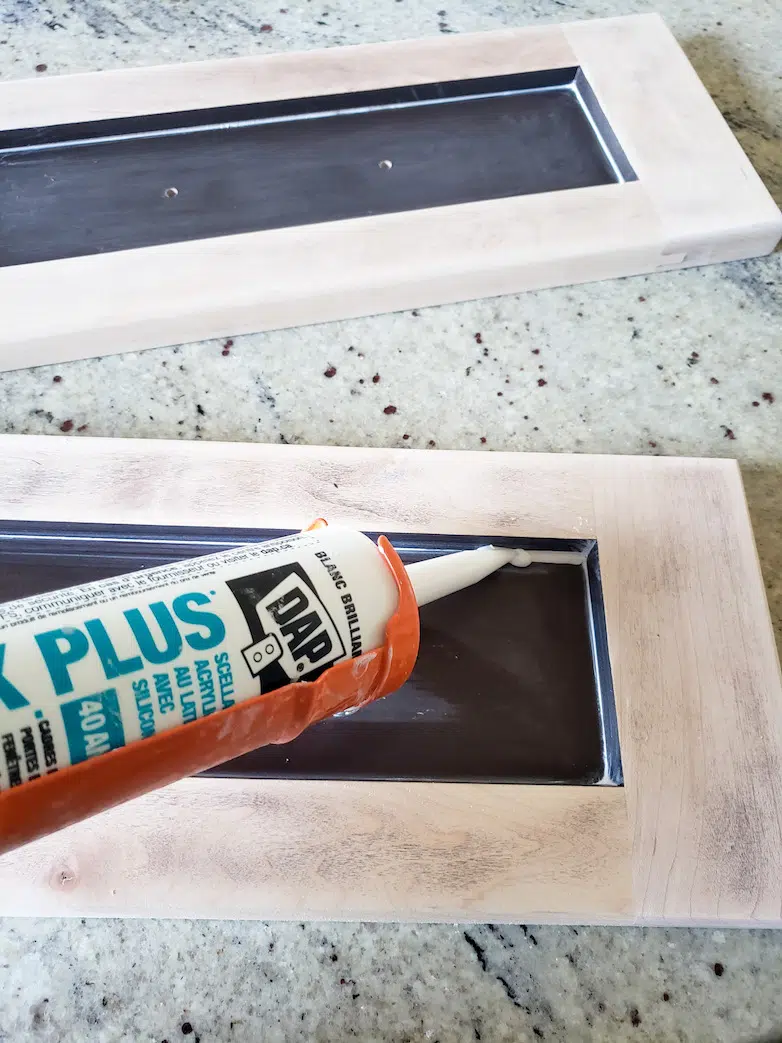
If you have cabinets with Shaker-style profiles, like mine, chances are your doors and drawer fronts also have this tiny groove around the center panel.
The old dark brown stained finish used to show every spec of dust that settled in that tiny groove, and it drove me mad!
I kept reminding myself to FILL THAT GAP when I got to painting the cabinets. I discovered a video on YouTube of a guy doing exactly this, and apparently, it is a common complaint among women!
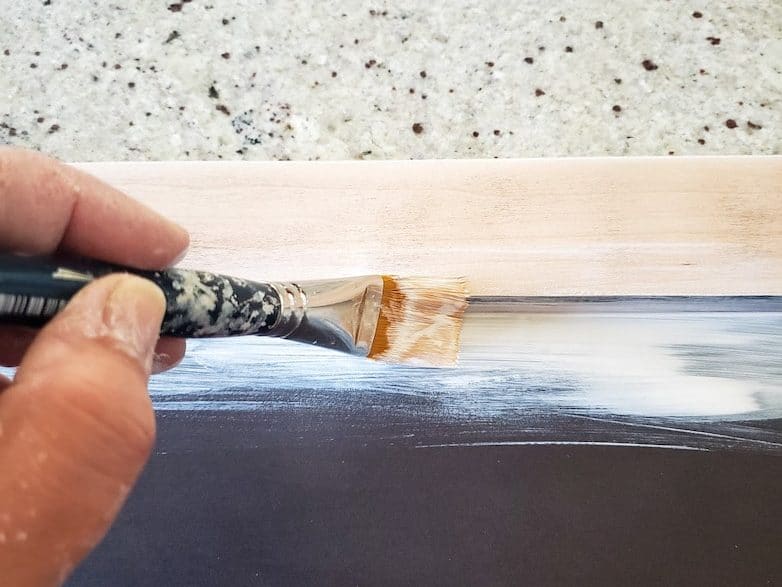
You can fill the dreaded groove with caulk before or after priming. I chose to fill it first and then seal it with primer to prevent any cracking, which is unlikely, but it made sense in my mind.

Zinsser’s Bulls Eye 1-2-3 is always my go-to primer.
If your cabinets are wood that might bleed through lighter-colored paint, you will need an oil-based or shellac primer. If possible, I always stick to water-based, aka “does not stink to high heaven.”
One or Two Coats of Primer?

This is a controversial question that gets asked all the time! The answer is: it depends!
Generally, one coat is enough to give your top coat of paint maximum adherence.
So, when do you need two coats of primer? When you paint new surfaces like bare drywall or unfinished wood. Also, when you are covering a dark surface with white paint, more coats of primer will cover dark surfaces better and seal new, porous surfaces.
For this project, I only painted one coat of primer.
Tools You Need To Paint Cabinets By Hand
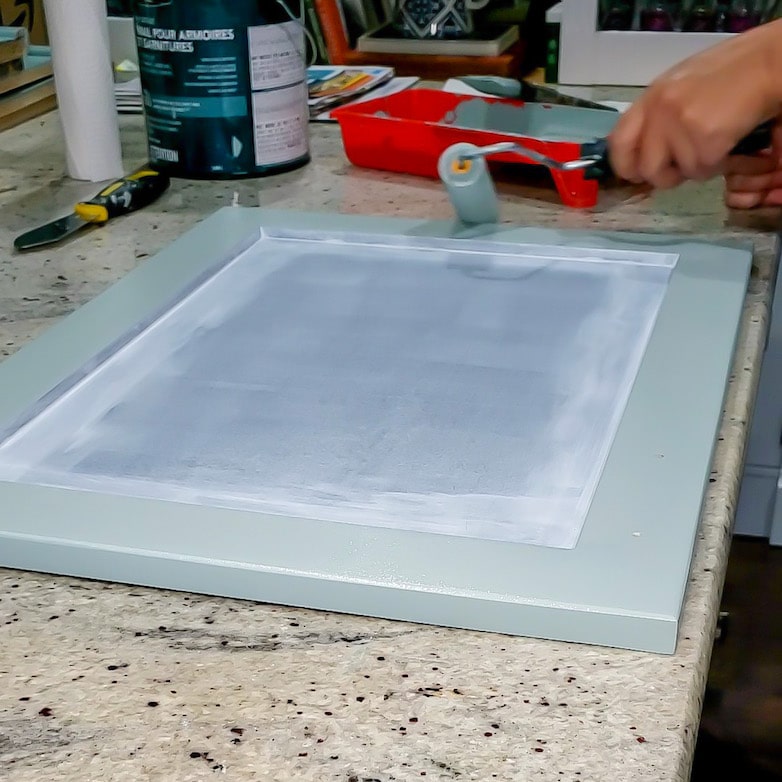
My three essentials when painting by hand:
- 4-inch high-density foam roller
- 2-inch synthetic bristle paint brush
- 1-inch artist’s brush
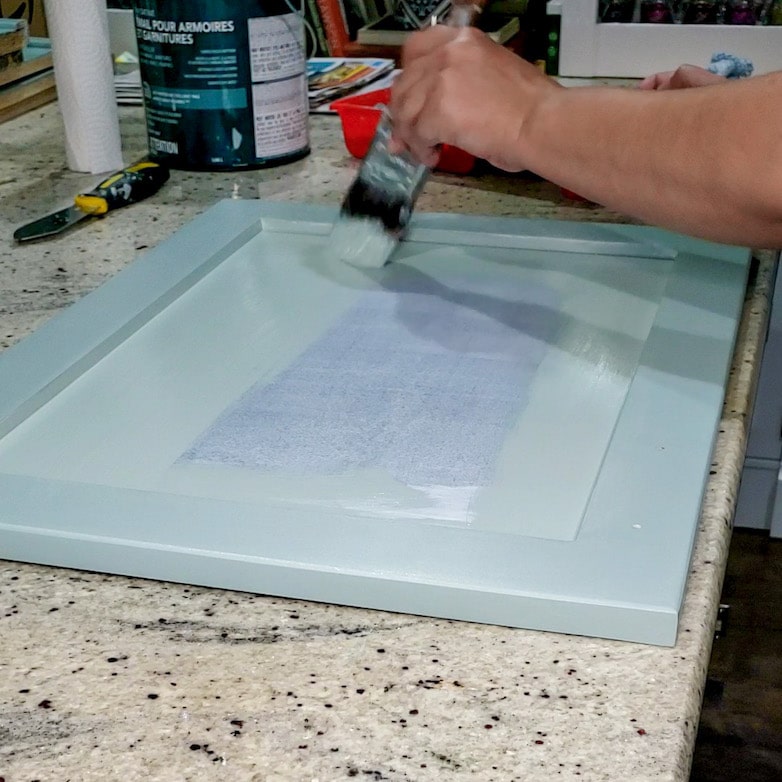
I can not tell you that I always paint THIS with a brush and THAT with a roller.
USUALLY I apply the paint with a brush and smooth it out with a roller, but sometimes it’s the other way around.
I do whatever it takes to get a super-smooth and even finish!
Most Popular Paint for Painting Kitchen Cabinets
All the major paint brands have a product specifically made for cabinets and trim. The three that are most popular:
- Benjamin Moore – Advance
- Sherwin Williams – Emerald Urethane Trim Enamel
- Behr Premium – Interior Cabinet & Trim Enamel
Did you know that these three brands can mix each other’s colors? If you have a favorite brand but fell in love with a color from another brand, you can have that color mixed into your brand of choice!
Whether you choose a gloss, semi-gloss, or satin finish is a personal preference.
I used a satin finish purely because the glossier the finish, the more brush strokes and imperfections will show.
What makes these three products so well suited for painting cabinets is their self-leveling ability. However, your doors and drawer fronts need to lay flat while drying for your paint to self-level.
Making a Temporary Drying Station
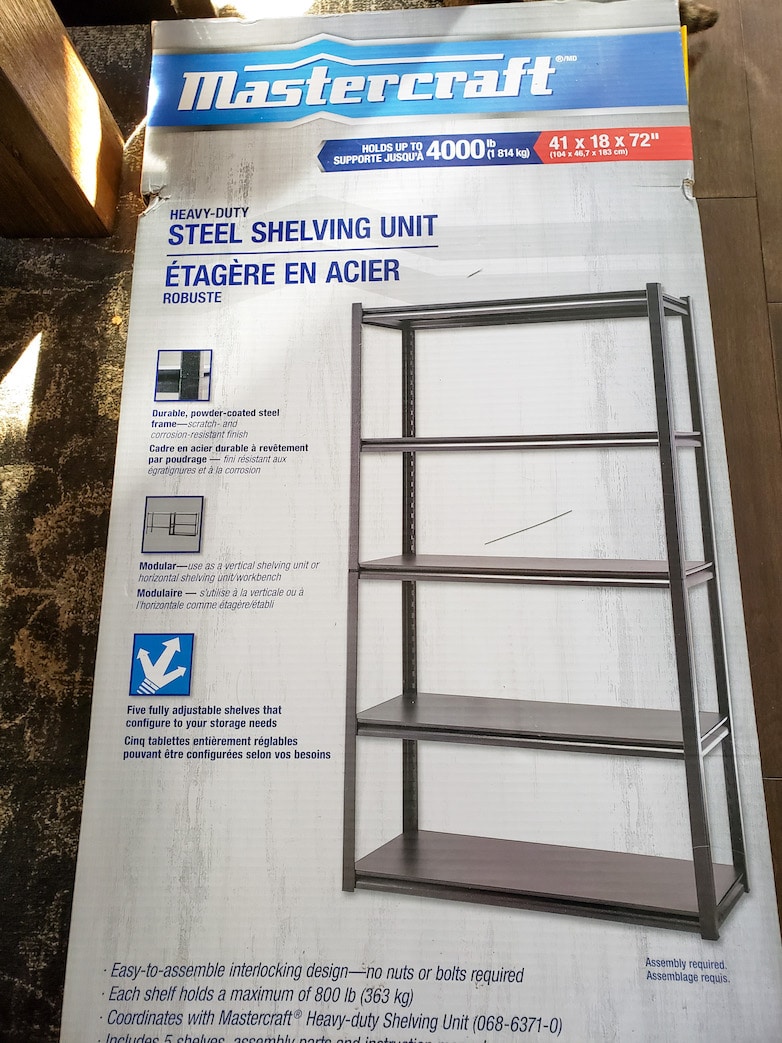
We had this steel shelving unit for the garage still in its box. Stephen put the framework together, and instead of stacking the vertical sides, he built two smaller frames next to each other.
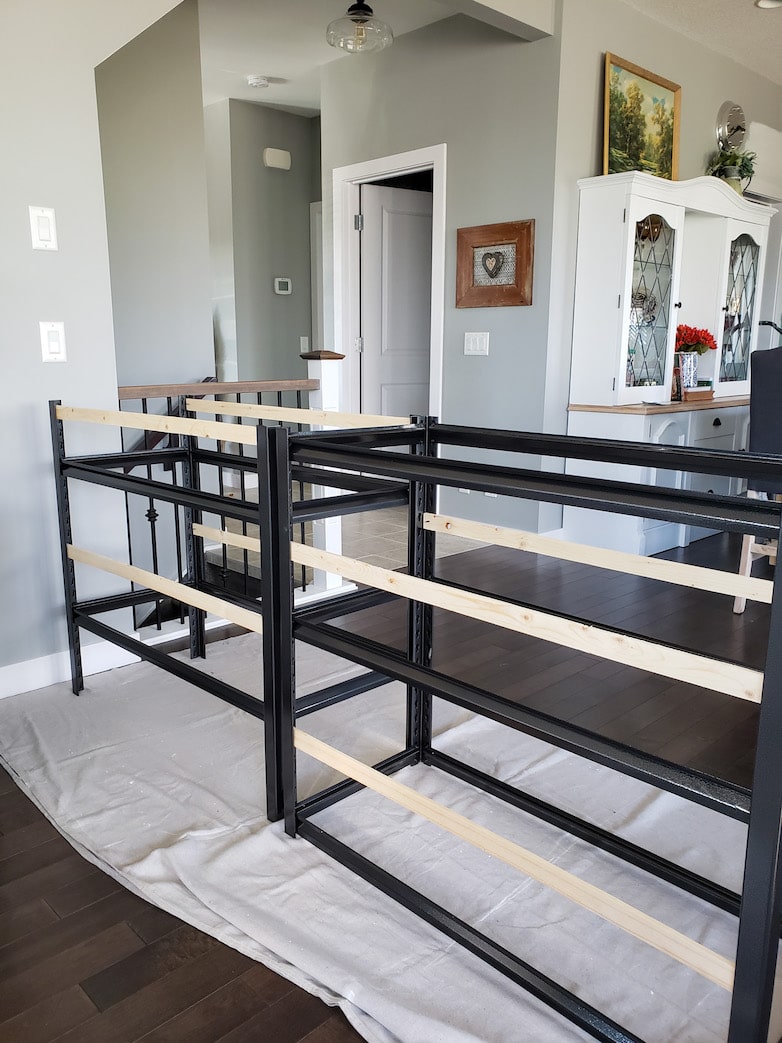
He found a few lattice slats in our scrap wood pile and created extra “shelves” between each existing one.
I can’t take any credit; this was his brilliant idea!
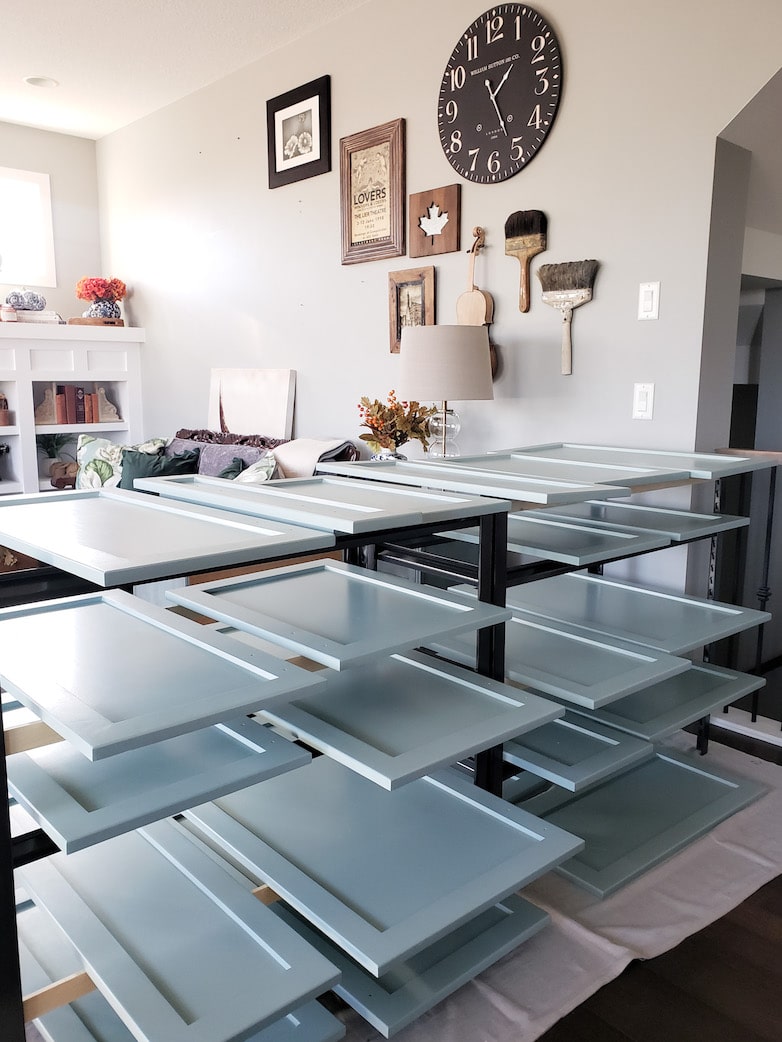
This ingenious drying station housed about two-thirds of the doors and drawer fronts. (Yes, this is our living room, and we did live like this for a couple of weeks. It really wasn’t that bad at all.)
By rotating them as they dried, I stacked the other third vertically against the dining room table.
The tempo at which I painted made this very easy.
My Painting Timeline
Spoiler alert: Contrary to what HGTV claims, this is not a one-weekend project!
Day 1 – Priming all cabinet boxes and edging
Day 2 – Painting the first coat on cabinet boxes and edging
Day 3 – Second coat on all of the above
Day 4 – Priming and painting all toe kicks
I removed all the toe kicks to avoid twisting myself into a knot or getting paint on the hardwood floors! They were simply nailed to the plastic feet of the cabinets and pulled away easily. Nailing them back and filling a few holes was much easier than crawling around on the floor while trying to paint.
Moving on to doors and drawer fronts (taken off)
Day 5 – Priming all the insides of doors and drawers
Day 6 – Priming all the front sides of doors and drawers
Day 7 – Light sanding/wiping with sandpaper, then wiping off any dust with a damp cloth
Day 8 – Painting the first coat on all insides
Day 9 – Painting all front sides
Day 10 – Second coat on all insides
Day 11 – Second coat on all front sides
Day 12 – Finishing up
- Hanging all doors back in place (super easy with my numbering system shared in this post)
- Installing the new hardware. I waited so long to do this!
- Sticking new rubber bumper pads on all the inside corners of doors and drawers for soft closing
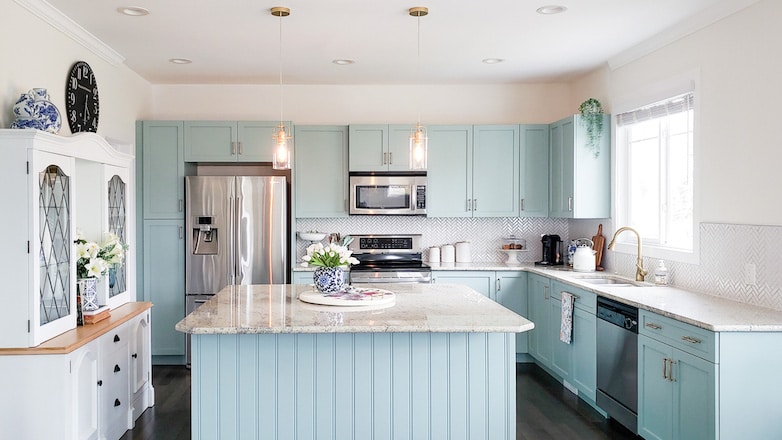
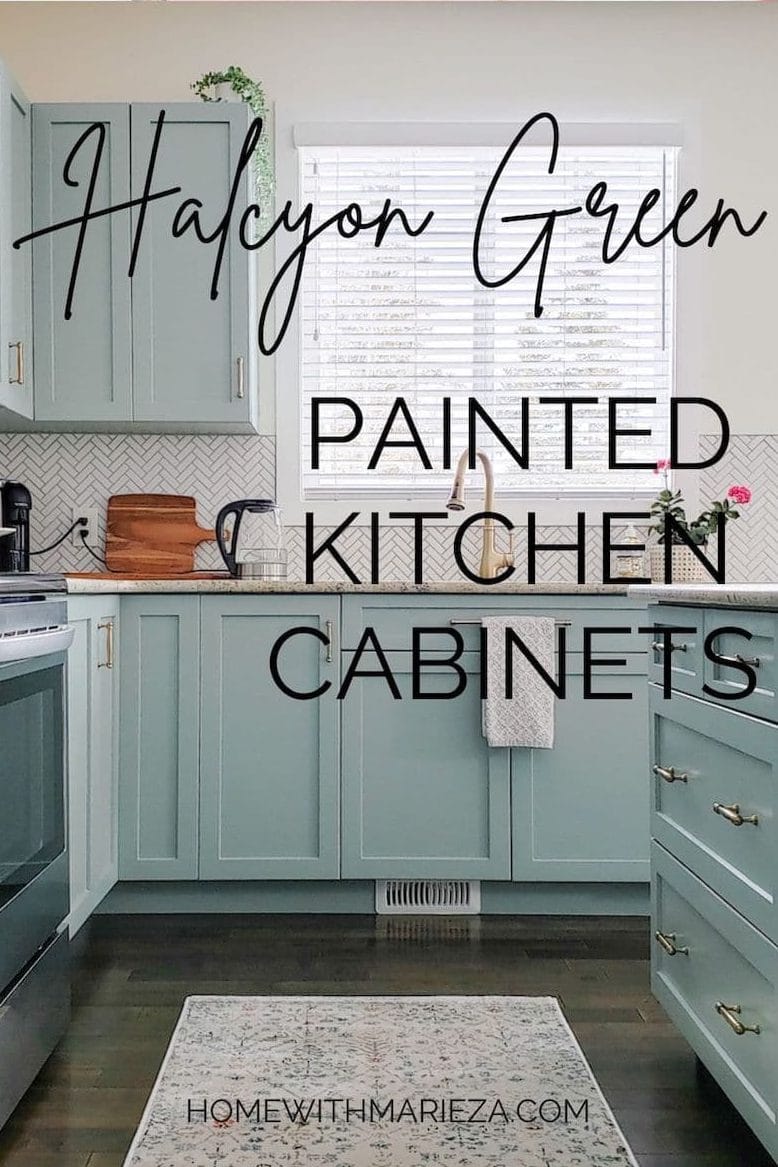
Our beautiful Halcyon Green Painted Kitchen Cabinets
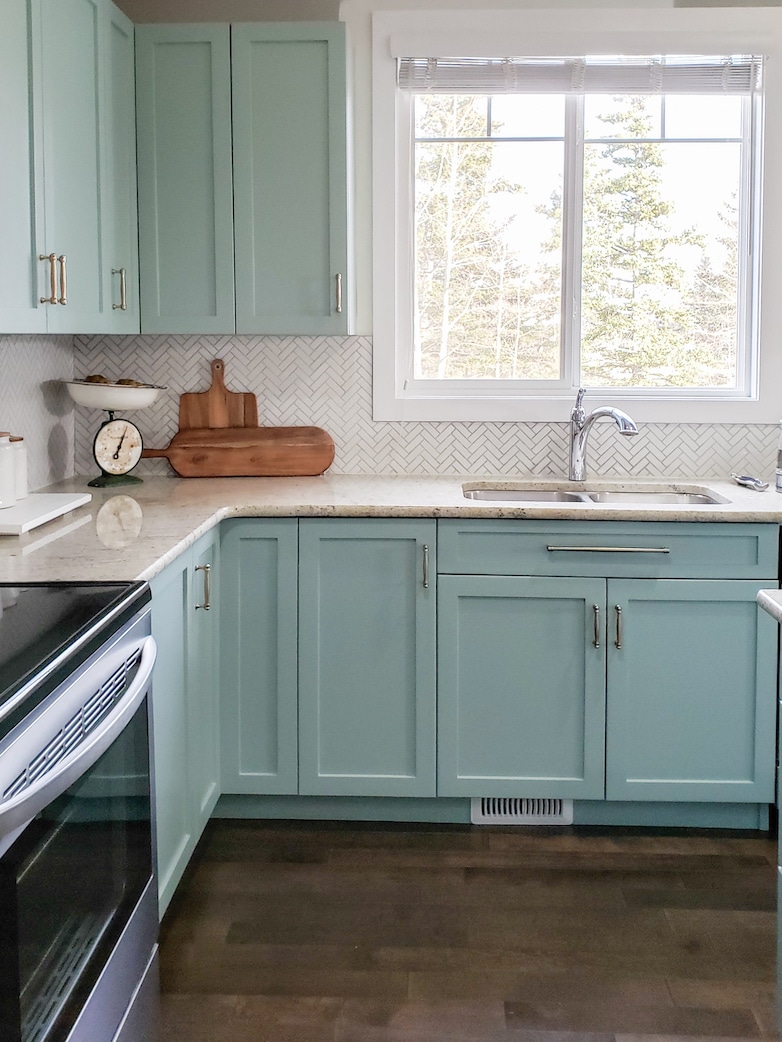
I have been dreaming of this for so long, and here it finally is! I can not begin to tell you how happy this tranquil color makes me! Every single day!

Most people seem to think the cabinets are blue, but the name of the color is Halcyon Green by Sherwin Williams. It is an interesting color that constantly changes throughout the day as the daylight changes.
Blue, green, grey, it doesn’t matter to me. I love this color regardless of what it is called.
It lifts my mood compared to the dark brown it used to be.
Let me refresh your memory!
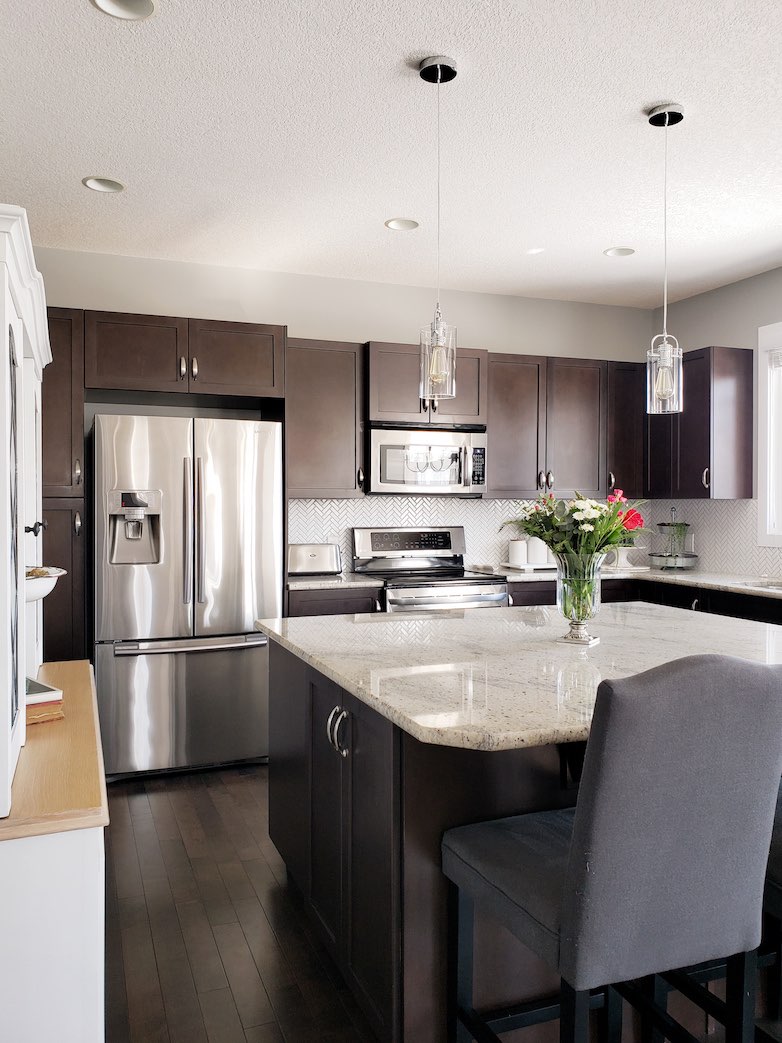
If this look appeals to you more than the painted kitchen cabinets, that is OK! I respect the fact that we all like different things.
As for me and my house, we celebrate the new version of this kitchen!

*Update:
The budget-friendly kitchen makeover now also has parts 3 & 4.
Part 3: Replacing a Kitchen Faucet

Part 4: Updating Kitchen Lighting on a Small Budget
Posts Related to Painted Kitchen Cabinets:
- How I Replaced This Kitchen’s Backsplash Shortly After Moving In
- Cindy’s Cabinet Painting in Four Easy Steps
- How Lynne Painted Wood Kitchen Cabinets
- How To Paint A Stair Railing
- DIY Spice Drawer Organizer
Pin this for later!
What were your coordinating colors for kitchen walls and adjoining living room? I’m struggling to know how best to coordinate.
Hi Samantha! My kitchen and living room walls are painted with Benjamin Moore’s – White Dove. I hope that helps!
You did a fabulous job! The cabinets look amazing! Thanks for the wonderful tips, Donna
Thank you so much, Donna! I appreciate your kind comment!
Oh my goodness, I absolutely love your newly painted cabinets! I chose a similar color scheme for my craft room makeover, and it’s so calming. Thanks for the great tips, Marieza!
Thank you so much, Crissy! Yes, I love your craft room. It sure is a calming color.
These are gorgeous and I love the color! Great tutorial!
Thank you so much, Cindy!
Your cabinets look amazing! I really love this color and can see how the color can change in the light. Jealous of the heating vent below the sink hee hee.
Thank you, Marie!
Ha Ha! You know how cold it gets here, that heating vent is life!
You did a wonderful job. I remember painting my cabinets – they were laid out everywhere throughout the house! It’s worth all the effort to get such great results.
Thanks for sharing at the FWF link party
Rachelle
Thank you so much, Rachelle!
I love the new look of your kitchen! The color is perfect and I also have Halcyon in my home. Well done, Marieza!!
Thank you so much, Kim!
I love your ‘new’ kitchen! When you find just the right green it’s perfect!
I am so glad you like it! Thanks for stopping by!
Absolutely gorgeous!!! I really love that color and I’m with you, blue, green, gray…whatever, it’s beautiful and happy!! What a way to wake up and walk into this beautiful kitchen!! Congratulations on a great choice!
Thank you so much, Karolyn! I do enjoy my kitchen so much more now!
So many great tips, especially making a drying station for the doors. Love the color.
Thank you, Rosemary!
THIS LOOKS AMAZING!!!!!!! It looks like a different kitchen! You did a fabulous job on this, as always!
Aw, thank you so much, Elizabeth! I appreciate your kind words!
Great job!
Thank you, Pam!
I admire your work ethic: the way you combine your creativity with perseverance is remarkable. The workmanship is of the highest quality while your choice of color is tops! Well done on another inspiring success story. 👏🏻👏🏻
Thank you so much!