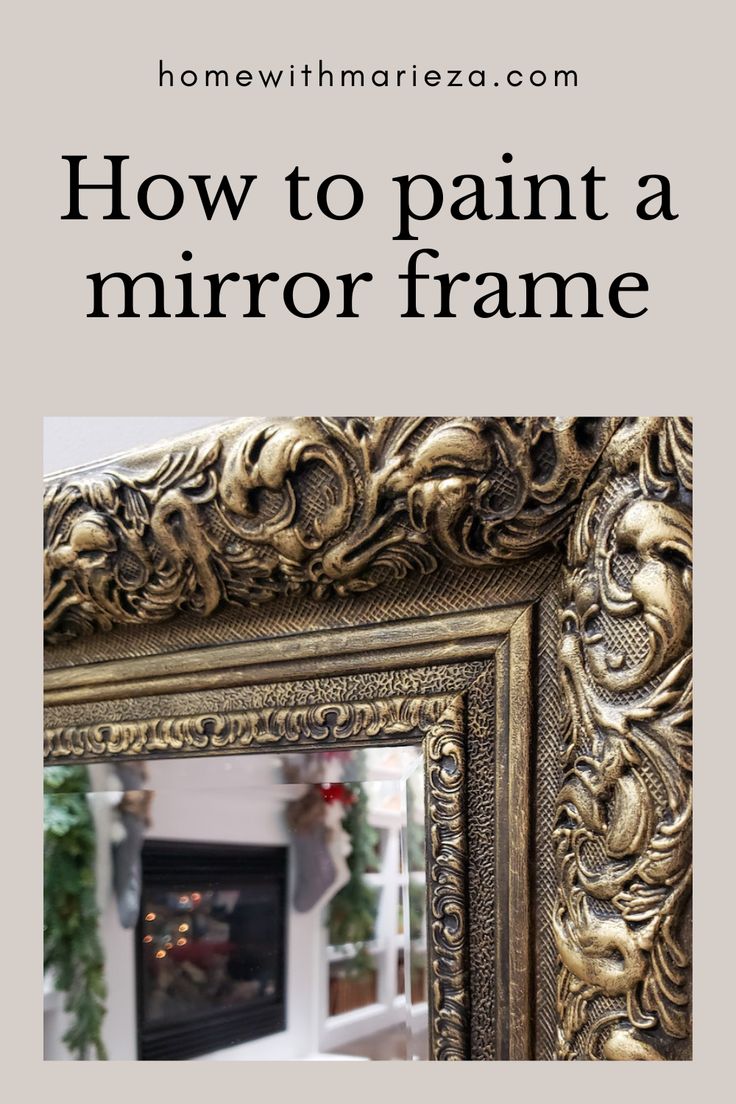
How to Paint a Mirror Frame with a Unique Finish
Let me show you how to paint a mirror frame with a combination of chalk paint and gilding wax to create a finish that will complement your room decor.
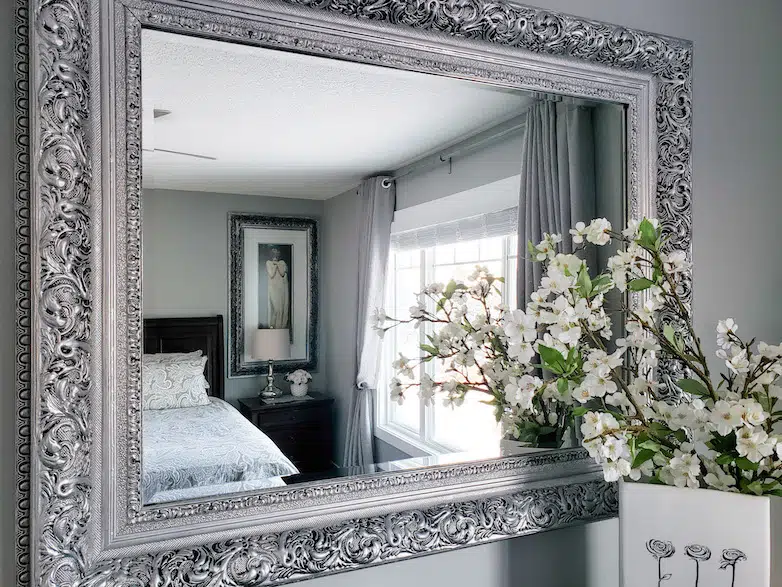
Many years ago, I bought a mirror with a gilded frame that I hung over our fireplace, and I loved it so much… until I didn’t.
True to my nature, I changed it to something I liked better. I painted the gilded mirror silver. I loved the new look for many years… until I didn’t.
Any guesses as to what I did then? Yup, I changed it again! I wanted it to be gold (and black) again, but not the same as before.
You might have seen the silver frame in one of my first blog posts about following scale and proportion design rules in a main bedroom.

These are the three products I used for this project. If you are not a fan of black and gold you can always substitute it with a paint color and wax finish of your choice.
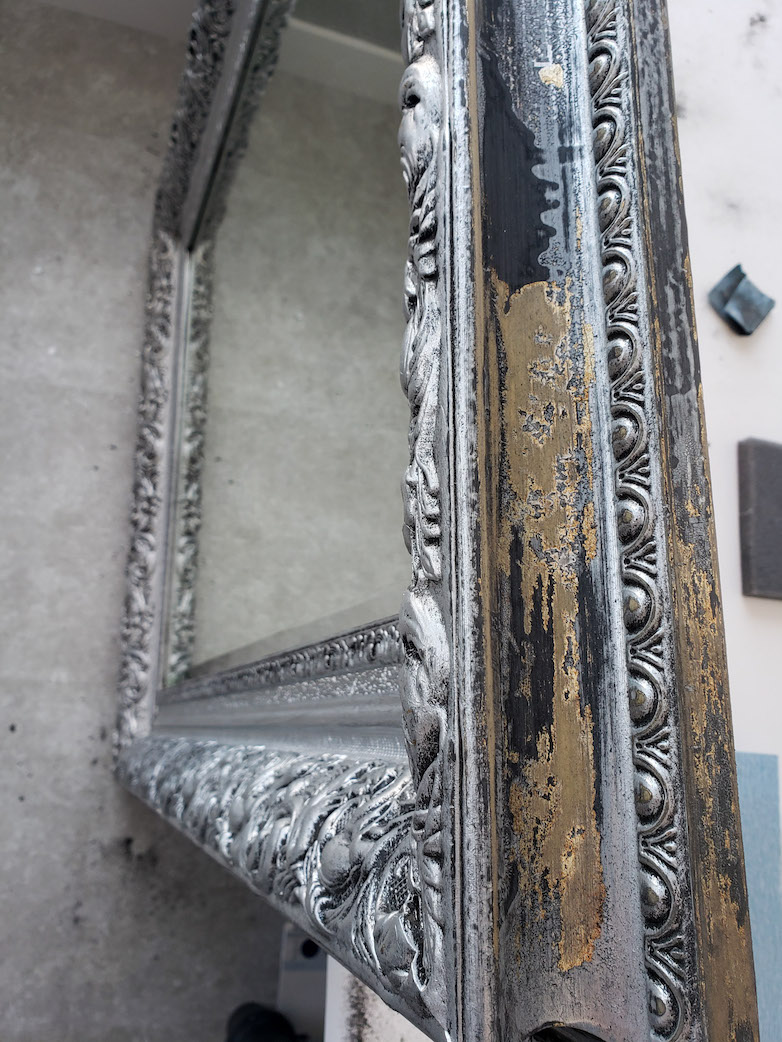
My previous paint effort did bubble up a little, so my first step was to sand everything smooth. Here, you can see the original finish peeking through.

Dixie Belle chalk paint in the color Caviar worked perfectly for my base coat. I painted the entire frame black.
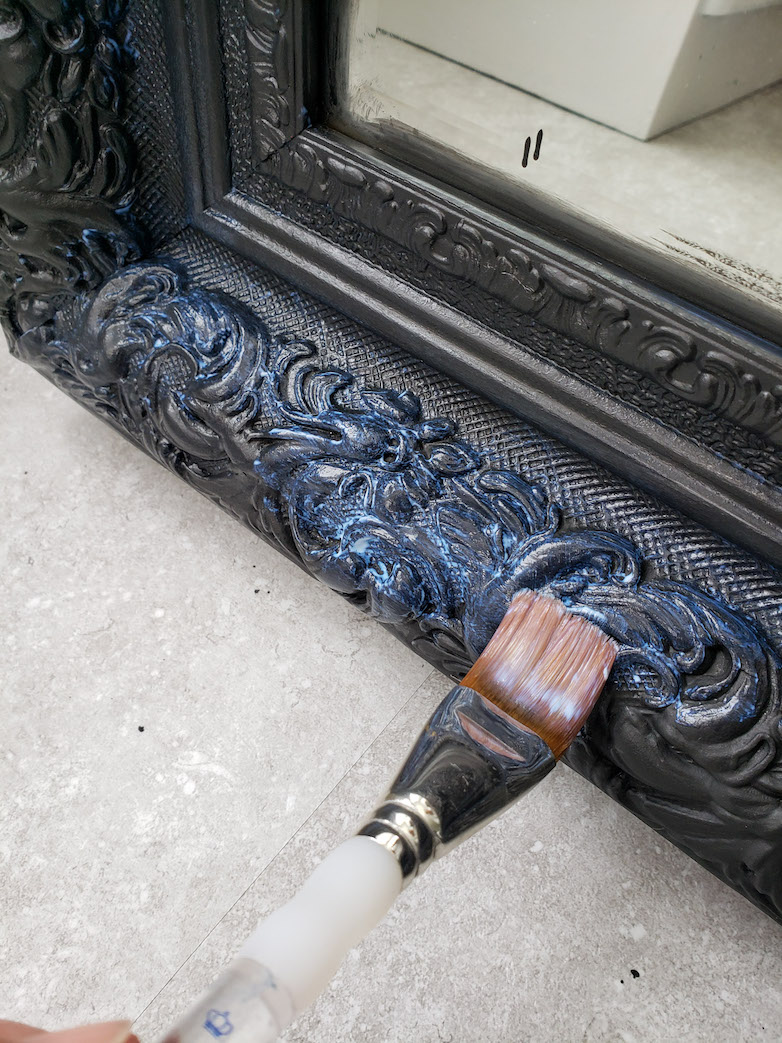
The Clear Coat followed after two coats of chalk paint that I left to dry overnight.
The sealer looked blue as I painted it on, and I was slightly worried until I saw that it was completely clear once dry.
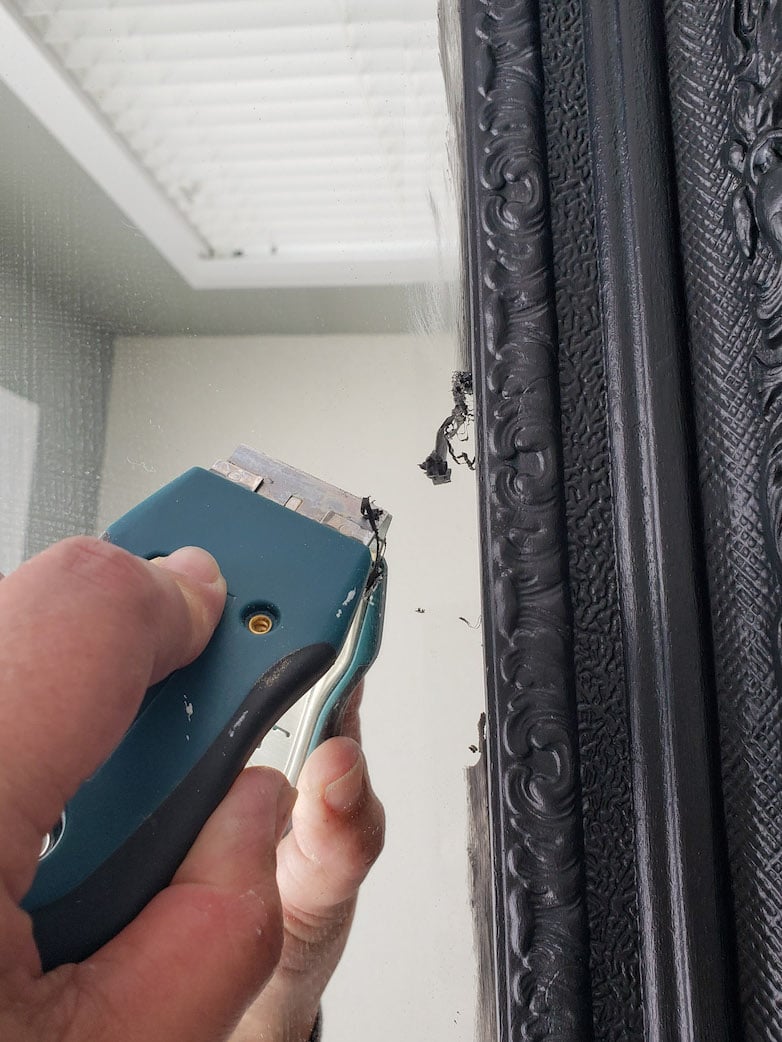
You might have noticed that I did not use painter’s tape to protect the mirror. Mirrors and glass are easier to clean by scraping the paint off with a blade than taping all the edges. It takes no effort at all.

Once the sealer was dry, I applied the gilding wax to all the raised details. The gilding wax is my favorite part! The smell is not the greatest, but it looks gorgeous.
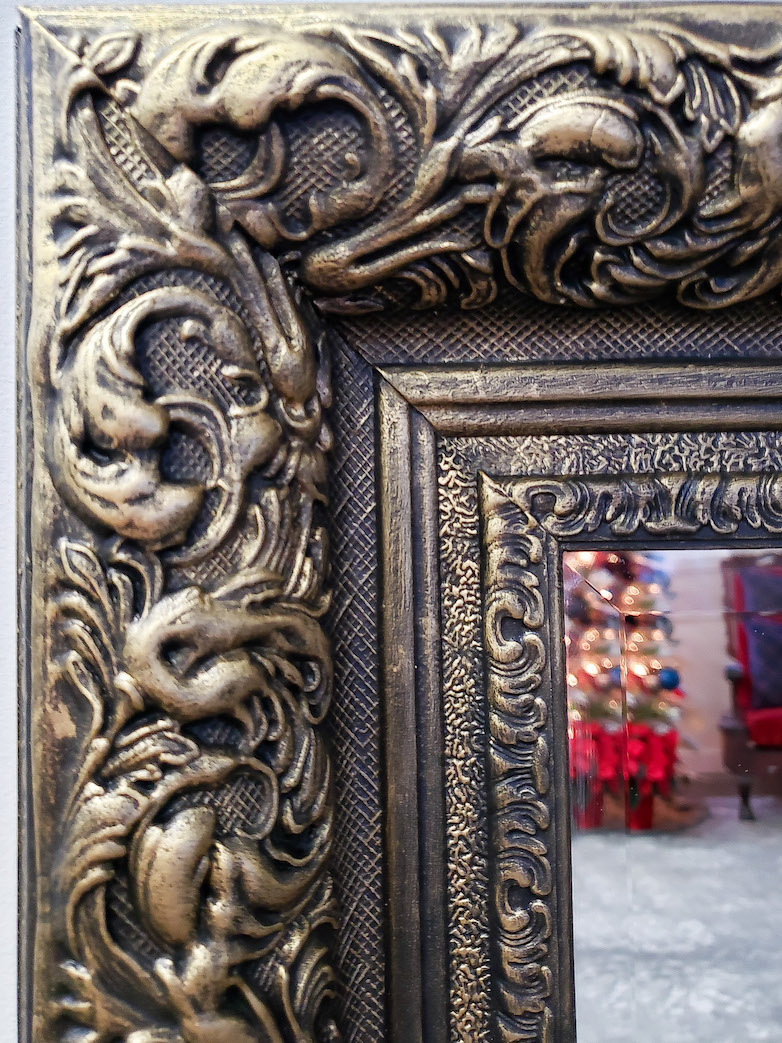
I kept applying gilded wax until I was satisfied with the look. I could not be happier!

My original plan was to leave more of the frame black, but it was so satisfying to brush the gilding wax on and see the transformation, that I kept adding more.

The frame is thick and bulky, so I left the middle section (front to back) black to create a bit of depth and dimension.

In all honesty, taking photos of the mirror was the most challenging part of this project!
I love my “new and improved” painted mirror frame. Now, to finish the other three oversized frames that go with it…
Pin This For Later!

Amazing! Any demonstrations on paintung a mirror champagne gold?
Congrats, Marieza, you are being featured at the next Friday with Friends link party! Thank you for sharing 🙂
Rachelle
This is awesome. Thank you so much for sharing on Fabulous Friday Link Party. We sure appreciate you. Hugs and blessings to you.
Hi Marieza –
Thanks for sharing your post with Fabulous Friday. The mirror makeover looks amazing. I’m going to have to try the gilding paint. It adds so much interest to the piece. I love when you say that you loved it, until you didn’t. That’s the story of my whole life. 😂
I know, right?! We decorators and renovators all seem to have that problem!
Your mirror came out beautifully! I love the gold gilding wax! Thank you so much for sharing at Tuesday Turn About!
OH my heart! That is stunningly gorgeous Marieza – Wow! This is my first time to your blog, but I’ll be coming back for sure! Thanks for the serious inspiration. I’m going to go find me a beautiful frame to paint!
Thank you, Barbara! That makes me so happy to hear!
It’s STUNNING! Where did you find that mirror in the first place?! Beautiful job!
Thank you, Rachel! In 2008 (or around that time), I bought the mirror from a framing shop that had an odds and ends sale. I’m guessing they made it for a customer and something didn’t turn out the way it was supposed to.
You had me at “until I didn’t” It’s the plight of DIYers! I love what you did with the mirror – and you used the perfect amount of the gilding wax!
Haha! You are so right, Cindy! I’m so glad you like what I did. Thank you for stopping by!
It turned out so elegant! Love to see the Christmas decor and kitty in the reflection.
Thank you so much, Marie! Always a kitty somewhere, ready to be snapped!
I really liked it silver and now I love it black and gold! The gilding wax application is so satisfying to watch! Haha yes, taking photos of mirrors is difficult isn’t it! Great project Marieza!
Yeah, you know all about taking photos of a mirror! I’m glad you liked the short gilding video!
What a great transformation, I love the vintage look of the gold.
I am so glad you like it! I am all in on traditional and vintage decor lately.