A Quick and Easy Vintage Trunk Makeover
This quick and easy vintage trunk makeover has been overdue for many years. Now it’s finally cleaned up, pretty, and useful as blanket storage.
Would you believe me if I told you I bought this vintage trunk more than ten years ago without ever giving it a proper makeover? Apparently, I am capable of leaving some things just the way they are!
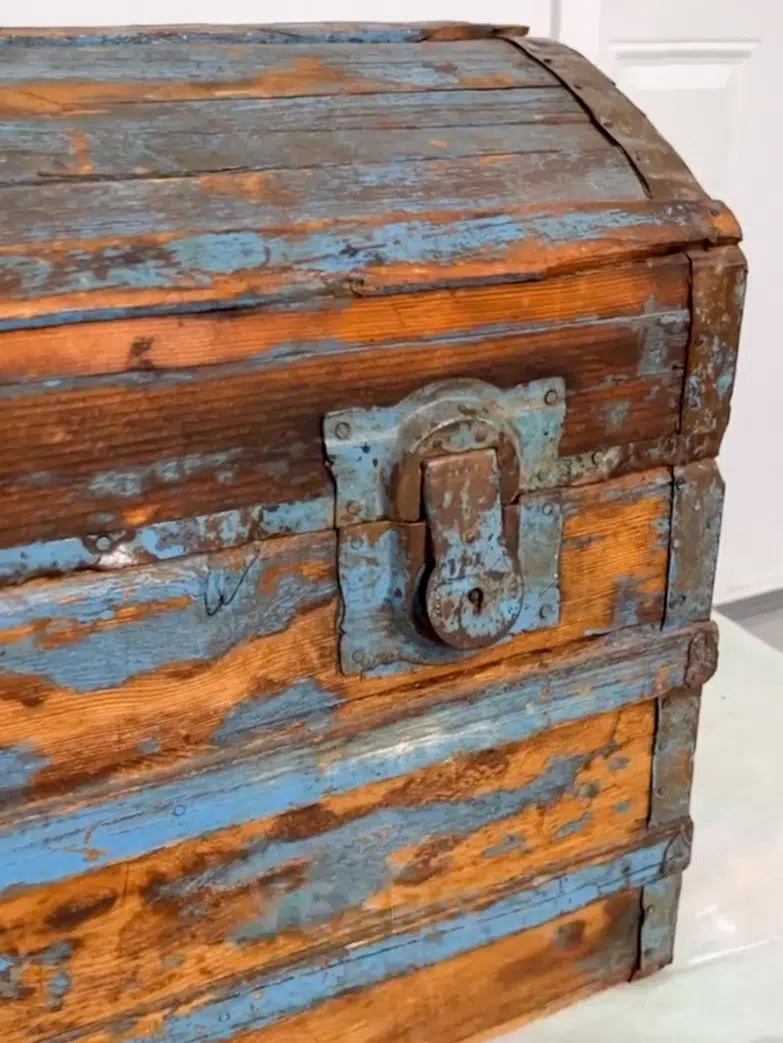
Okay, maybe that is not entirely true; I scraped off a few loose flakes of blue paint to prevent them from making a mess. But that’s it – until now. I finally decided it was time to give the trunk a new look.
Prepping Before the Vintage Trunk Makeover
I began with a paint stripper, which was a complete waste of time. This blue paint was as stubborn as can be! There were also very few smooth areas to scrape the paint off. The wood was in rough shape, and the metal was bent and buckled all over.
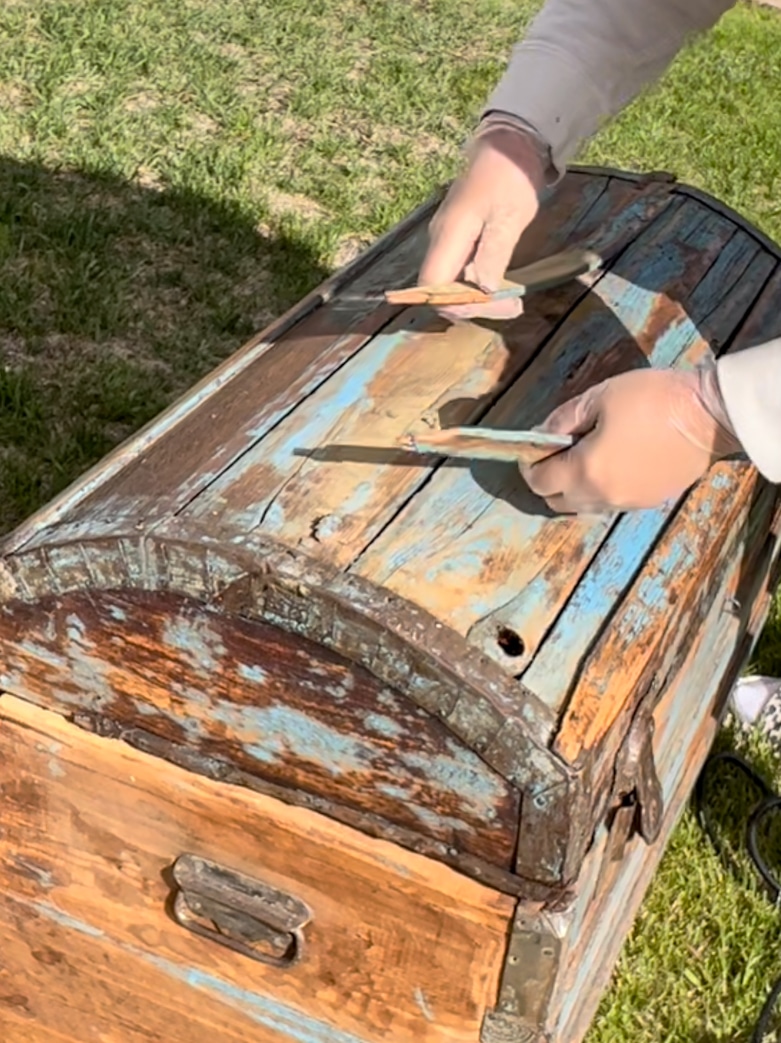
The decorative slats were broken and loose, so I decided to remove them and make the refinishing process a lot easier.

My orbital sander is my best friend! Because of all the nooks and crannies, I thought the mouse sander would be the best tool for the job, but I soon realized that it was not strong enough to get rid of the blue paint without sanding for days on end. I did not have the patience for that!
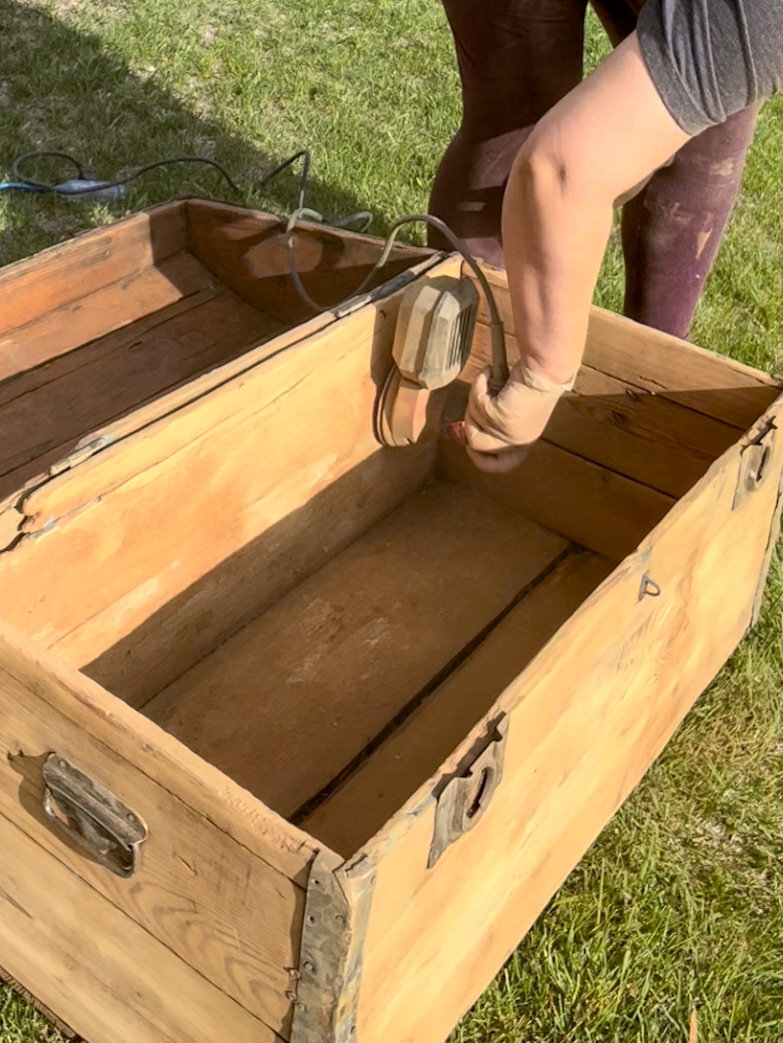
The inside of the trunk was covered in some sort of decorative paper at one point in time. Only a few tiny pieces were still visible. It was so old and brittle that it turned to dust as I wiped over it. I decided to sand it all away and clean the inside well.
Because of all the uneven surfaces, I decided that a few remaining bits of blue paint wouldn’t be the end of the world.
I quite liked the look of the raw wood and metal. I did consider leaving it this way, but I was also curious to try out one of Dixie Belle’s new wood stain colors: Golden Ash.
Staining the Wood of the Trunk
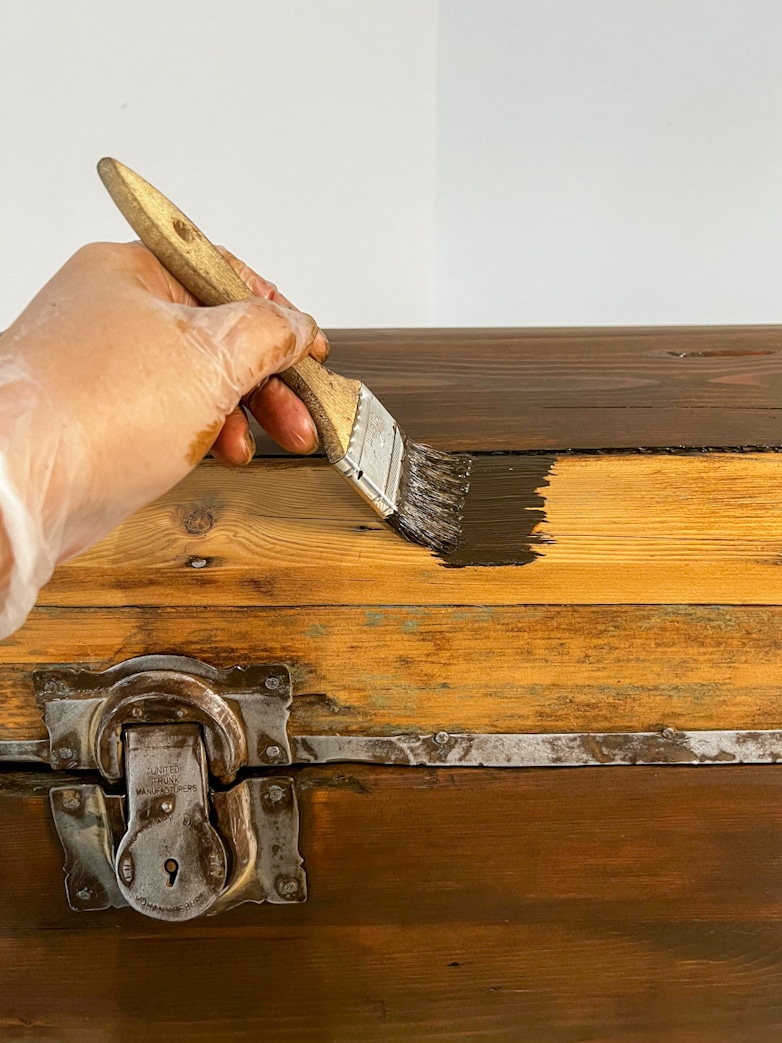
Dixie Belle No Pain Gel Stain is an absolute joy to work with. No pain, indeed, is the best name to describe this product. I am also a fan of this new color, Golden Ash. It’s a rich dark brown, and I think I will use it again (soon) when I refinish my dining room chairs.
Usually, I would use a foam brush or sponge to apply stain, but for this rough surface, a paintbrush worked best.
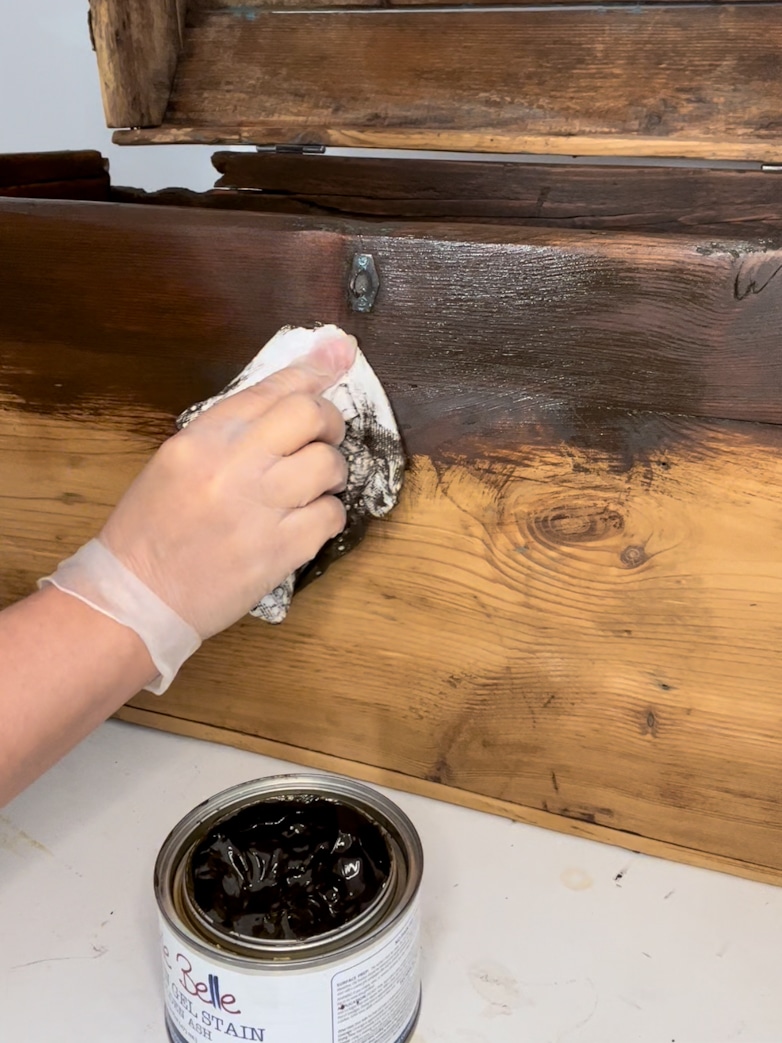
After applying the stain, you need to wipe away the excess. In this case, there was not that much to wipe away. This guy was thirsty!
Applying Gilding Wax
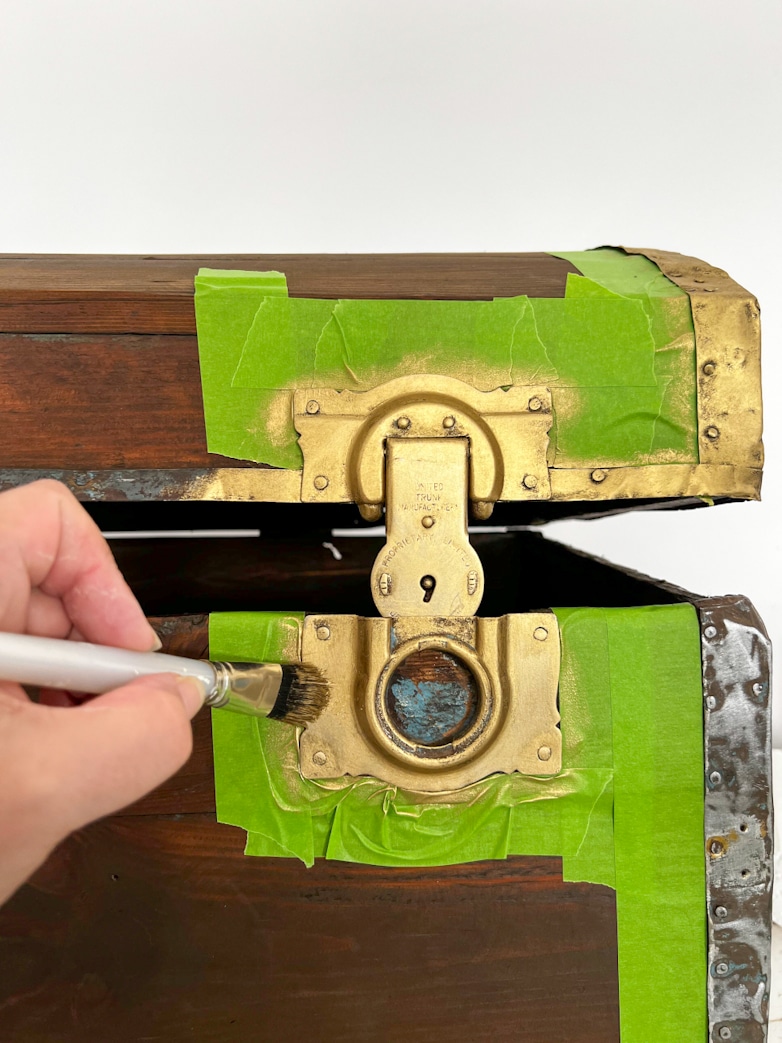
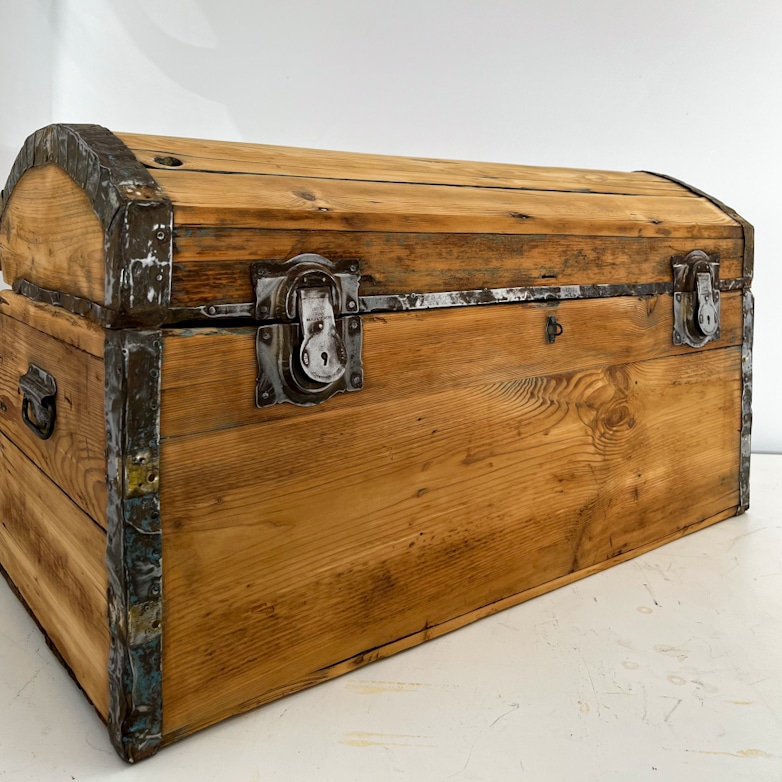
If you know me, you also know that I always sneak in a bit of gilding wax somewhere. I could not resist brushing it on all the metal edges and hardware.
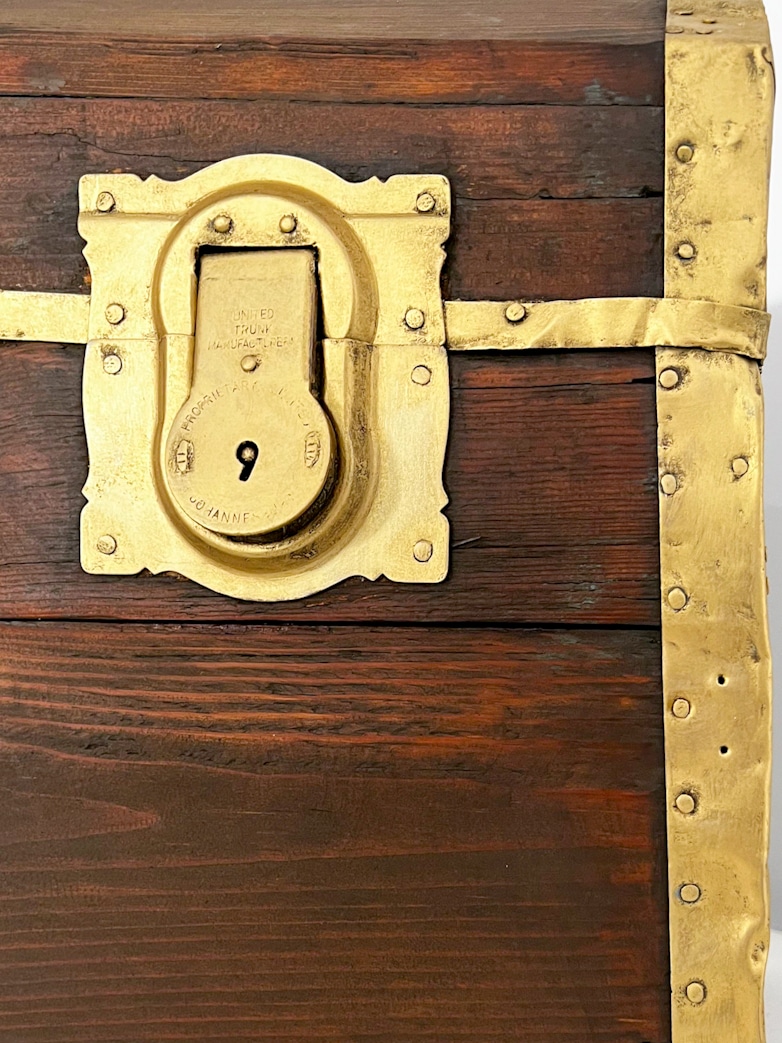
It’s a bit flashy, I know. My kids say it looks like a treasure chest.

I do like the new look. It still looks vintage but a little more classy.
I am going to move it down to the basement and use it as storage for all the throw blankets we use while watching TV.

Miss Blossom approves! She is here for it.
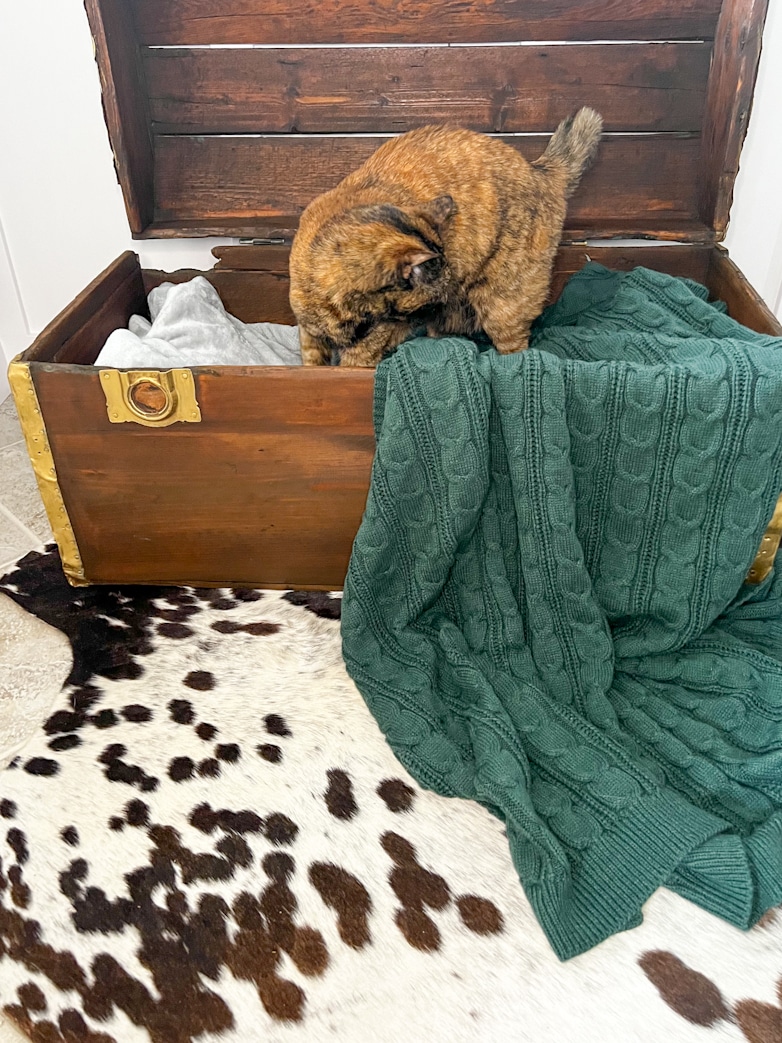
She also tried out the inside because it is a box after all, and what cat can resist a box? This one is even better filled with soft and snuggly blankets!

Bonus video
You may also like these posts
A new look for two end tables with chalk paint
More trunk makeover ideas
Trunk makeover by Chalking Up Success
I love the trunk make over, I am a HUGE fan of the brass look. I think it is classic and never goes out of style no matter what others say! I also like that Miss Blossom approves. Our animals are such a big part of our lives, and I love it when they sneak in photos.
Thank you< Cara! I couldn't agree more on both the brass and pets.
I love the trunk make over, I am a HUGE fan of the brass look. I think it is classic and never goes out of style no matter what others say! I also like that Miss Blossom approves. Our animals are such a big part of our lives, and I love it when they sneak in photos.
This is the coolest find ever! I love that you trimmed the edges in gold! What a treasure! (Pun intended!)
Aw, thank you, Danielle! I am so glad you like it.
First, let me say that it was a beautiful trunk before the makeover but what you did took it to outstanding. I should be so lucky to find a wonderful old trunk like this one! It’s just so beautiful. You did an amazing job.
I am so glad you like it, Carol!
Such an amazing transformation! I love the stain color and how you applied gilding wax. It looks gorgeous!
Thank you so much, Lynne!
Wow! You gave that old trunk a whole new life! Love the color of the stain! I’ve never used gilding wax before, that stuff looks amazing! Thanks, Donna
Aw, thank you, Donna! Gilding wax is amazing! You only need to try it once to be hooked!
Another huge victory! I’m going to have to try out their Gel Stain. And that color looks great — no orangey. undertone! Thanks for sharing!
Thank you so much for stopping by, Diane!
You did an amazing job on this trunk, Marieza! Beautiful! Pinned!
Thank you, Kim! Thanks for stopping by!
I like this Golden Ashe color you used from Dixie Belle. I have a soft spot for most shades of brown when choosing furniture. The vintage trunk is perfect for storing blankets and throws in the family room. I also inherited a trunk that was handmade by my late great-grandfather. Over the years it has been in daily use and is presently in my granddaughter’s bedroom as storage for her toys and double as a seat by her window.
Each generation gave it a new coat of paint to suit their decor. At the moment it is white.
Thank you so much for sharing! I love to hear stories like this!
Wow this came at the perfect time. I have an old desk that was given to me by a former friend. My dad disassembled it and had started to strip it. Unfortunately, he passed away before he could finish it. It has been gathering dust and dirt in the garage ever since. I finally decided I am going to finish it. This post has given me the direction and motivation I need. Thank you. By the way, it goes without saying, I think you did a fantastic job on this chest. It turned out beautifully.
Oh Suzie, this means so much to me, thank you! Thanks you for sharing your story and good luck with your projects!
That was one of the most satisfying videos I’ve seen in a long time.
I’m so glad to hear that!