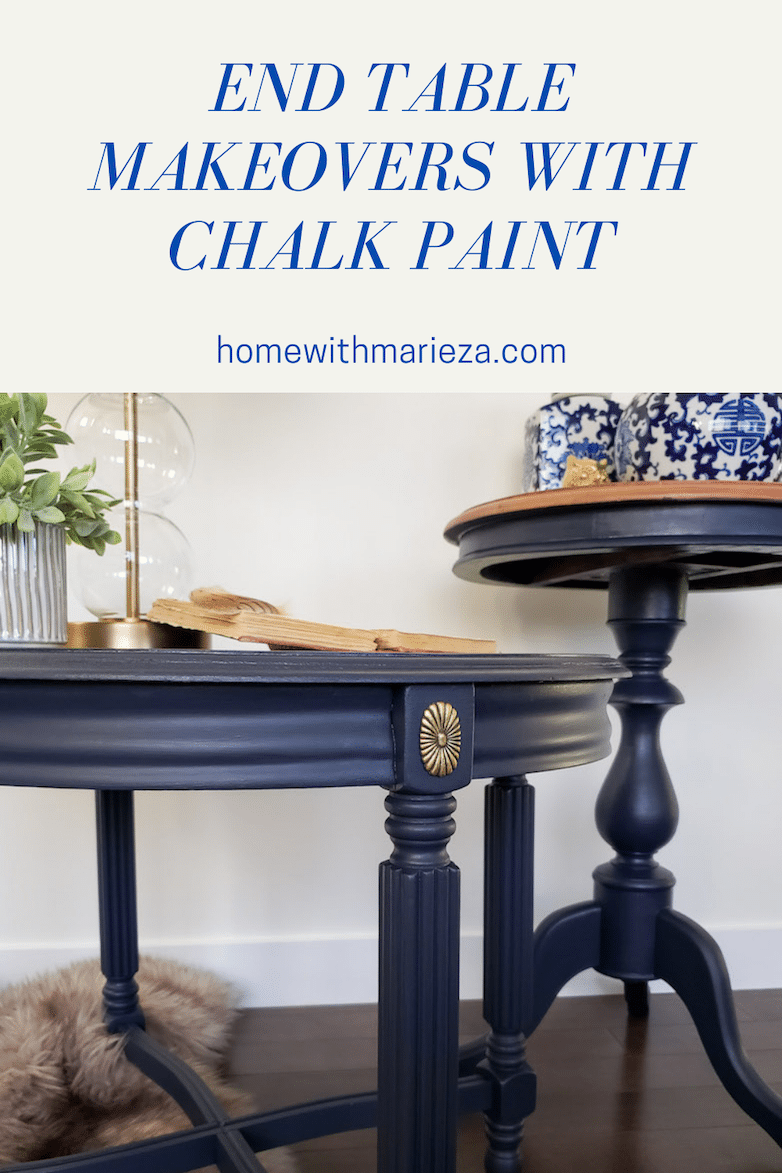
Two Creative End Table Makeover Ideas
Two end table makeover ideas using the same paint but creating two very different end products. Let me show you how!
End Table Number One
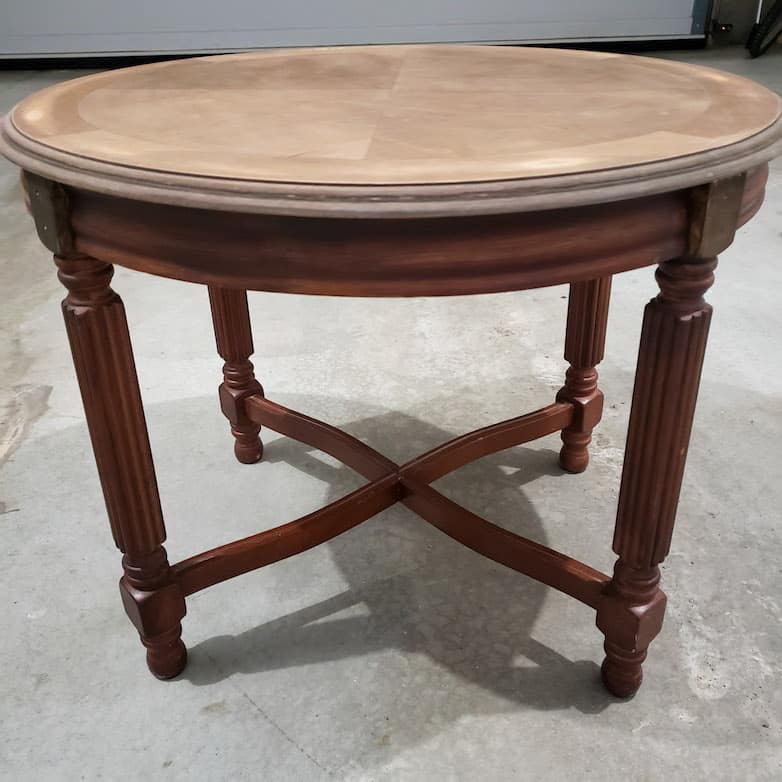
I bought this end table a couple of months ago on Facebook Marketplace for a few dollars. The design fits in perfectly with my new traditional decorating style. I especially like the brass medallions/flowers at the top of each leg.
As usual, I forgot to take a before photo! I removed the brass detail before sanding, as seen in this photo.
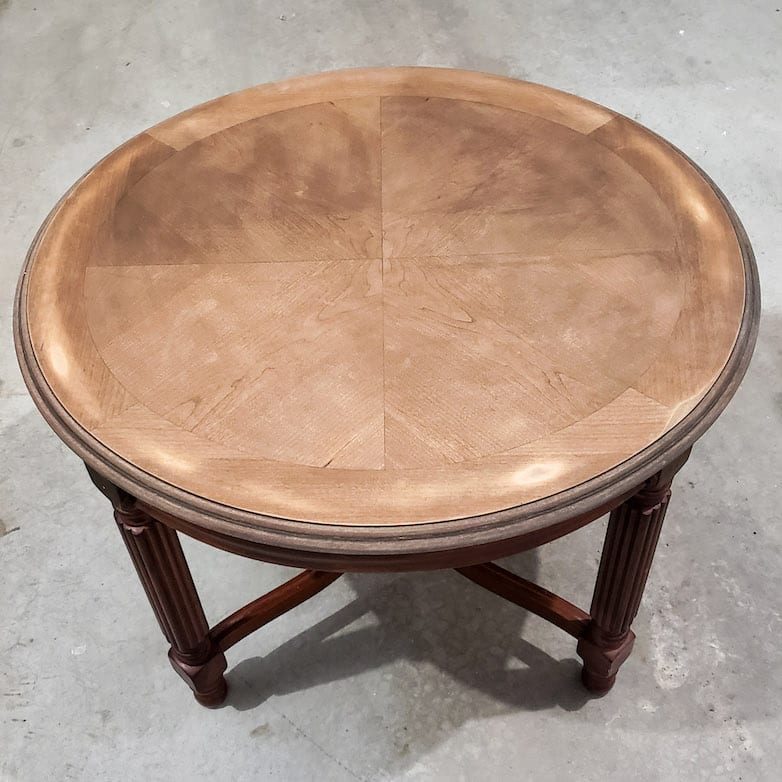
My original plan was to refinish the top and only paint the bottom. However, the veneer on the top is so paper-thin that I almost immediately sanded right through it.
Step 1 of the End Table Makeover: Chalk Paint
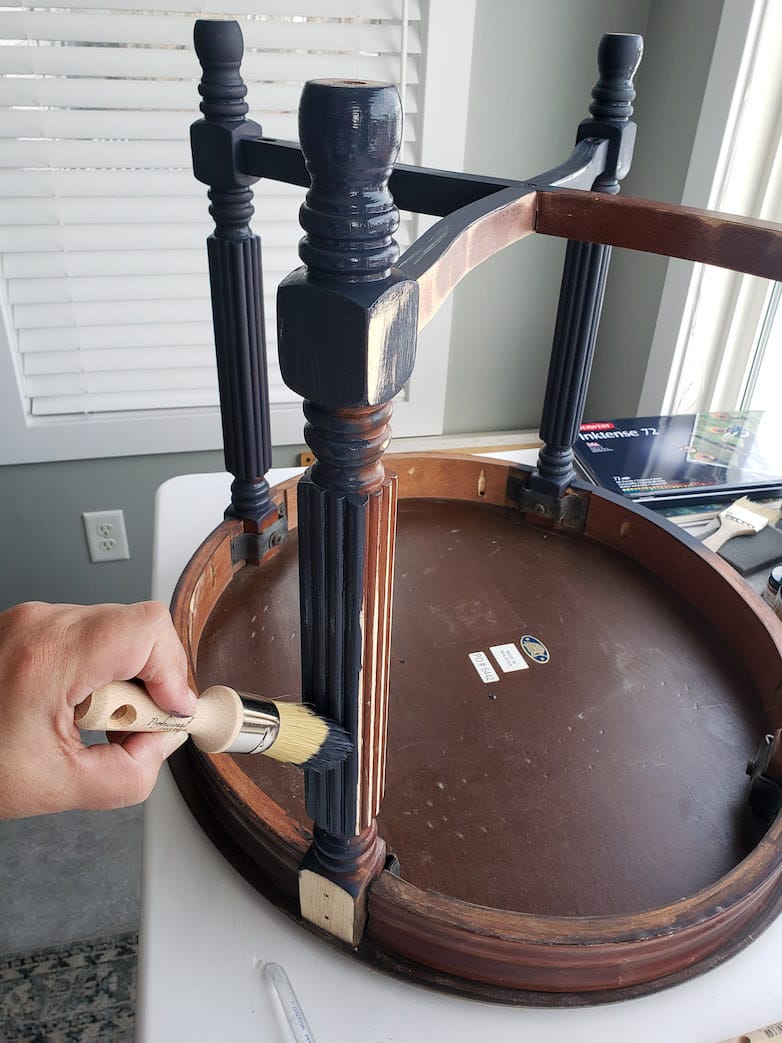
So many legs with so much detail! I turned the table upside down to ensure I didn’t miss a few spots.
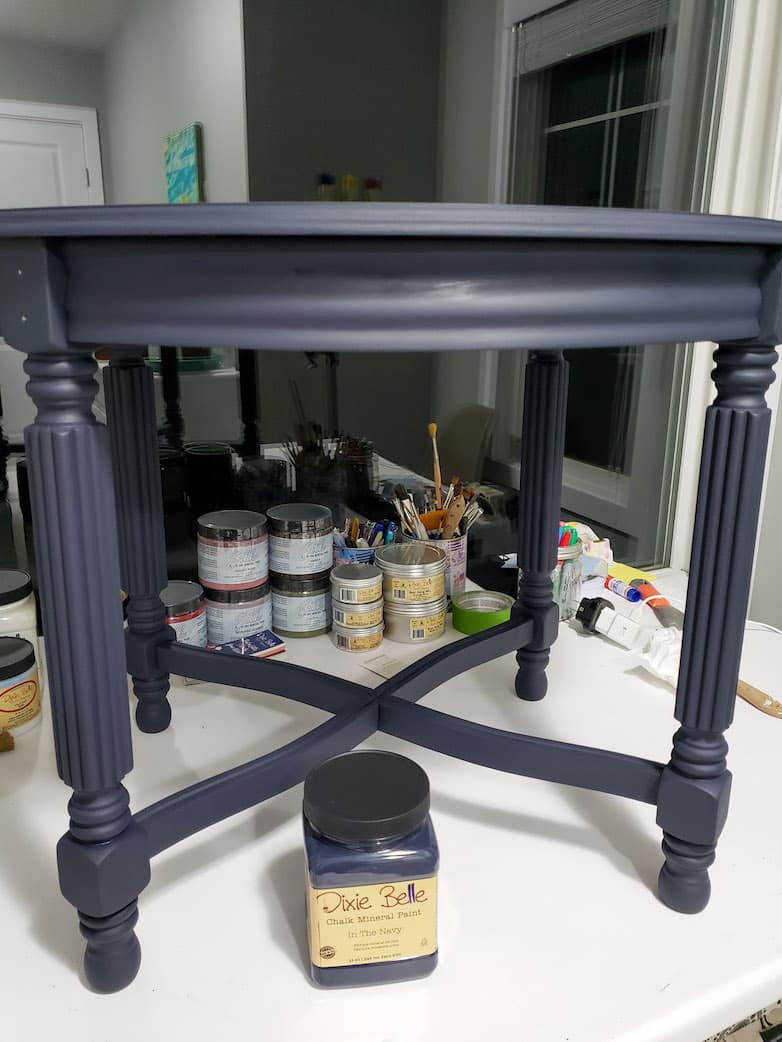
This end table is painted with Dixie Belle chalk paint “In the Navy.” It is slightly darker than I expected.
At first, the color looked really dull, but once I covered it with the sealer and wax, it instantly came to life.
How to Apply a Flawless Top Coat

I always get nervous when it’s time to paint a top coat sealer over paint, especially when it’s dark paint! But let me tell you a secret: I discovered that when I spray the chalk paint with a bit of water in my continuous mister, the sealer glides on like butter on hot toast! Which, of course, smooths everything out and leaves no streaks.
Gilding Wax to Give the Brass Detail an Extra Bit of Life
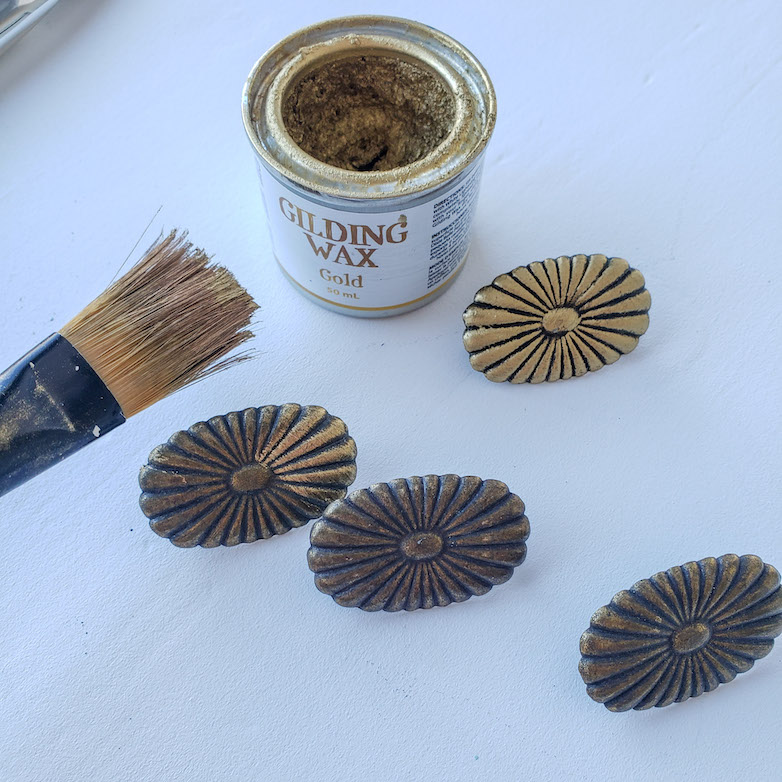
I could not resist! I love gilding wax, and if I find any opportunity to add a bit, I’m all in!
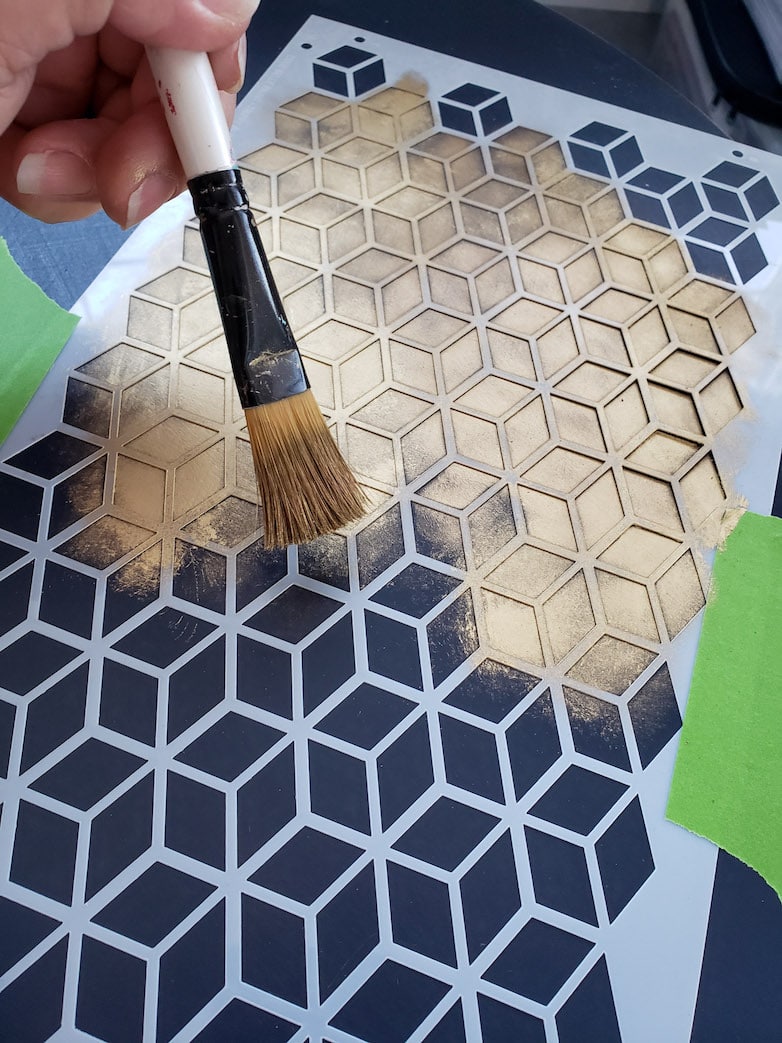
Trying Something New with this End Table Makeover: Stenciling
Tabletops painted one solid color tend to be bland and boring. I decided to add a bit of detail with a stencil.

This stencil is called “Trippy Blocks.” I couldn’t wait to use it, but I should mention that I have very little experience using stencils, and that is way out of my comfort zone!
If you’ve been reading my posts for a while, you would know that I’m willing to tackle any project at least once, and if it turns out to be a disaster, I pivot!
The color I used for the stenciling? You guessed it! Still gilding away!
I was not sure what I wanted for the end product, so I decided to try something creative.
(Sometimes these ideas work, sometimes they don’t.) I’m still not sure if this is a win, but it sure isn’t ordinary!
I created an uneven pattern with jagged edges, fading towards one side. Almost the effect an imprint would have.


I would love to hear what you think about this “experiment.”
Do we love it? (I say we because I’m yet to make up my mind).
Products I Used for Both End Tables
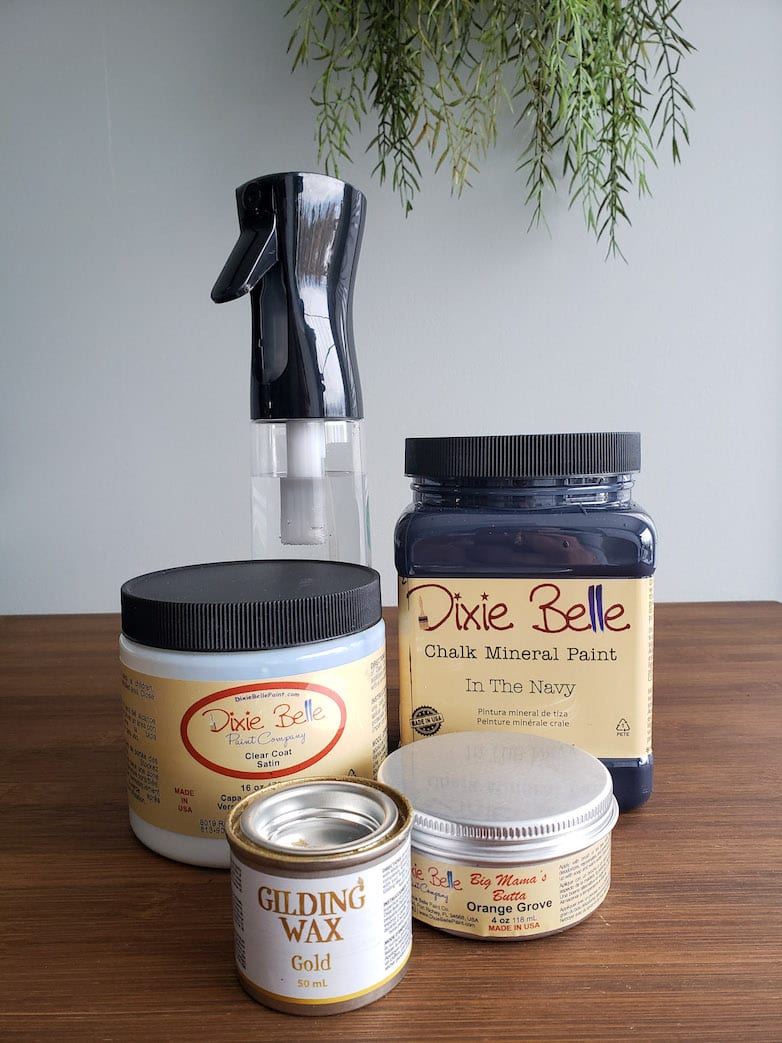
- Chalk paint – color: In the Navy
- Clear coat – satin finish
- Gilding wax – gold
- Big Mama’s Butta (wax) – clear with a fresh and natural orange scent (it smells amazing!)
- Continuous misting spray bottle
- Stencil – Trippy Blocks
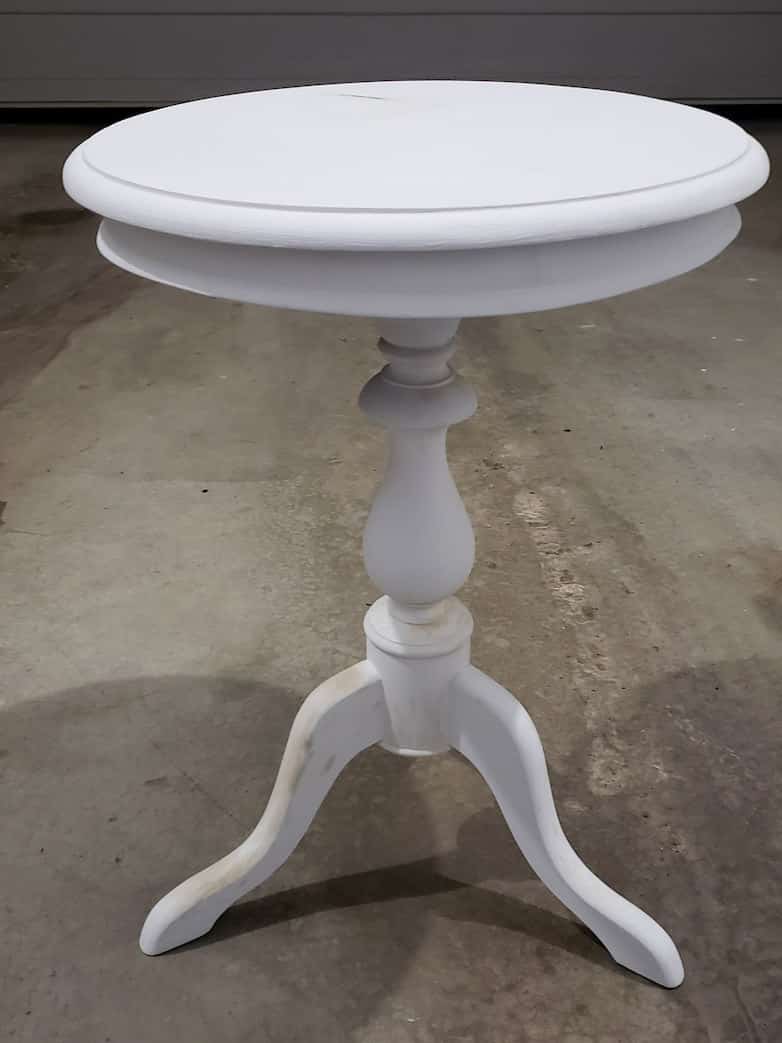
End Table Number Two
This little white end table used to belong to my mother-in-law. It was originally finished with a very dark reddish-brown stain. About two years ago, I painted it white.
You can not see in the photo above how badly the stain started to bleed through the white paint. I made the mistake of not using any primer.
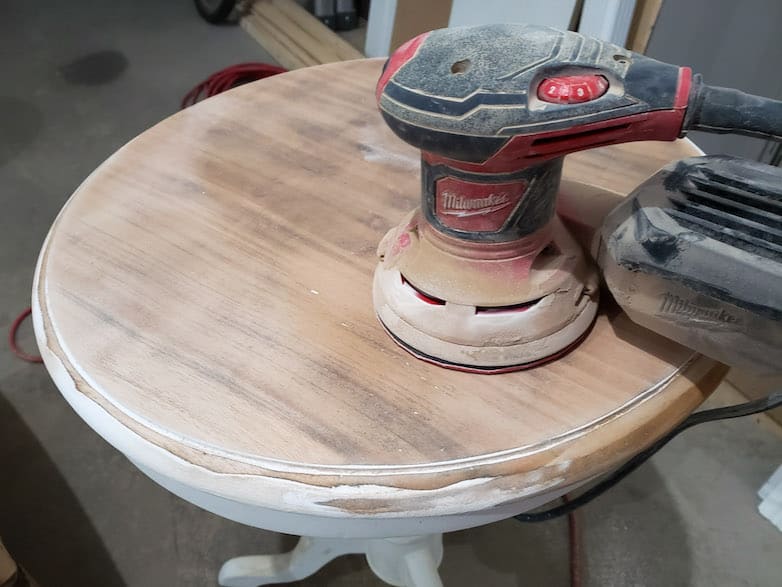
Unlike the first end table, this one is solid wood, and I could sand and seal its top to show the natural wood color.
I always assumed it was dark wood, but big was my surprise when I sanded off the chalk paint and the stain and found a much lighter-than-expected wood color.
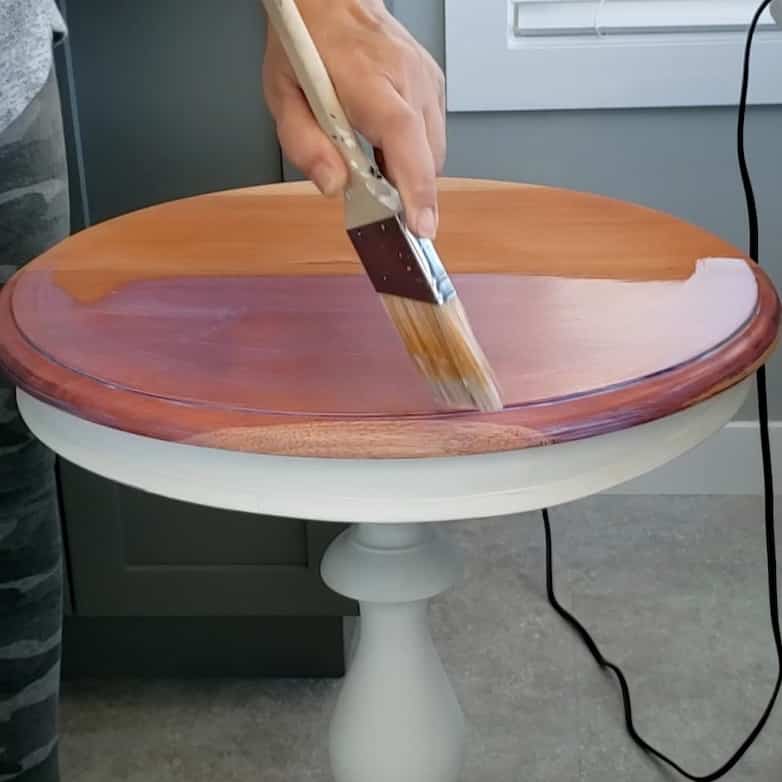
The top is sealed with three coats of the Dixie Belle satin clear coat, which I sanded lightly between every coat.

I painted the bottom of this table with the same navy chalk paint I used for the other end table.
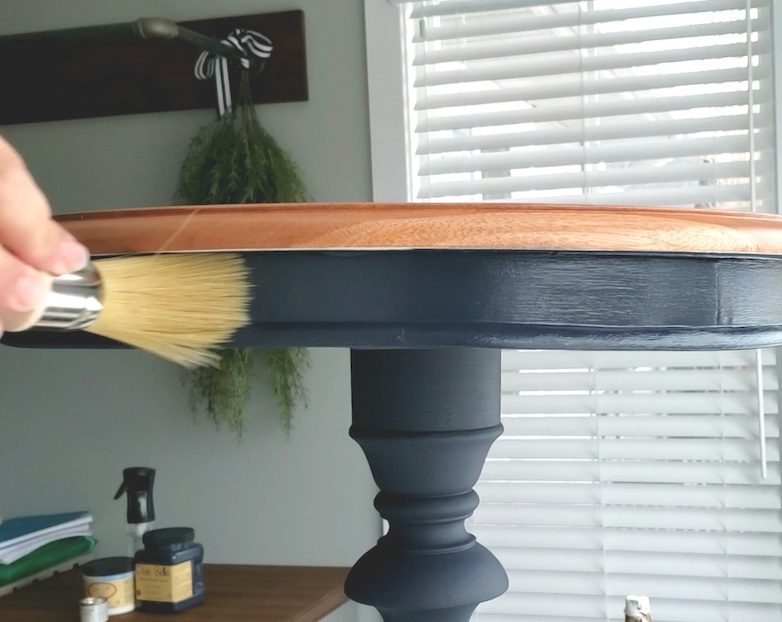
To seal the paint finish on this table, I used wax instead of the clear coat sealer. Just between you and me, I was just looking for an excuse to the Big Mama’s Butta with its orangey scent. It smells SO good!

I am still surprised at how this top turned out. It feels and looks so smooth you would not guess that it is hand-painted. This end table makeover is a success, in my opinion.
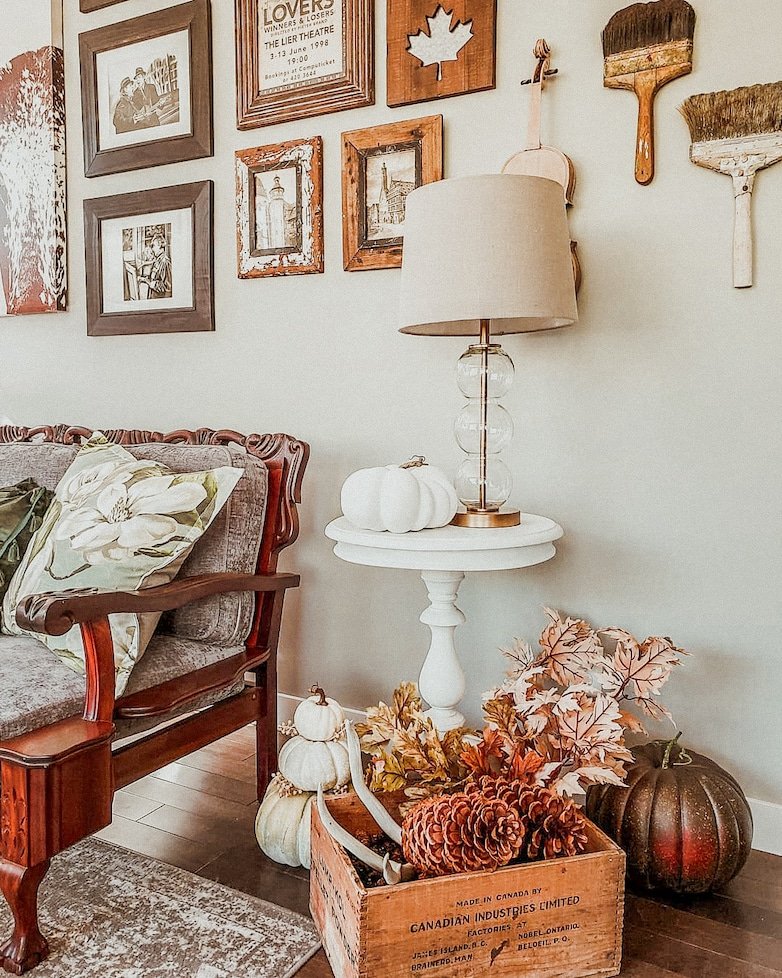
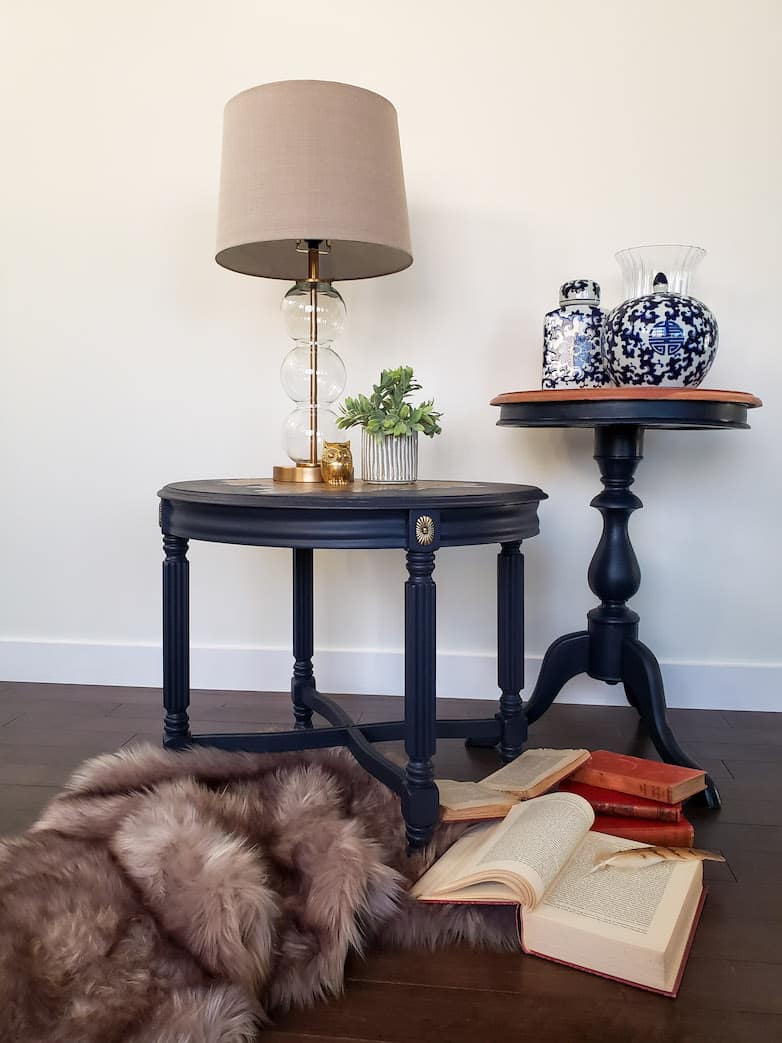
The New Look of the Two End Tables

Do you love the new look of these two end tables as much as I do? I am in love!
Just look at that gorgeous shine! All my worries about the navy looking dull are gone.
I refinished these two end tables for our living area. I also have a thrifted coffee table that I want to use the navy on, but that is a project for another day.
The coffee table we have used in the living area up till now will also get a new look and move down to the basement family room. I guess I could follow this “two end table makeover ideas” up with “two coffee table makeover ideas.” What do you think?

Want to try this? Pin it for later!
You must be very pleased as they both look great
Love both of them…. cant decide which is my favorite, they both turned out great…!
I really am a fan of both end tables. They both came out awesome.
I’m so glad you like them, Jean!
Absolutely beautiful, I love a good make-over and these are wonderful.x
Thank you, Janette! I really appreciate it!
Looks great. I’m confused when to mist?
Hi Laura! I used the mist on the paint before applying the sealer.
I love the deep navy color. Especially the two-toned table. It turned out beautifully!
Thank you so much, Jen!
Wow! What a transformation! Thanks for the tip re: the continuous mister for the top coat. I always get nervous when putting a top coat on a dark color too. Both projects are so inspiring. Thank you for sharing.
Thank you, Anna! I’m glad you enjoyed the post.
Congratulations on being featured on Tuesday Turn About this week Marieza!!
Thank you so much, Cindy!
Marieza, what beautiful tables. I love the top stencil on the first one! So glad you shared at Tuesday Turn About! I’m delighted to be featuring your post at this week’s party! Pinned, and hope to see you each week!
Thank you so much, Julie! This is such a wonderful surprise! I appreciate it so much!
I absolutely love these tables, especially the one with the gold stencil on the top! And the taller one with the wood top, Gorgeous! That navy color is perfect on both of them. Very nice job!! You aced them!!
Thank you so much, Karolyn!
I love the color of these tables and the stencil you used! I appreciate you sharing for Tuesday Turn About!
Both are beautiful! I’m going to have to try some of that chalk paint one of these days! Thanks for the inspiration and encouragement! 🙂
That is so sweet of you! Thank you for stopping by, Barbara!
Both tables look so good after their makeovers.
Thank you so much, Paula!
Love these! I have navy paint for nightstands and you have confirmed now it was a great choice…Beautiful.
Let’s go, Leslie! I can’t wait to see them when you are done!
What pretty makeovers! It’s hard to choose which one I like more so when I saw you styled them together I thought PERFECT!!!
Aw, thanks Libbie! That’s very kind of you!
They look amazing!
Extemely well done Marieza! The Dixie Bell products seem to be very high quality. Even before you but the finish coat on the paint seemed even without brush stokes. Like your tip about using the mister for the final coat. Personally, I like the top and how you let it fade out. Great job!
I can not tell you enough how much I like Dixie Belle”s products. It’s an absolute pleasure to paint with. They also started to ship to Canada recently!
Great job on both of these tables! Pinned!
Thank you so much, Cindy!
Both of these tables turned out beautifully. I just love the navy and gold together. The pattern on top is really fun!
I am so glad to hear that! Thank you, Stacey!
Wow! A beautiful results. Also, I appreciated the tutorial!
Thanks, Linda! I’m glad you found it useful.
Those are lovely. I love that color Navy. I tried several colors for dining room chairs and was never happy – finally sold and went with upholstery and love them.
Thanks, Rosemary! I think navy might be my new favorite color. I just bought navy drapes as well!
Both these tables look amazing. It looks more like black to me but it may just be my screen. Still look great. I’m about to embark on some painting projects myself so always keen to see what others are doing.
Thanks, Carol! It is a very dark navy and I think it’s more the photo than your screen that makes them look black.
Oh my goodness!!! Those turned out stunningly. Soooo pretty.
Thank you so much, Rachel!
Absolutely perfect! Wouldn’t change a thing.
Thank you, Barb! I’m so glad you like it!
Marieza – these came out beautifully. Great job! Very rich looking.
Thank you so much, Regina!
Seriously??? Omgoodness, I am crazy over both of these tables Marieza! The stenciled look is so beautiful and I love how you didn’t cover the entire surface. So artistic! And the second table – wood with navy always look so good together! Pinned because this is a great tutorial 😊
Aw, thank you Cindy! Hearing this from you makes me very happy!
I absolutely love the navy and gold. The natural wood and navy is my favourite. I love the style of both tables. Very neatly done, as always.
Thank you! The wood and navy one is my favorite too!