How To Prep Cabinets For Painting To Get Lasting Results
Painting cabinets is a mammoth task and you want it to last. That’s why you need to know how to prep cabinets for painting to get lasting results.
I have been talking about painting our kitchen cabinets for a very long time and here we are, ready to begin. When I replaced the backsplash, shortly after we moved in, I already mentioned painting the cabinets. As with most projects, the success is in the preparation and that is where we will start.
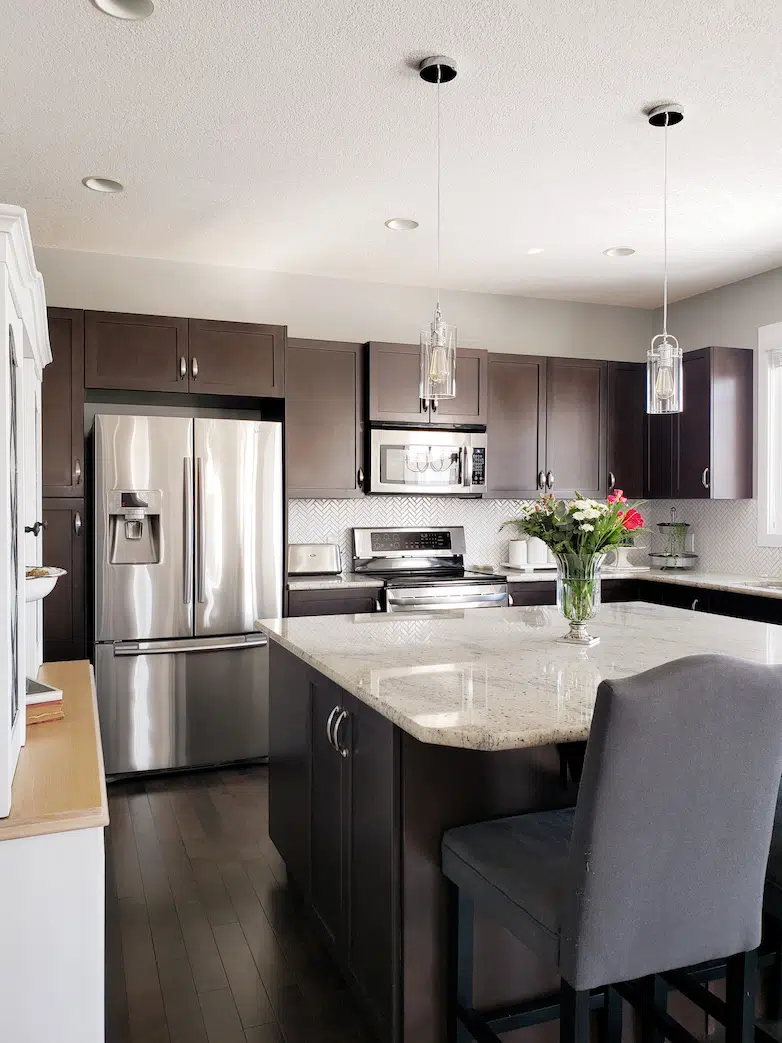
Let me begin by reminding you how the cabinets looked before the makeover. There is nothing seriously wrong with them; they are just too dark and too dull. This is going to be a budget-friendly project, which means the countertops and appliances will not be replaced.
These are all the things I want to change:
- Paint the cabinets
- Update the hardware
- Remove texture from the ceilings
- Paint the walls
- Makeover the counter stools
- Replace the old, outdated pod lights.
- Remove a small section of upper cabinets and replace it with open shelving.
There is one last task that is still undecided. I want to do something with the open space on top of the cabinets. Either close it up entirely or build display cubbies with lighting. Let me know if you have any advice that could help me make this decision!
I digress! Let’s get on with how to prep your cabinets for painting.
Remove all the hardware

Step one is to remove the hardware (handles and pulls) from the doors, even if you’re not planning on replacing them. Please do not try to paint around them!
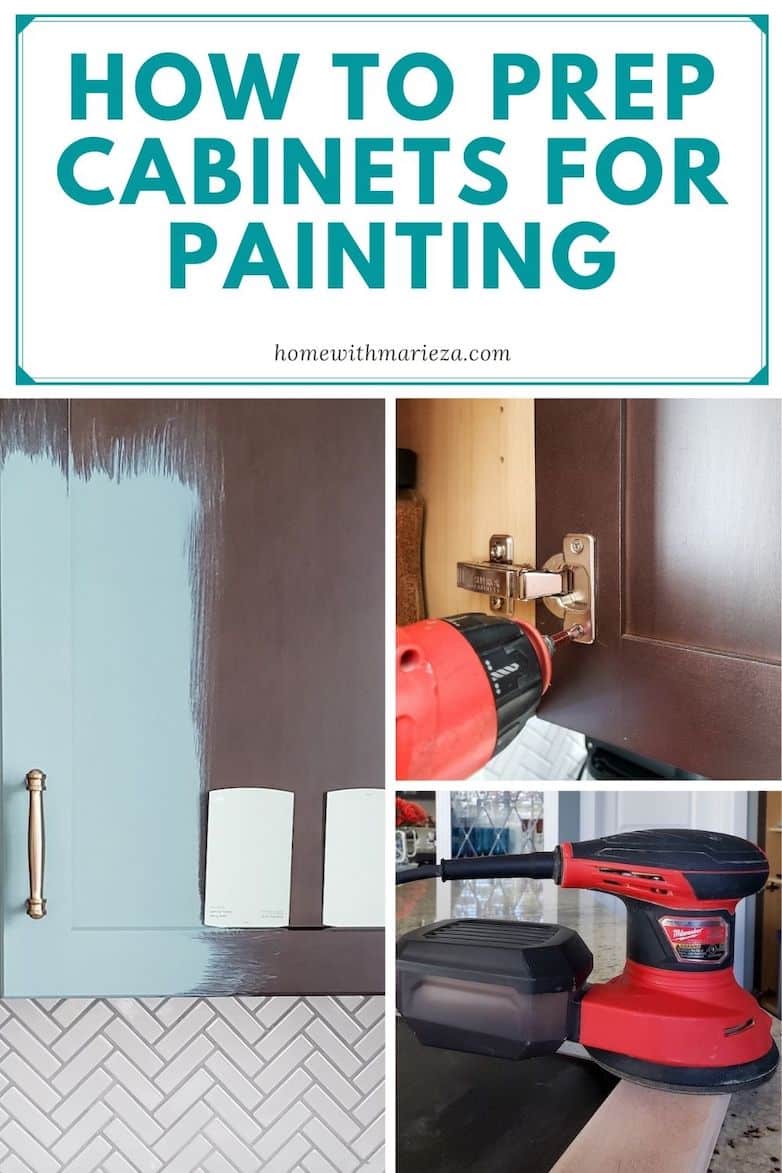
Next up is removing the doors from the cabinets. You will need to remove the hinges from the doors for easy painting.
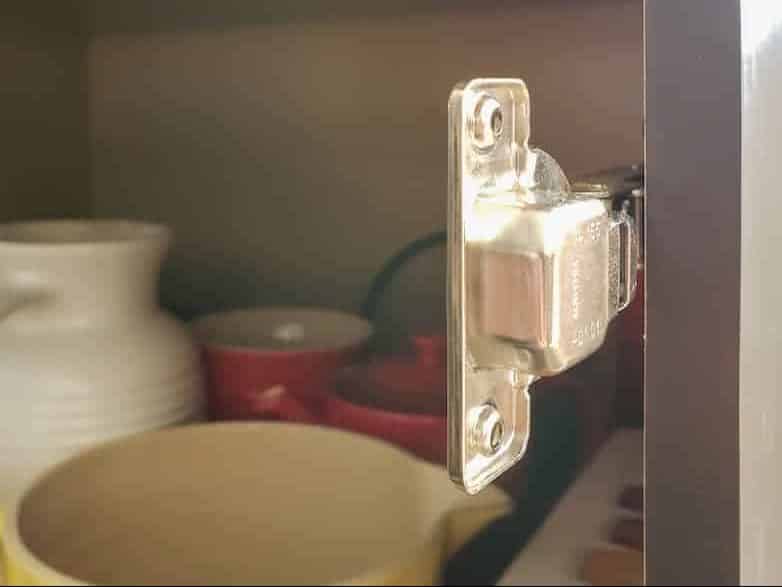
Tip: If you have this same kind of hinges that can be adjusted for a perfect fit, leave them on your cabinets! You will go crazy if you have to re-adjust them all. As shown in the image above, if you flip them open, a little bit of painter’s tape will protect them, and it won’t be difficult to paint the cabinet’s edge around them.
Remove the doors and drawer fronts


Number the doors as you remove them. The hinge holes on the doors are ideal for writing in. Write the corresponding number on the inside of the cabinet. I used a pencil as it will be easy to wipe off the melamine finish.
Frequently asked questions About prepping cabinets for painting:
Do I need to sand the cabinets before painting?
Yes! You will find many articles on the net about painting cabinets without sanding, but that is not best practice. Your paint needs to grab onto something. A good primer will help with this, but your primer also needs some grip if you want your paint job to stand the test of time.
Do I need to clean the cabinets before sanding?
Yes. Wash off any grease and grime before sanding. TSP and Krud Kutter are two products that work well. I used Krud Kutter. Be sure to wear gloves as it will also strip all the moisture from your skin!
How much do I need to sand when prepping cabinets for painting?
You do not need to sand down to bare wood as long as you scuff the previous finish well and remove all glossiness. My cabinet doors have shaker-style profiles. I decided to scuff the inside blocks really well but to sand the outer borders bare. Those are the areas that endure the most wear and tear.
What sandpaper do I use when sanding cabinets before painting?
120-grit sandpaper will work well for this purpose.
Should I paint both sides of the cabinet doors?
Yes! DIYs don’t have to look like DIYs. For a professional finish, paint both sides starting with the inside.
The best Inexpensive sander to prep cabinets for painting
I have owned many sanders over the years, of which all were sheet sanders, and I sold the last one before we moved to Canada. Shortly after we arrived, I bought an inexpensive little mouse sander, and it served me well up until now.
With the cabinet prepping and painting kicking off, it was time for a sander with more power.
I decided to try an orbital sander for the first time, and let me tell you, it’s the best sander I have ever used!

I can sing the praises of this sander all day, but I don’t want to bore you to tears.
It has a lot more power than any of the sheet sanders I have ever used, and it got the job done in no time at all.
See that little plastic container at the back? It catches most of the dust! I love that it is not the fabric bag most sanders have. So much dust blows right through the fabric! It still needs to let air through, and that is where this little container gets even better… it has a HEPA filter!
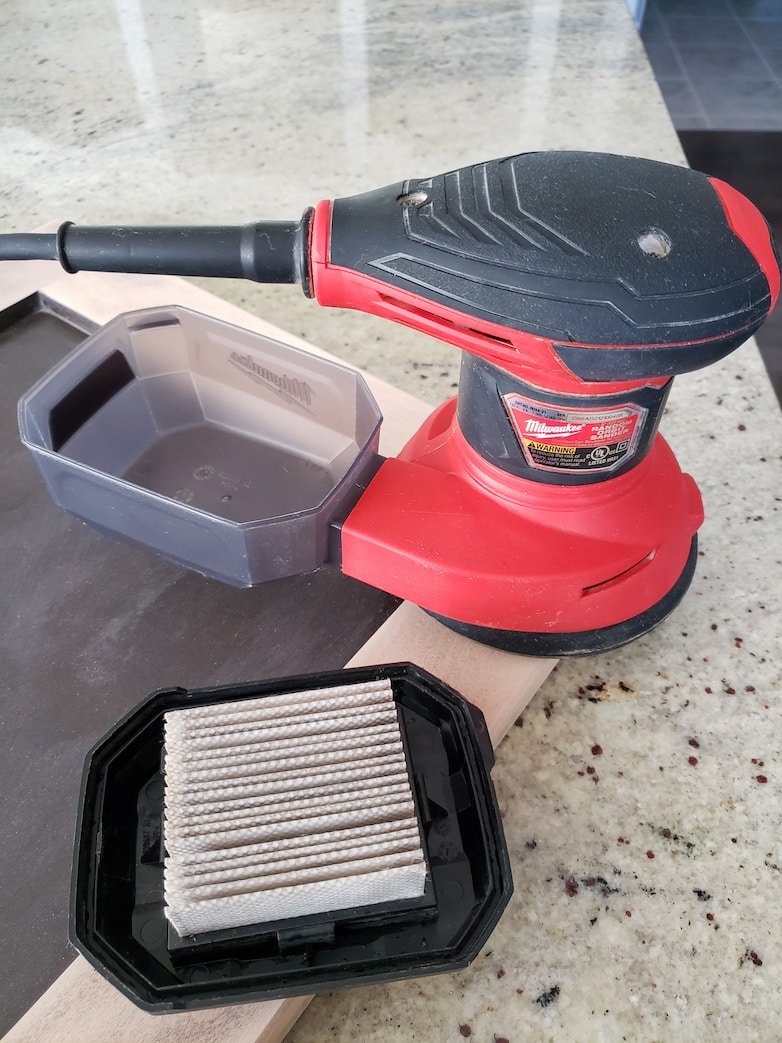
Pure genius! It drastically reduces the amount of dust flying around. Just make sure the filter is clipped on correctly and the top and bottom of the container are totally closed; otherwise, the dust will blow up directly into your face. Trust me on this!
Another big plus is how easy it is to change the sanding paper discs!
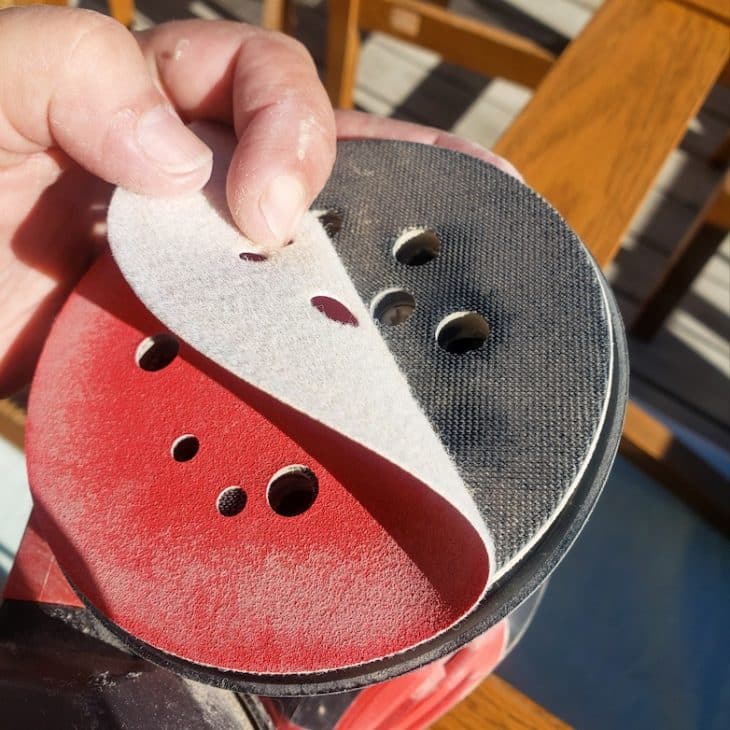

The sanding paper stays in place with velcro, and it can not be easier or more convenient to replace. To put on a new disc, simply align the holes on the sander and the paper disc, and press it down. The most challenging part is pulling off a used disc. The velcro does a great job keeping the discs in place, and you will need to pull really hard! The discs come in all grit textures.
I am so happy with my new favorite tool, and I can honestly recommend it.
I am going to link it at the bottom of this post. Feel free to use this link if you need a new sander. You will be surprised by the great price as well!
Choosing a paint color
A couple of weeks ago, I announced that I chose the hardware and paint color for the kitchen cabinets. I ordered the hardware, and I am in love with them! I am confident that it is the perfect choice—the paint color I chose, not so much.
The color swatch was stuck to a cabinet for a few weeks to get used to it. During this time I realized that it is way too minty and pastel for the look I have in mind.
In the meantime, I signed a brand collaboration with a paint company, and they sent me a color that looks perfect in the container, but it dries just a little too dark. Let me show you.
(I will take a short break during this project to create a small project with the sponsored paint).

Photos can be so deceiving, but sometimes they also give more perspective. The colors in this image are not true to how they actually look but what became quite clear is that my original choice (the middle color, right from the painted section) is not THE ONE.
Total aside, how cute is the new hardware??? I am linking them too just in case you like them as much as I do!
Back to the drawing board to choose a color

The paint I was given for a project is top right. Bottom right is the color I initially chose.
Bottom left and middle left are too similar to the original choice. From a distance, and especially in photos, they almost look white. That leaves us with top left, and I think this might be my new favorite.
I also told you that I am easily swayed by the name of a color. Beautiful names like Quietude or Recycled Glass are much more attractive than, in this case, Halcyon Green.
I mean, I struggled to even pronounce it at first! That was until I found the meaning. Below you can see three possible meanings and I love all of them. I think I love it most as an adjective and now I am more than happy to use this color! Call me crazy but it matters to me!
hal·cy·on/ˈhalsēən
adjective
- denoting a period of time in the past that was idyllically happy and peaceful.
noun
- tropical Asian and African kingfisher with brightly colored plumage.
- mythical bird said by ancient writers to breed in a nest floating at sea at the winter solstice, charming the wind and waves into calm.
Now, I need to get back to work. I will update you on more progress as soon as possible.
If you want to keep this info for later reference, you can share the post or pin the image below to your favorite Pinterest board. If you would like to hear the fact from one more source, you can read 13 Huge Mistakes to Avoid When Painting Kitchen Cabinets
Pin this for later!
Click the image to shop the product
(These are affiliate links from which I may earn a small commission at no extra cost to you)

You always amaze me with your projects! Loving the color you are going with. I remember when I had my sailboat and sanding forever! I get the chills thinking about sanding ever again. LOL!
I love the color you chose! Green is one of my top three colors and you will find it in different shades all over my home and even in my wardrobe! The name of the color is pure poetry!
As always, I am confident that you will once again amaze us with the end result Marieza.
Good tutorial. Love the name and the color!
Hats off to you for taking this on! I’m a fan of Halcyon Green. And, I’m a fan of green kitchen cabinetry. Can’t wait to see how it turns out! xo
Great tips! Painting cabinets is hard work but the end result is worth it.
I LOVE the blue greens you are looking at for your cabinets and the pretty hardware. They are going to be so lovely.
Thank you, Libbie! I am so excited about these!
What a task you have taken on!!! I applaud you on your work ethic and determination. I know it will turn out beautifully!
Aw, thanks Crystal! I need all the cheerleading I can get with this one!
The color and hardware will look amazing! As far as your uppers. I love the look of glass doors on top with grid panes. If there isn’t a ton of space, molding to the top always looks nice too. Whatever you choose, I’m sure will look great.
Thank you, Marie! I need to give it some more thought. Maybe my energy towards the end will determine what I will do. Lol!
So pretty Marieza . Love the kitchen color and cabinets
Thank you, Roxanne! I need to show more on Instagram as well. I took a break for a little while to get some work done.
So pretty Marieza
Hello I’m interested in what paint co your using? For your kitchen cabinets, and will it be semi gloss or satin for the finish?
Hi Mary! I replied in an email!