A DIY Kitchen Faucet Replacement Shown in 9 Steps
A DIY Kitchen Faucet Replacement is not complicated at all! Let me show you how I replaced the faucet of my kitchen sink in a few easy steps.
Installing a new kitchen faucet is part three of the Budget-friendly Kitchen Makeover series.
In case you’ve missed parts one and two:
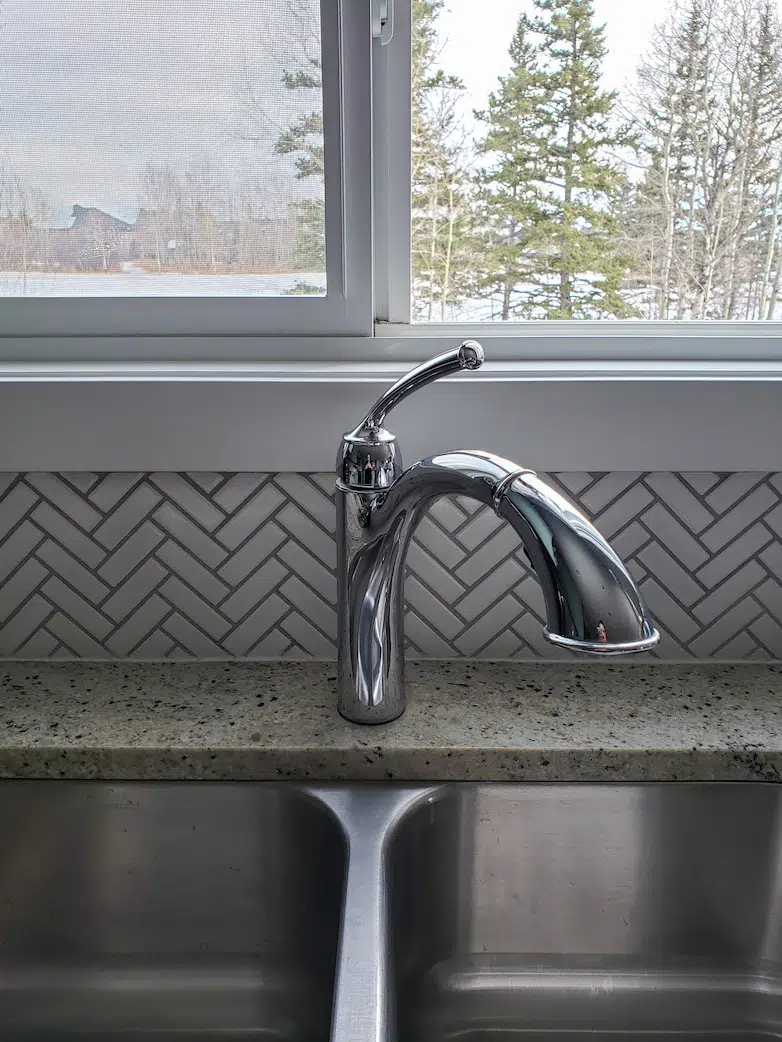
This is the old faucet from our kitchen since we moved in. I’m guessing it was installed when the house was built around 2010/11. As you can imagine, I wasn’t a fan. It was working just fine for most of the first three years. It just wasn’t aesthetically pleasing to me. No offense if this is your number one favorite; I am all for not having the same taste in decor and design!
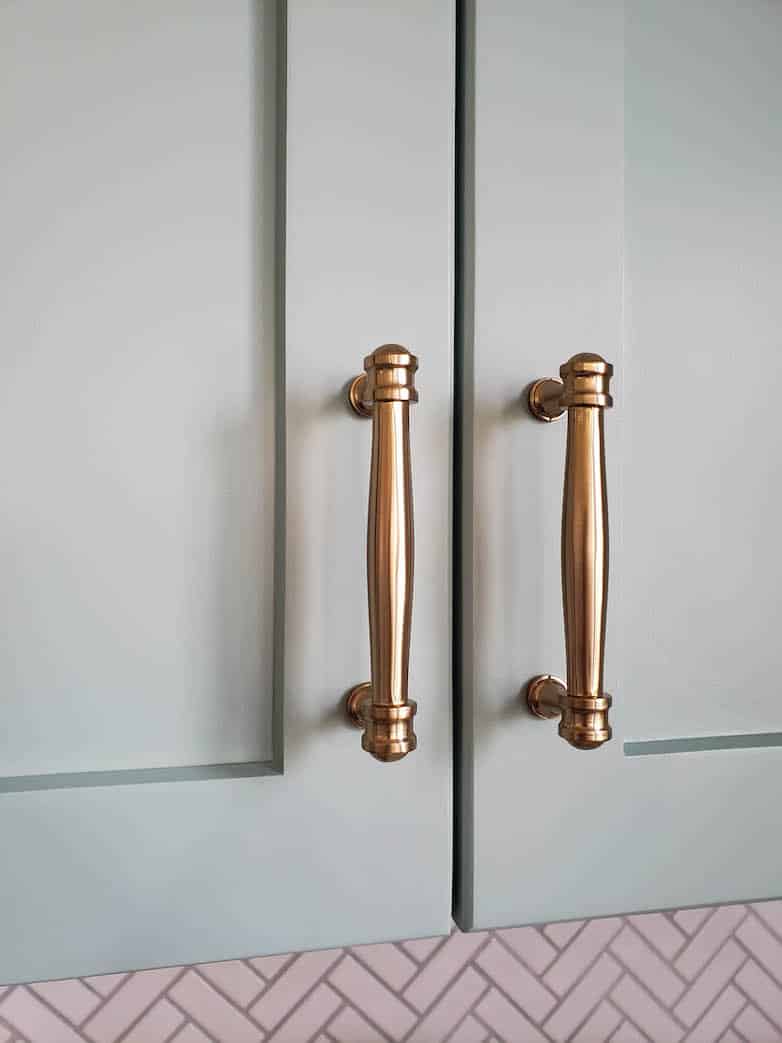
As I chose the beautiful champagne bronze hardware for the cabinets, I imagined how gorgeous a matching faucet would look. As luck would have it, the existing faucet started leaking shortly after I started painting the cabinets. I promise I had no hand in this leaky faucet!
Searching For the Perfect Faucet
As usual, I searched for something super budget-friendly that looked like a million bucks. Almost all the affordable kitchen faucets in a champagne bronze finish are really modern. I’m aiming for a more classic and traditional look for my kitchen. A modern fixture just would not do!
When replacing a faucet, consider the existing number of holes in the countertop. I needed a one-hole faucet and they seem to be the average type of faucet available for kitchens.
Not a single hardware store had what I had in mind.
It took a lot of online searching but I did not give up until I found THE ONE!
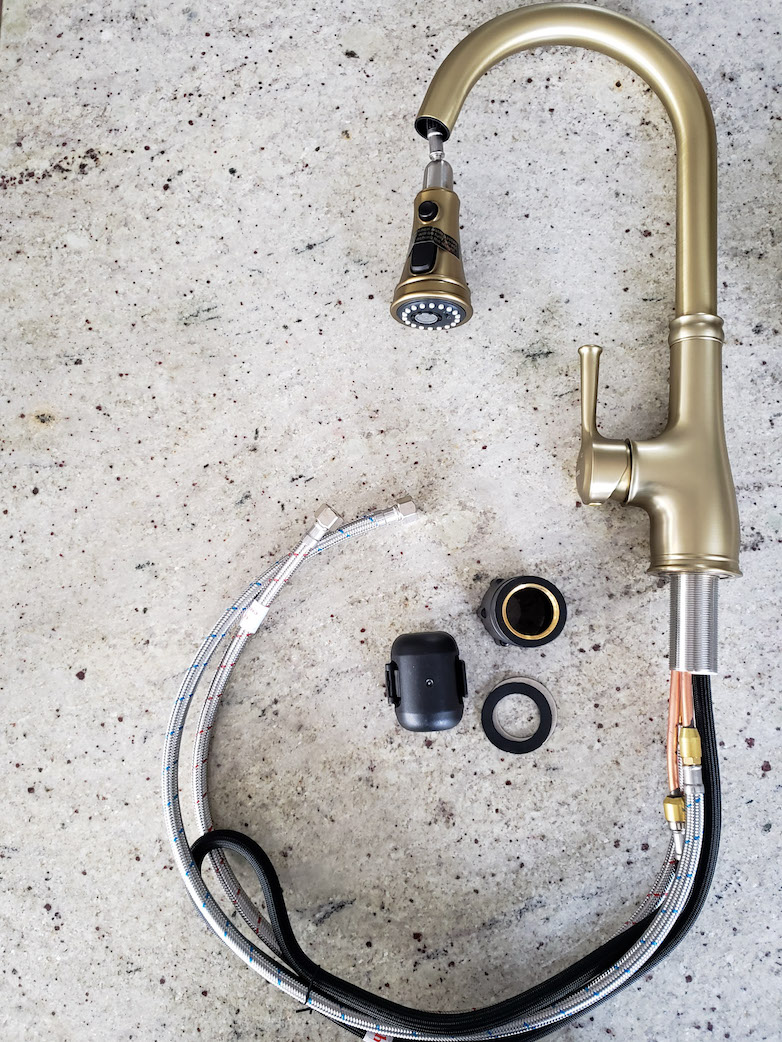
This kitchen faucet ticked all the boxes. It was affordable, had a champagne bronze finish, and a more traditional design.
With a bit of imagination, you can even see the design similarities between the faucet and the cabinet hardware! My only reservation was the unfamiliar brand name. The brand is WEWE, which I have never heard of before. I could, however, get a similar-looking one from a famous brand for seven times the price! That was a big nope for me.
Sometimes, you have to take a chance and might even be pleasantly surprised. So, I ordered the WEWE and hoped for the best.
FAQ: Can I Replace a Kitchen Faucet Myself?
As far as plumbing projects go, replacing a faucet is one of the easier projects. If you are an experienced DIYer with a little plumbing experience, go for it! My first attempt at plumbing was replacing a bathroom faucet.
Disclaimer: I’m not suggesting that everyone should or could do all the plumbing in their home! You know how handy you are and what your limitations are (hopefully). If in doubt, call a professional.
Why am I sharing this, then? To show you step by step how a DIY kitchen faucet replacement looks. You might be inspired or terrified or both, just like me! Yes, I am doing it scared most of the time.
If you follow all my rookie steps, there isn’t much that can go wrong.
You can even do it without my help since the faucet comes with very clear manufacturer’s instructions. I’m simply adding a few tips and tricks I learned through experience.
If you are still unsure, consider this:
- Best case scenario: you save about $300 in labor costs.
- Worst case scenario: you phone a professional plumber anyway.
Let’s replace a leaky kitchen sink faucet!
9 Easy Steps for a Successful DIY Kitchen Faucet Replacement
Step 1
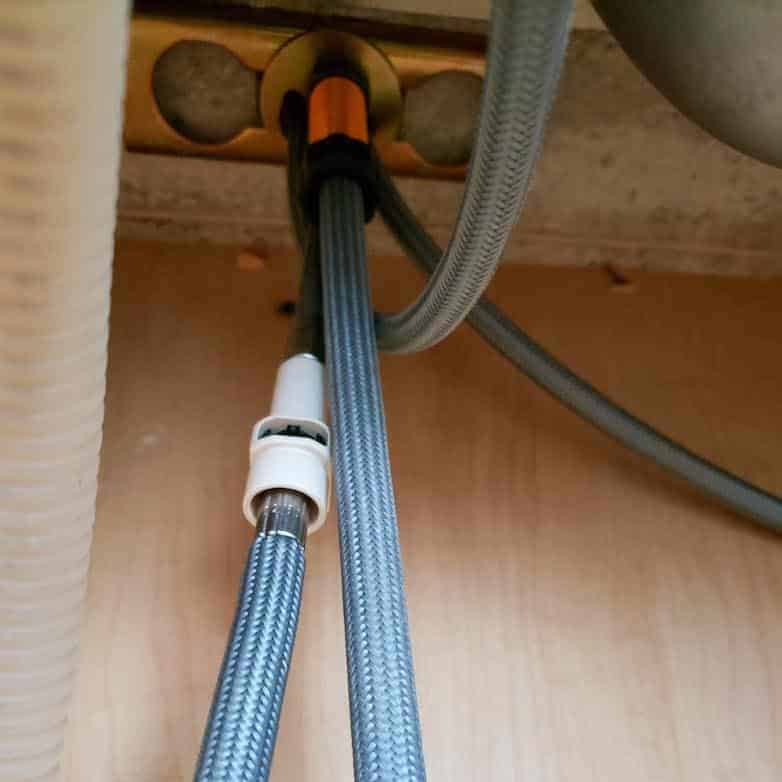
This might be my best tip: take a photo of the current situation before you begin! You will thank yourself when you are unsure of what goes where.
Do not rely on your memory. If anything, having a reference will ease your anxiety.
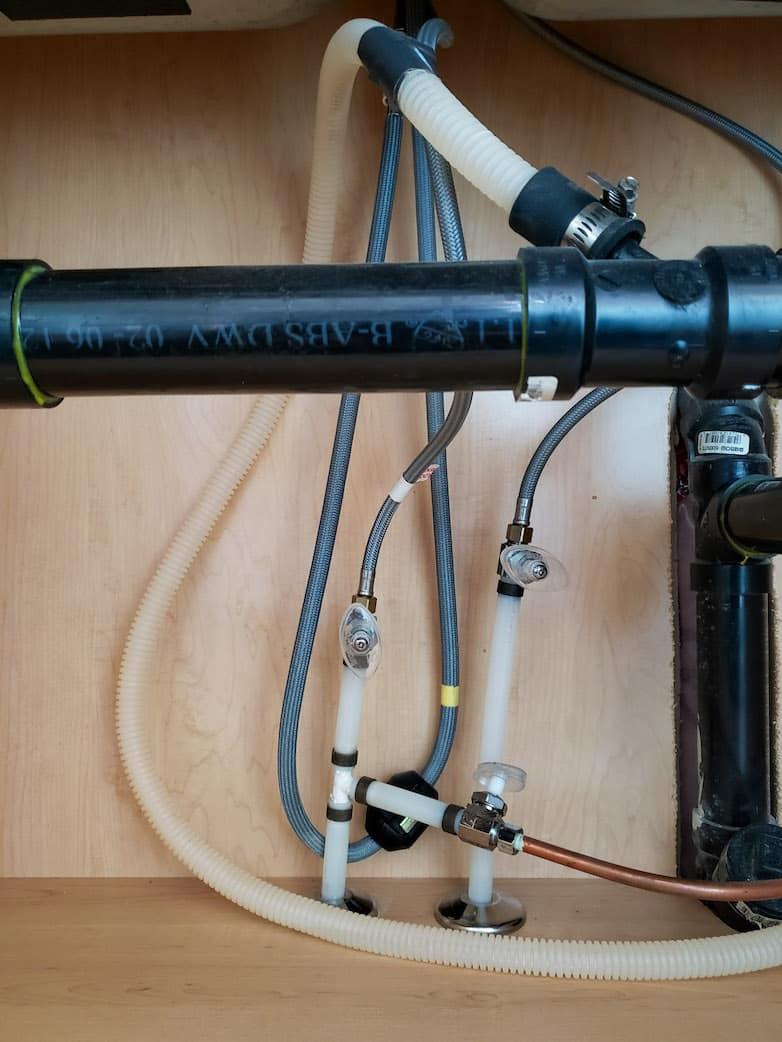
This is the before photo of the water supply lines under my kitchen sink, which are very straightforward.
Step 2
If the hot and cold water lines have shut-off valves like the ones in the photo above, you can shut the water supply to the faucet off without shutting off the main water supply to the whole house. It is however always a good idea to shut the main valve off.
Step 3
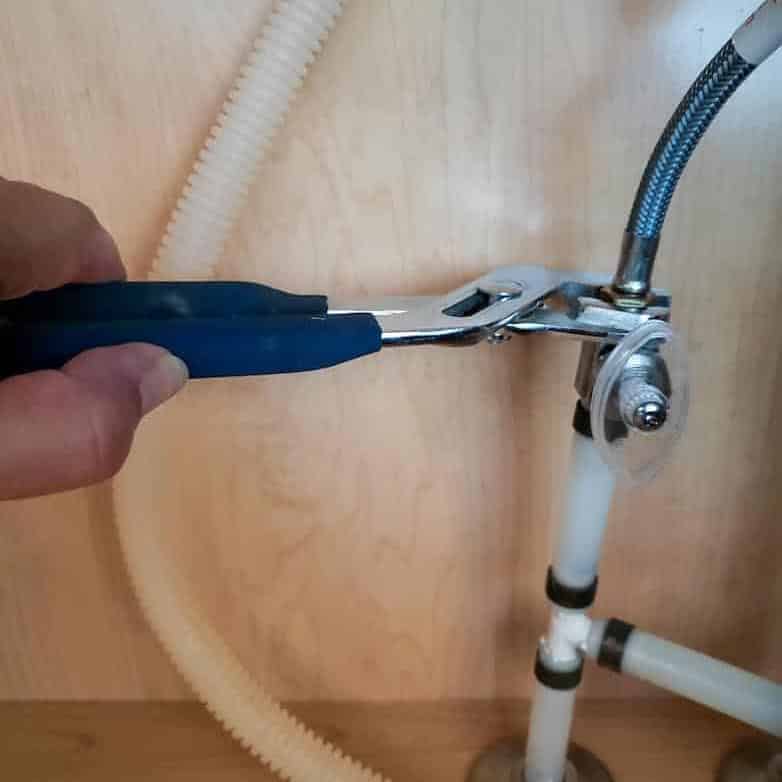
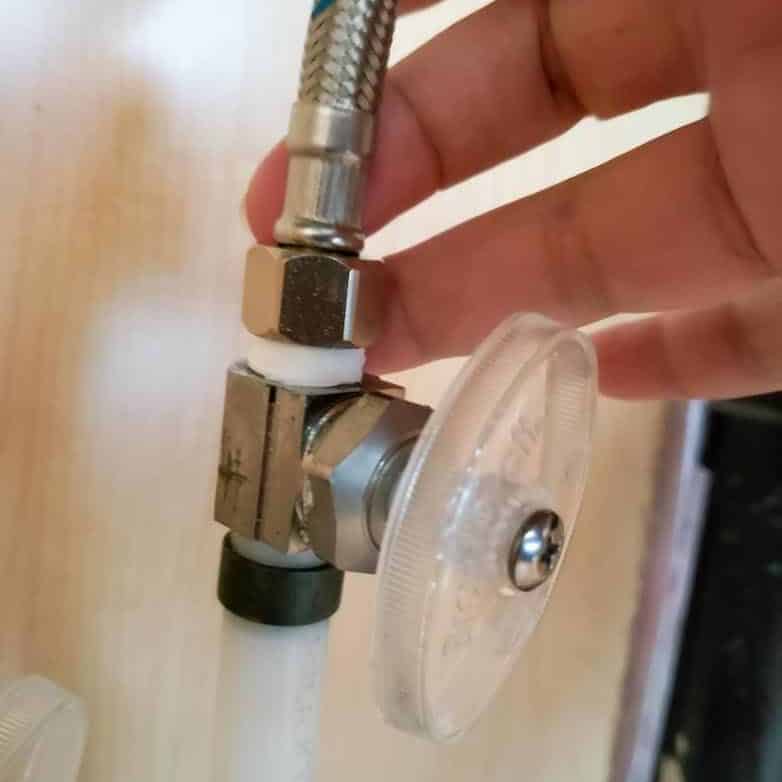
With the stop valves closed, you can use an adjustable wrench to disconnect the old faucet’s connections to the hot and cold water supply lines. Be sure to open the faucet (hot and cold side) to empty the bit of water that was already in the pipes before disconnecting.
Use a pair of pliers to keep the supply line from twisting with the connecting piece you are loosening.
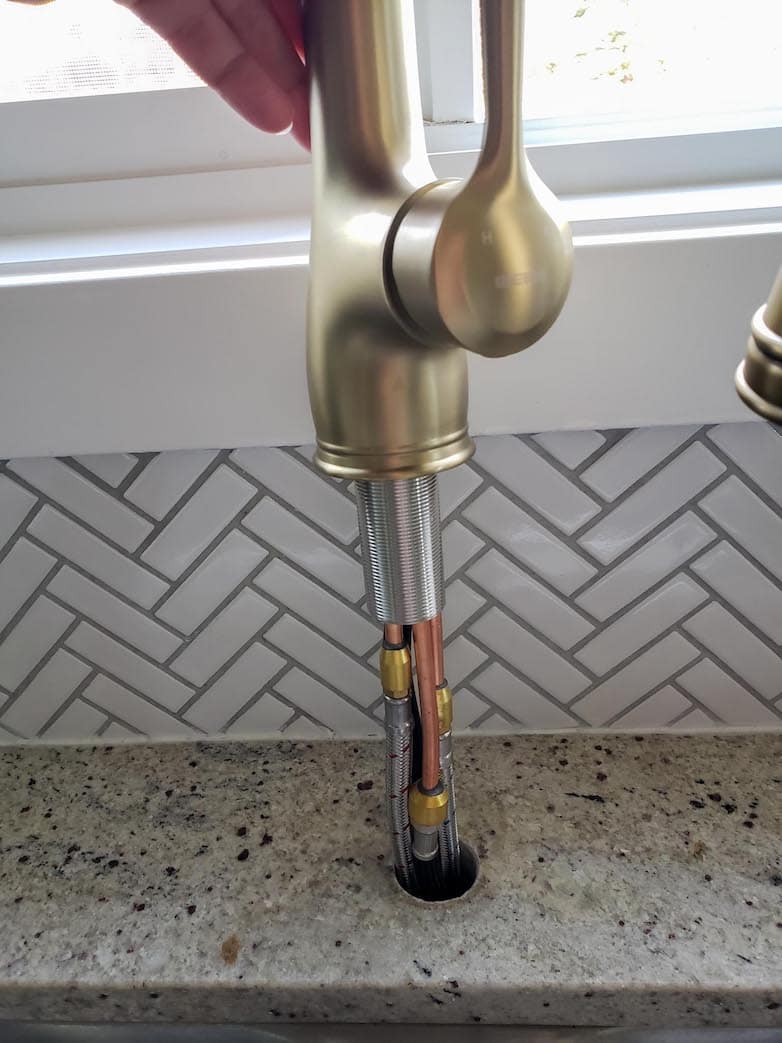
Step 4
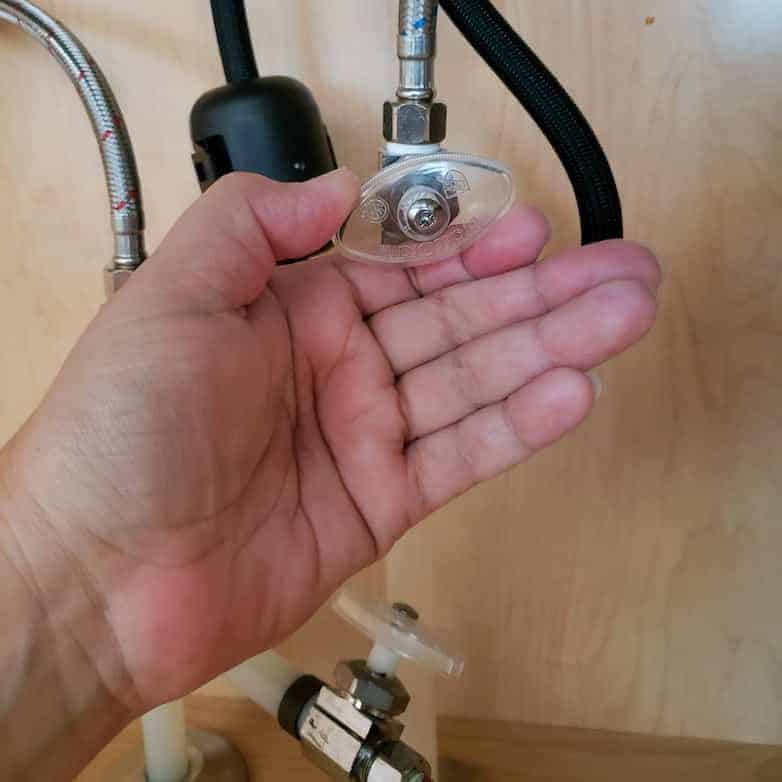
This photo shows where the supply line to the pullout sprayer clips in. Also, how the faucet is secured or mounted to the countertop. Loosening that mounting nut made me sweat! I did not have the right tools for this tight space.
Ideally, it would help if you have a basin wrench, which I don’t. I managed to loosen the nut with an adjustable wrench, but it was a mission.
You should now be able to pull out the old kitchen faucet with all its connections through the hole in the countertop.
Step 5
Gather all the pipes of your new faucet and push it through the countertop. Time to fasten the mounting nut in that dreaded tight space underneath the countertop, behind the sink.
But wait, what do we have here?

The new faucet has something WAY better! The mounting nut is built into a plastic attachment designed to enable you to tighten the nut ALL the way by hand! How brilliant is that??
Step 6
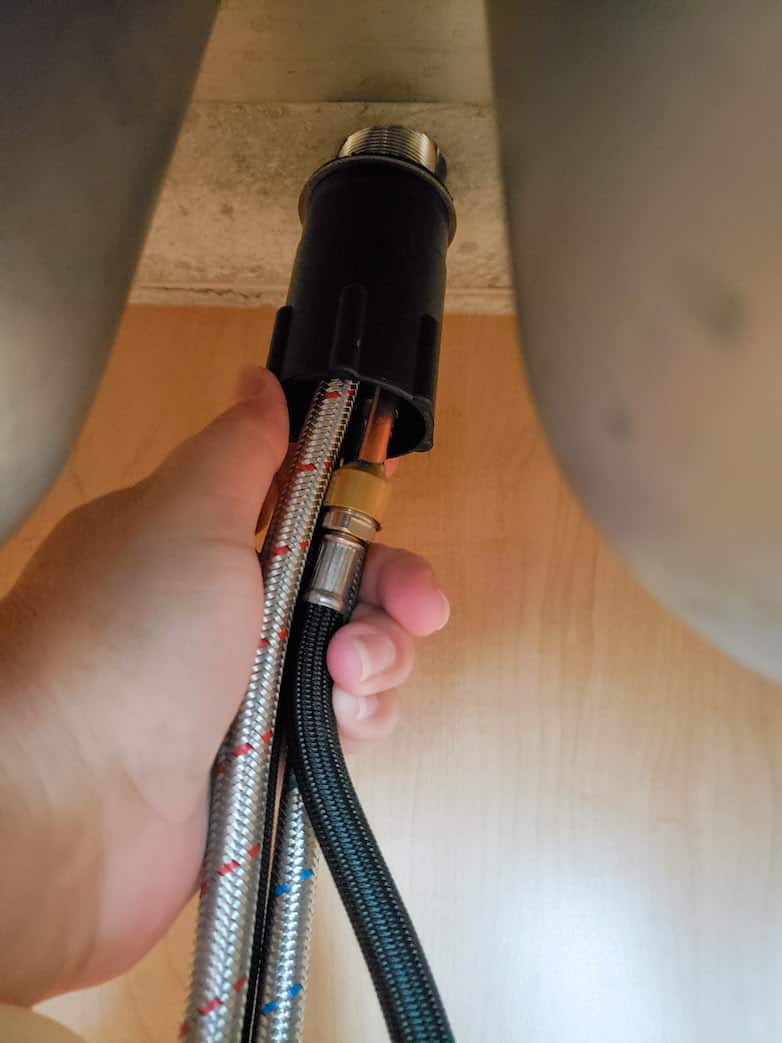
From underneath the sink, push all the same pipes through the mounting nut (with its attachment) that keeps the faucet secured to the countertop.
Lightly pull the pipes downwards to keep the faucet in place while you tighten the nut. This could not be easier with this clever design!
Step 7
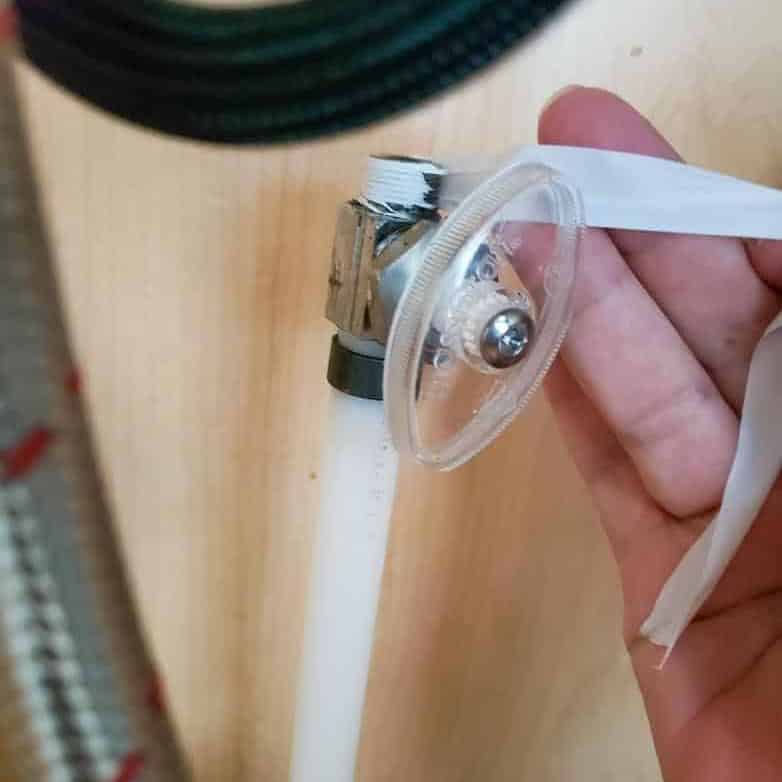
Before connecting the water supply, I always like to take extra precautions against small leaks. Wrapping a bit of Teflon tape or plumber’s tape around the screw threads will ensure a water-tight connection, making it impossible for droplets to seep through.
Begin tightening by hand as far as possible, using the adjustable wrench for the last possible turns. Make sure the connections are as tight as possible without using brute force.
Step 8

By now, the faucet should sit securely in place, but the pull-down sprayer hose will hang limp with nothing pulling it back. Do not fear!

All you need to do is clip on a weight to the bottom of the spray line. There is even a mark on the supply line, showing the right position to put the weight.
The spray head should now be pulled back into place. It couldn’t be any easier!
Step 9
This is my own added step or trick. By following this step, I know that I did everything correctly, and there won’t be any surprise puddles in the cabinet later caused by a slow leak.

Before you turn the water supply back on, use paper towels to wipe all the connections to ensure it is perfectly dry.
Turn the water supply on very slowly. If you see any water seeping out, turn it back off again. The solution is usually more plumber’s tape around the threads. Repeat step 7.
If you see no water at all, you did a good job! Wait a few minutes, and with a dry paper towel, wipe all connections again. Inspect the paper towel for any dampness. If you see nothing, you will have total peace of mind and can pat yourself on the back! You passed plumbing 101!
After Your DIY Kitchen Faucet Replacement
I am not going to lie, I was worried that after doing all the plumbing perfectly, what if the faucet wasn’t performing as expected?
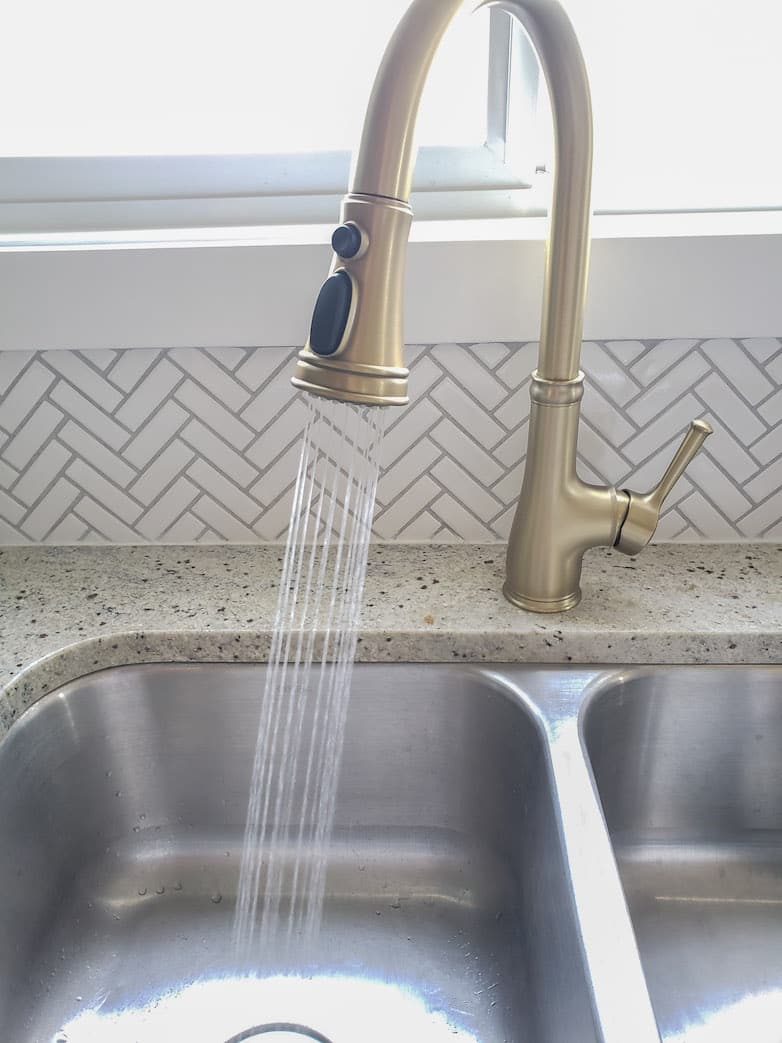
There was no reason to worry at all! It is working like a charm with good, strong water pressure.
Would I Recommend This Faucet?
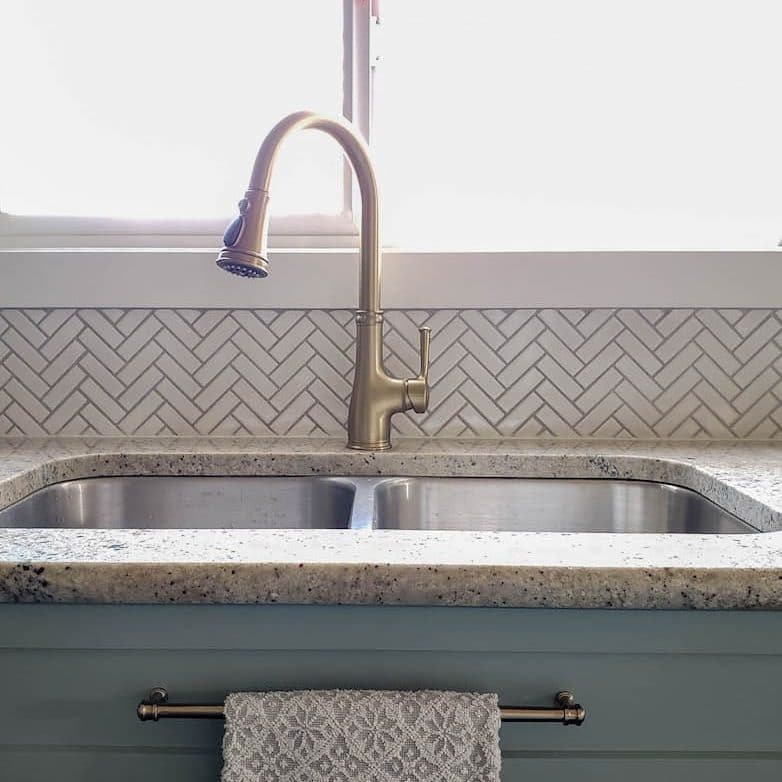
100% yes! It makes a huge difference to the aesthetic of the kitchen. I love how it looks, and I’m pleased with how it’s working.
Do you agree that it goes perfectly with the cabinet hardware?
The kitchen’s budget-friendly makeover is making good progress. Stay tuned for more updates coming soon!

You May Also Like:
12 Things your plumber wishes you knew
My powder room makeover, where I also replaced a faucet and vanity
The basement bathroom where I did ALL the plumbing
Great job on tackling this project yourself—looks like you handled it like a pro! That built-in hand-tightening mount on the new faucet was a nice win, especially without a basin wrench. From my years as a plumber, I always recommend double-checking your shut-off valves for corrosion before starting; they’re often the sneaky source of leaks later. Also, run both hot and cold for a few minutes after install to flush out any debris and ensure smooth water flow. Can’t wait to see the rest of your kitchen updates!
It looks wonderful – great job on the install! How is the faucet holding up? Are you happy with it? I’m looking for something similar but haven’t heard of WEWE so curious to get an update after you lived with it for awhile.
Hi John!
Thank you so much for your kind comment.
The faucet is holding up SO well!
It works like the day I installed it and still looks brand new.
I can 100% recommend this one.
Cheers
Marieza
Girl, you are AMAZING!!! I would never even try to work on plumbing! You are so brave and skilled 😊 Pinned! BTW, you and I have very similar granite in our kitchens!
You are so handy! This faucet is beautiful. Your patience paid off Marieza!
Beautiful , this looks gorgeous in your kitchen and well done you for doing your own plumbing.x
Looks fabulous! So nice that you do all these things yourself! I really like the faucet you chose!
Marieza your finishing touch on the kitchen makeover is perfect! I would love to see the entire kitchen to get the full effect of all your efforts. Your color choices are exquisite, everything goes so well together. Thank you for sharing.
Thank you so much, Sharon! I am happy you like it. I promise I will show more of the kitchen. In fact, that gives me an idea! Once all the bells and whistles are added, I will do a video tour to show you around!
Your new faucet looks amazing. Good on you for replacing it yourself. We just recently had to replace our kitchen faucets too. There wasn’t anything wrong with it except that the hose had developed a hole. Unfortunately, we had imported an Ikea tap from Australia as there’s no Ikea here in New Zealand, and the fittings for the hose didn’t fit anything we could find here so we ended up buying a new tap. To be honest, I’m so happy with my new tap that I’m kind of glad that the Ikea one sprung a leak.
I’m so glad you like it, Carol! Isn’t it funny how things sometimes turn out for the better, all by themselves? Thanks for stopping by and sharing your story!