Two Fun Project Ideas Using Stencils
When Dixie Belle launched new stencils and stains I could not wait to play around with some of them! I hurried off to Dollarama to find something to paint and came back with a wooden tray and a small wooden box. Let me show you what I made!
Stencil Project 1
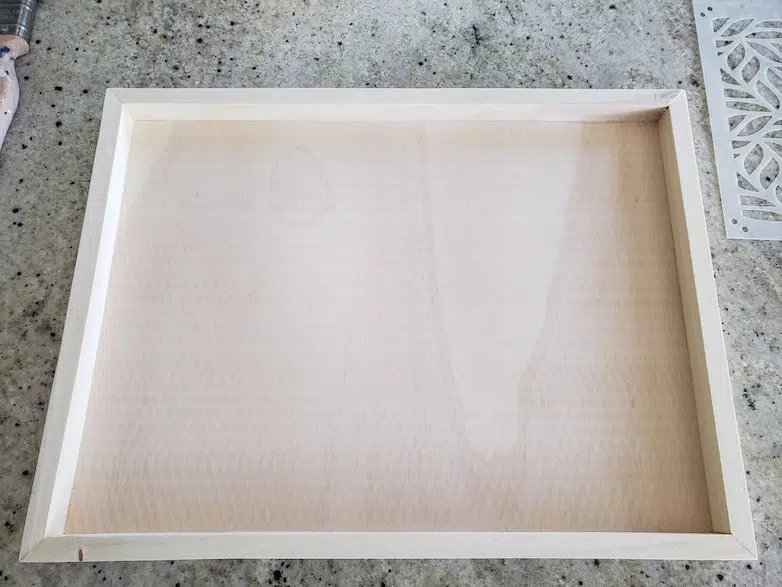
I found this 12 x 16-inch unfinished wooden tray – perfect for the first stencil I wanted to use.
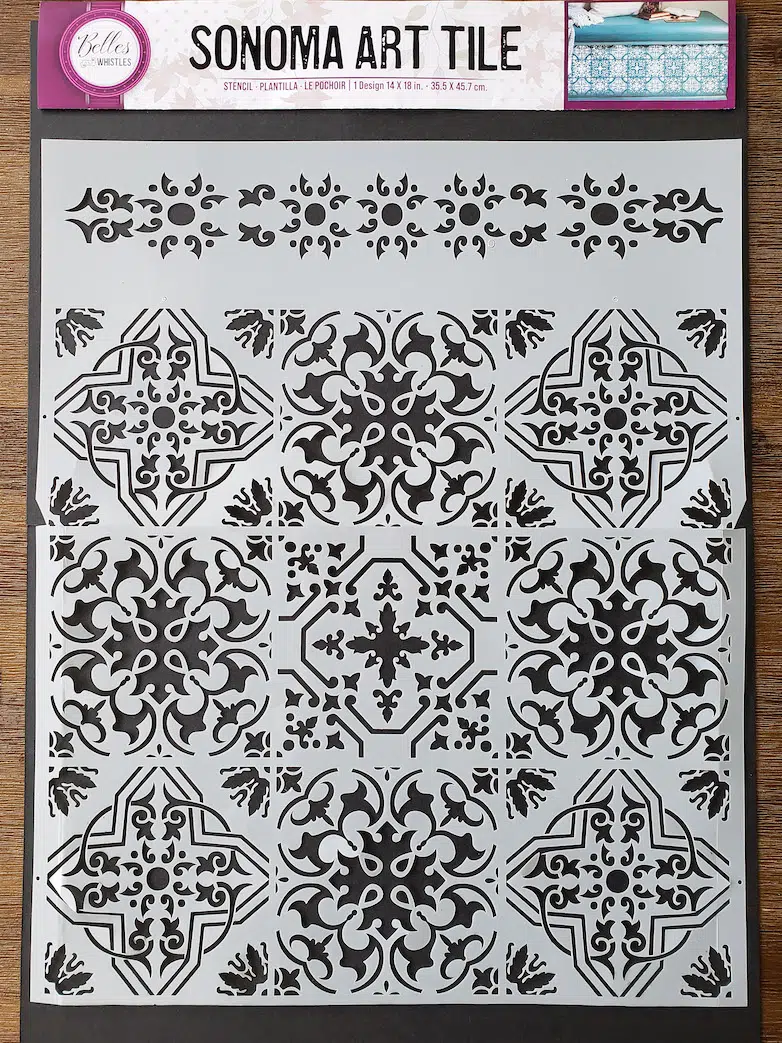
For this tray, I used the brand new Sonoma Art Tile Stencil.
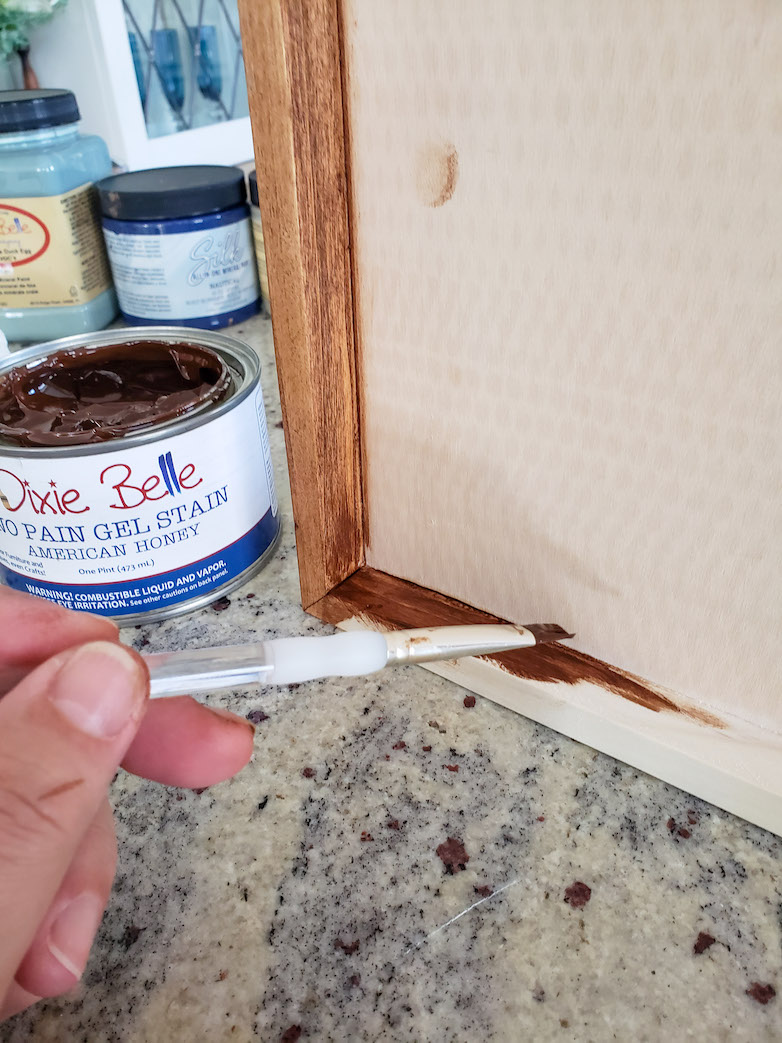
I used one of the brand-new stain colors, American Honey, to stain the sides of the tray.
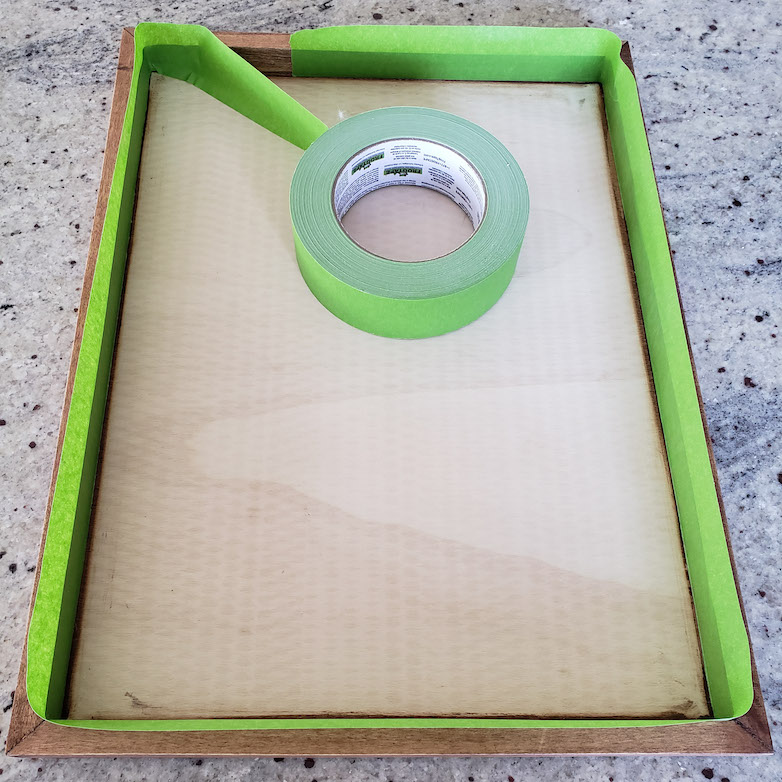
Once the stain was dry, I sealed it with a Clear Coat Sealer. I then carefully taped off the sides to protect the stain.
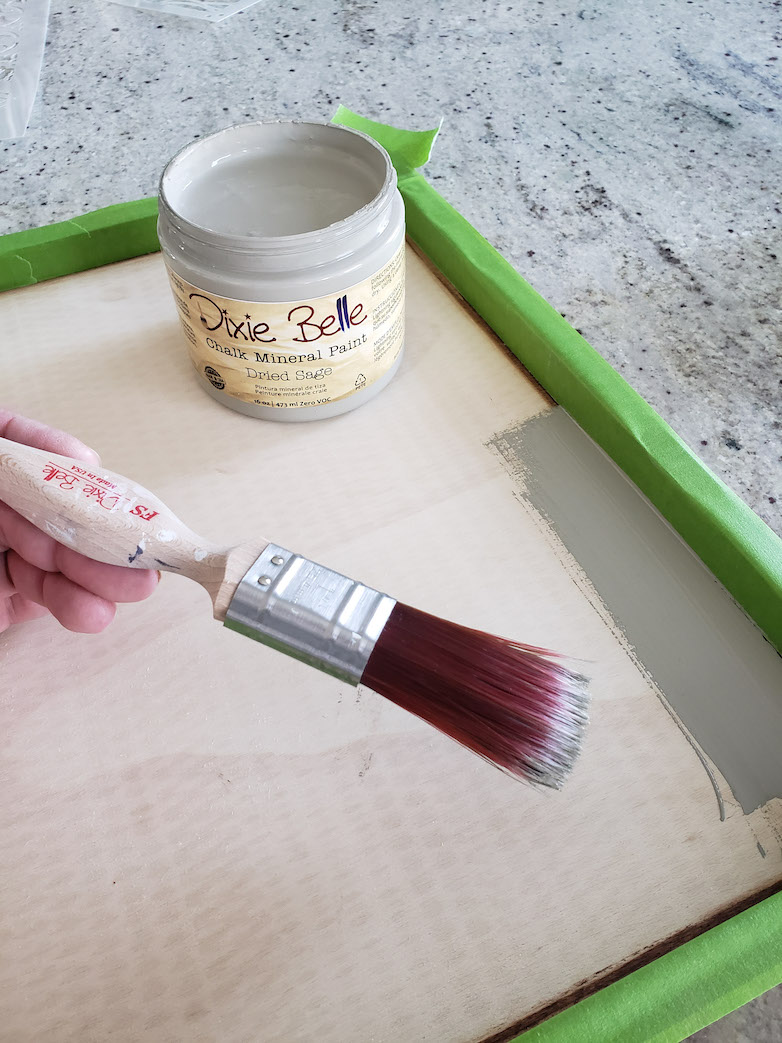
I used Chalk Mineral Paint in the color “Dried Sage” to paint the tray’s flat surface or base.
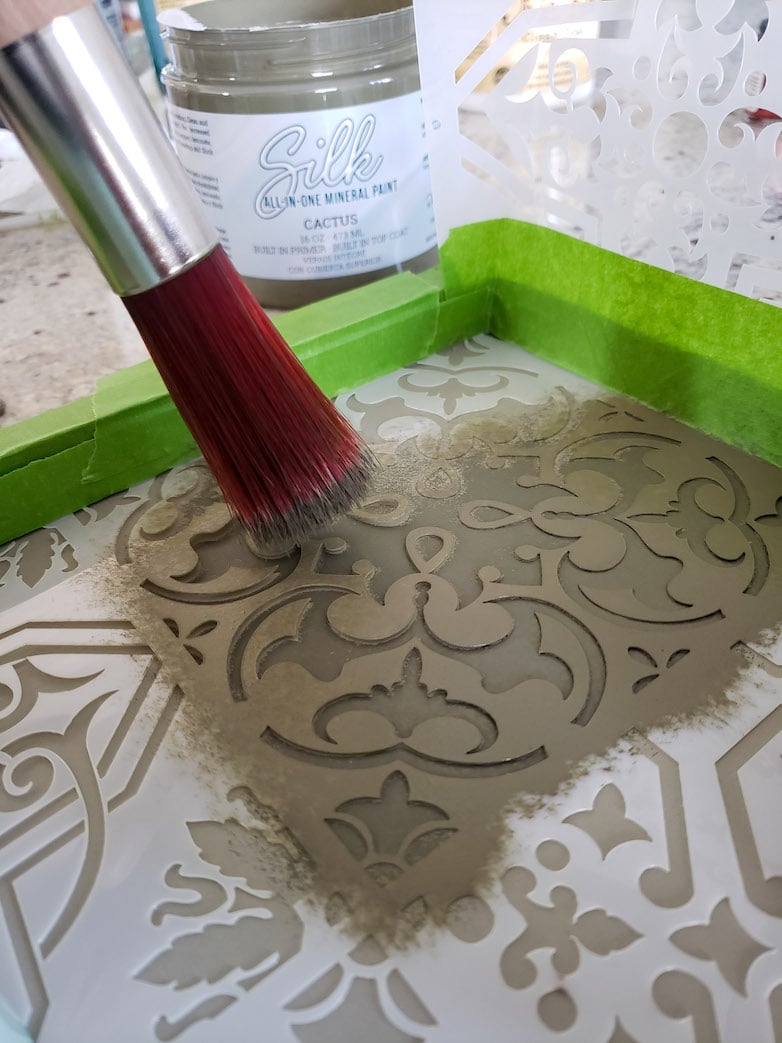
For the stenciling, I used Silk Mineral Paint in the color “Cactus”.

I really didn’t want to cut my gorgeous stencil, and it was a grueling task to fold it and make it fit inside the tray, but where there’s a will, there’s a way! After the paint was completely dry, I made a few touch-ups and sealed it with a Clear Coat Sealer.
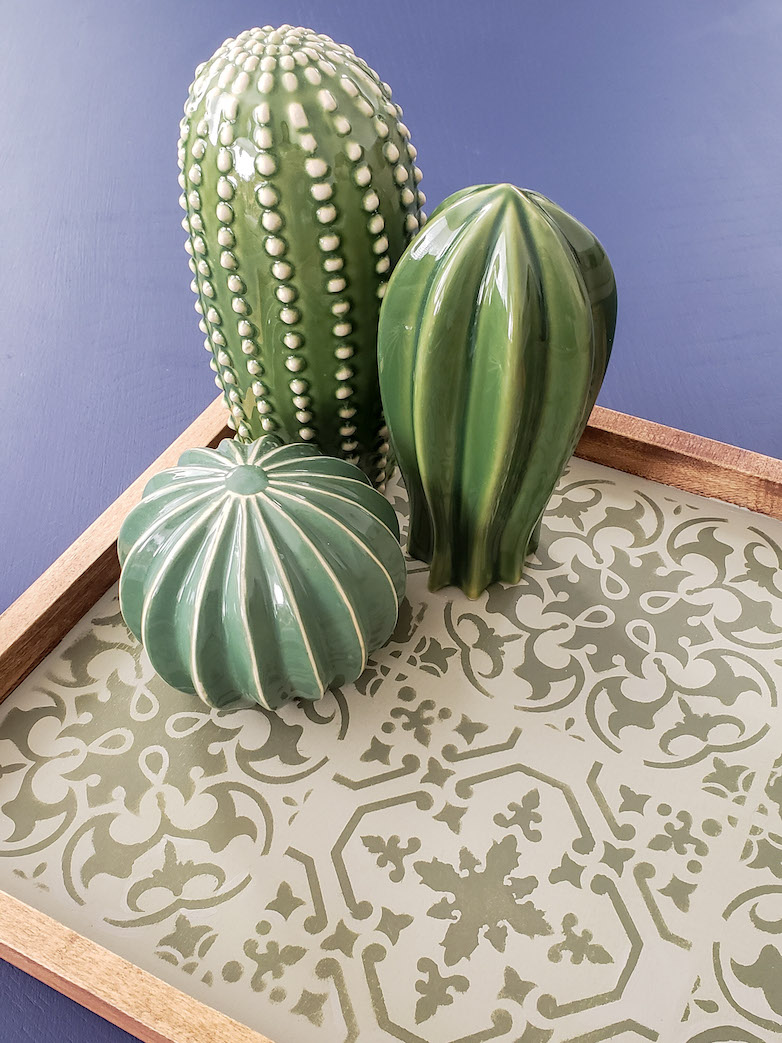
Isn’t it cute? I love this look.

The two green colors complement each other well. I just had to do something in green for spring and summer!

Stencil Project 2
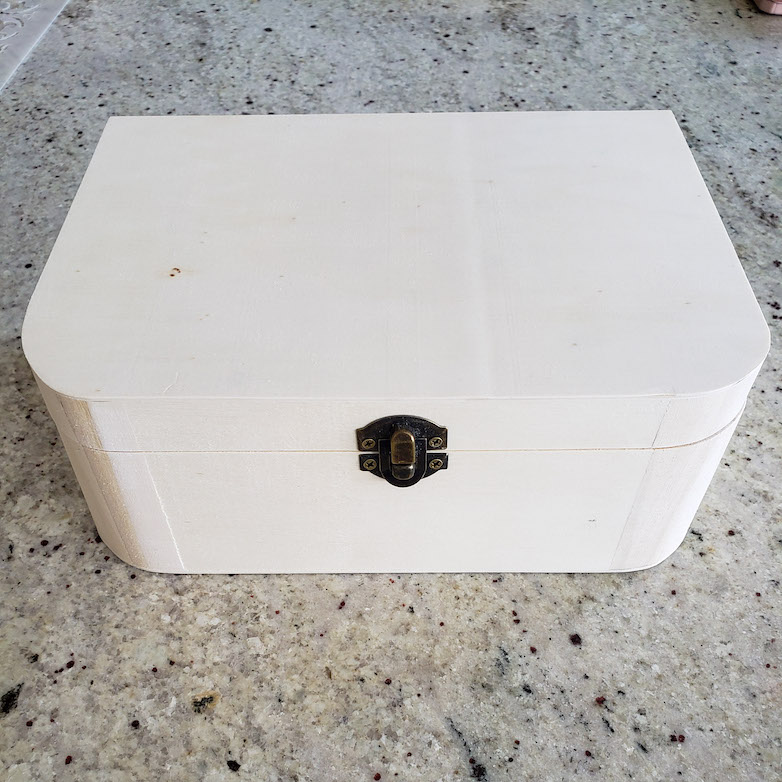
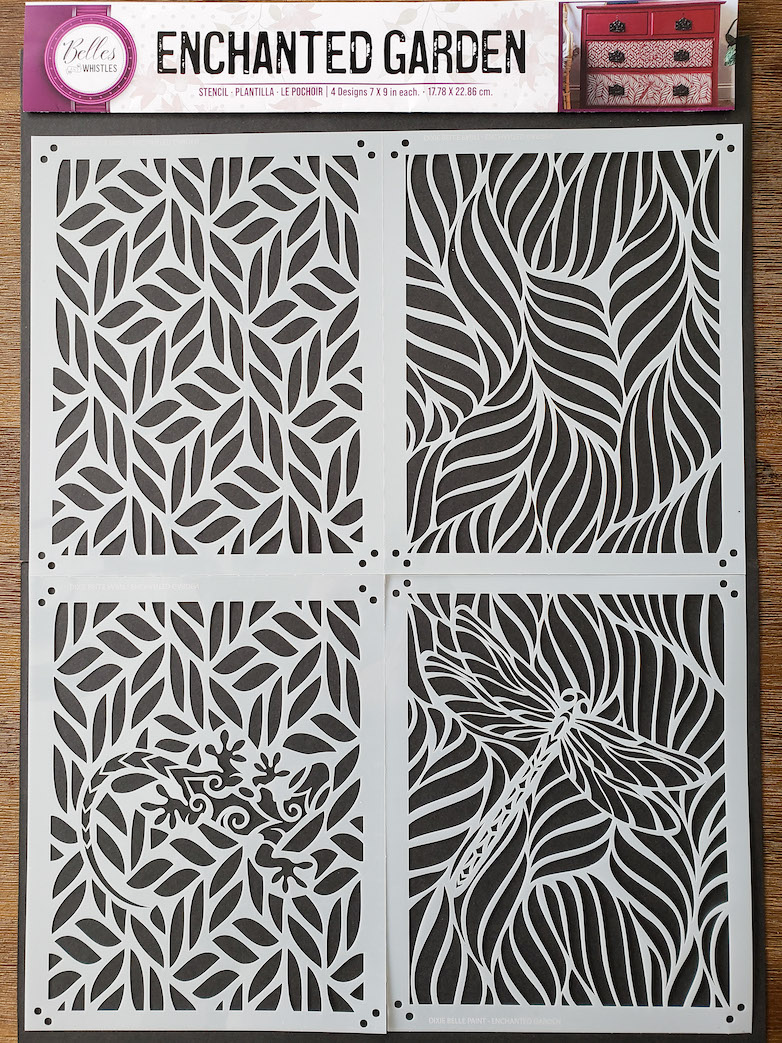
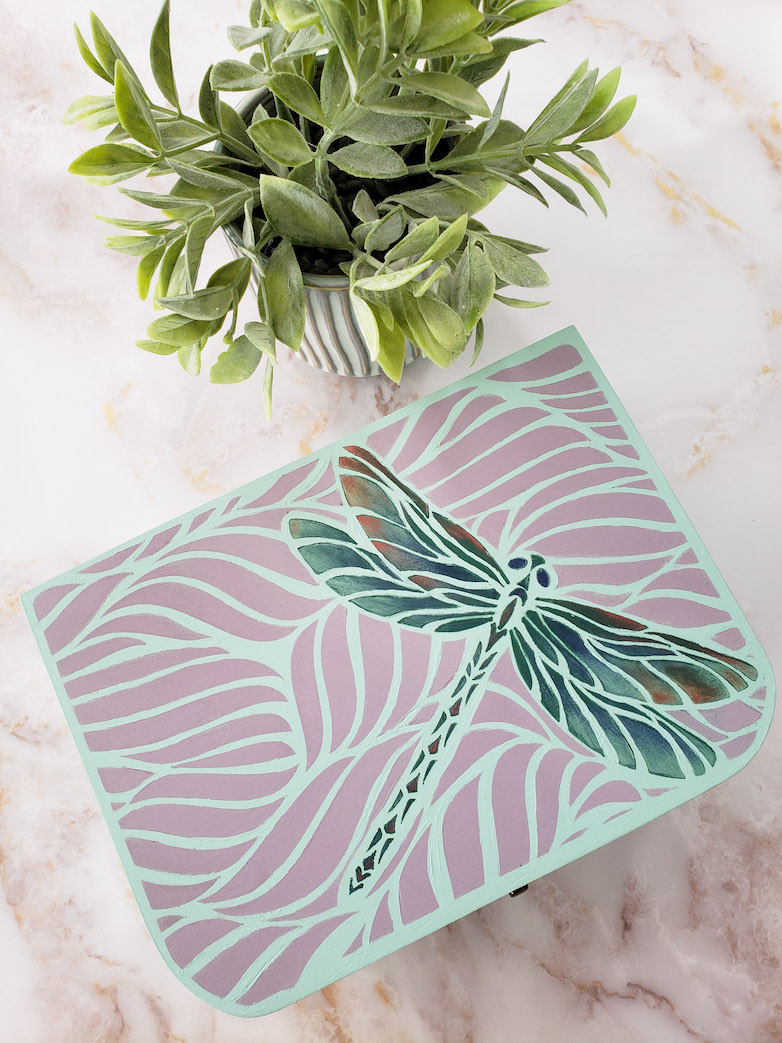
This little 6.5 x 9-inch wooden box was the perfect size for my second design among the new stencils – Enchanted Garden.
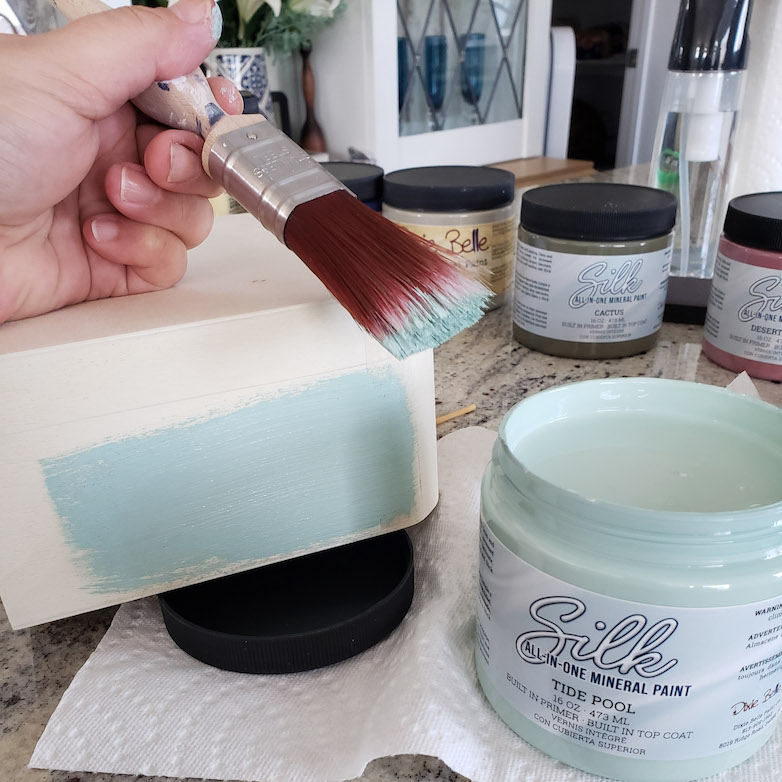
I painted the whole box, inside and out, with Silk Mineral Paint in the color “Tide Pool”. It is a gorgeous color and very similar to the color of my kitchen cabinets!
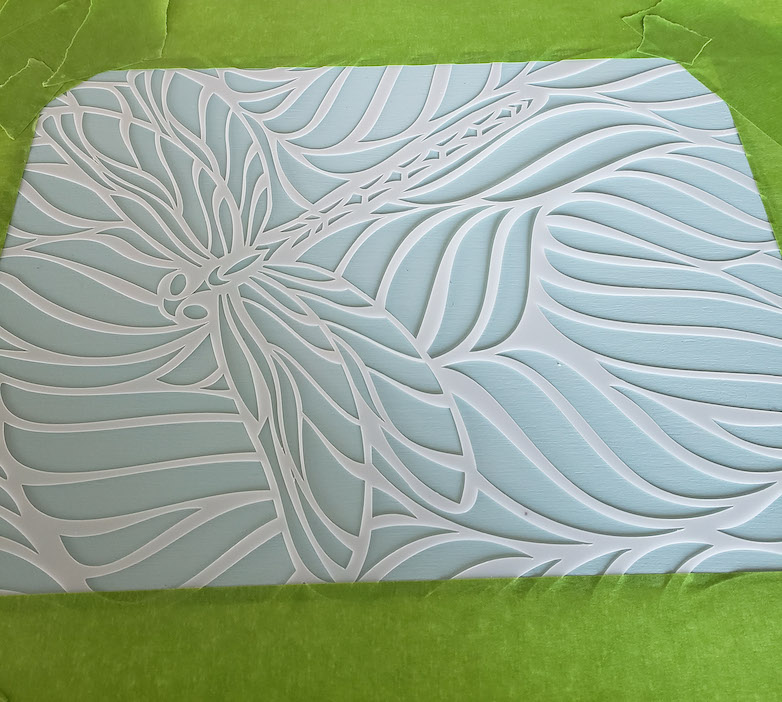
This dragonfly design is a quarter of the Enchanted Garden Stencil, and it is just slightly bigger than the box. I used painter’s tape to keep it in place and create a quarter-inch border around the design on the lid of the box.

I stenciled the area around the dragonfly with Silk Mineral Paint in the color “Morning Sunrise”. After drying, the color appeared closer to a lilac color. It does go well with the Tide Pool either way.
I had so much fun stenciling the dragonfly! As a base color, I painted the whole dragonfly with Palmetto (dark green) and then used Mint Julep (light green) to give the wings more dimension and color variation. I also dabbled with a bit of Nautical (dark blue) and Gemstone Mouse for the tiniest bit of shimmer. All in all, an experiment!
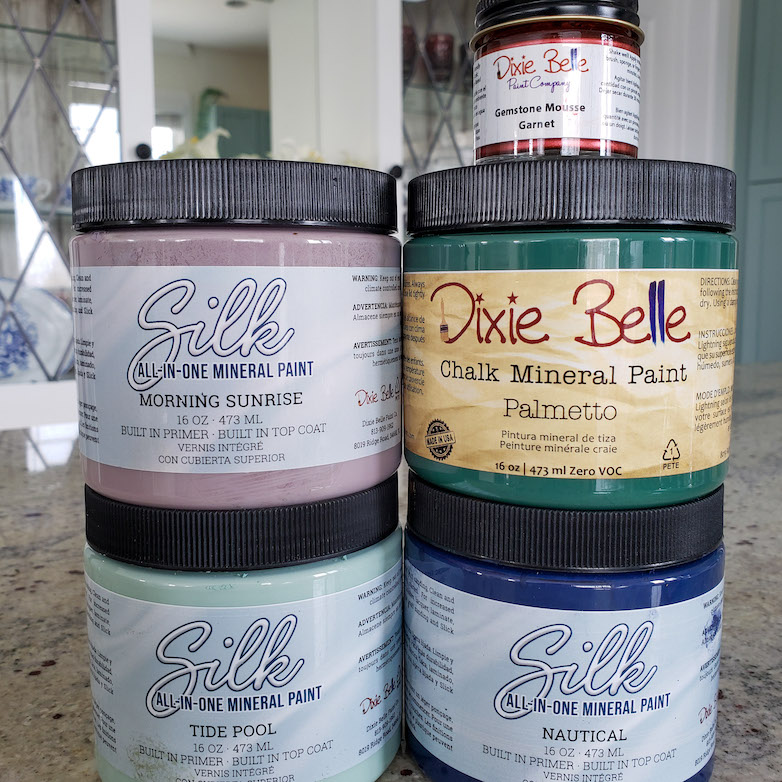
These are all the colors I used For the box, Except the Mint Julep, which I forgot to add for the photo!

I was slightly nervous before removing the stencil and revealing this experimental color combination, but I was pleasantly surprised! It turned out to be really pretty.
Wow!
You have inspired me! I bought a stencil just last week to put on a side table but now I’m thinking trays and a little wooden box I have in my studio. Thank you so much for the inspiration.
Fantastic project, Tide pool is so pretty! Love the mixture of colors on the stencil. Subscribed to your blog.
Seriously, that dragonfly is amazing! You did a great job choosing colors and blending them. I can imagine the fairies on the wall of a little girl’s room! Makes me want to be a little girl again 🙂 Pinning!
Love your dragon fly ‘experiment’. I would say it was a success!
You did a beautiful job with the dragonfly, love it!
Enjoyed your post! I’m getting ready to do my first stencil project and am very nervous about it! Your projects turned out amazing! I hope I’m so lucky!! Thanks again, Donna
They both look beautiful!
This is perfect timing! I was just thinking about doing a stencil project the other day. Thank you for sharing this.
Lovely! I am hoping to stencil a couple of panels on the front of a large cabinet… looking for something in the William Morris or Henry Lambert style, as the cabinet is in the Arts and Crafts style… a bit daunting for a newbie like me… maybe I should start with something smaller!
Wow – that’s great! Stencils are so fun and I love your projects. Well done!