Installing Lighting & Door Knobs
One Room Challenge Week 1 | Week 2 | Week 3 | Week 4 | Week 5 | Week 6
It’s the end of week six, and I’m starting to feel time is running out. Will I finish everything in time for week eight’s reveal? I’m not sure, but I’m hoping for the best! I didn’t do myself any favors by getting caught up in analysis paralysis over the built-ins this week.
As I write this post, I have finished two days of cabinet-building. Progress is slow, frustration levels are high, and I feel twice my age at the end of the day! I will report back next week and hopefully have something good to show. What on earth did I get myself into?
The week wasn’t all uphill as I managed to install a beautiful light fixture and gorgeous door hardware.
Installing The New Light Fixture
Finding the perfect lighting to replace the old ceiling fan was not all that easy. I wanted something with a bit of dazzle and glamour but not overpowering and taking all the attention away from the beautiful wallpaper. After a long search, I found something on Amazon that looked promising.
I was intrigued when it arrived in a small box, and much to my surprise, I had to assemble the whole thing, which turned out to be quite fun!
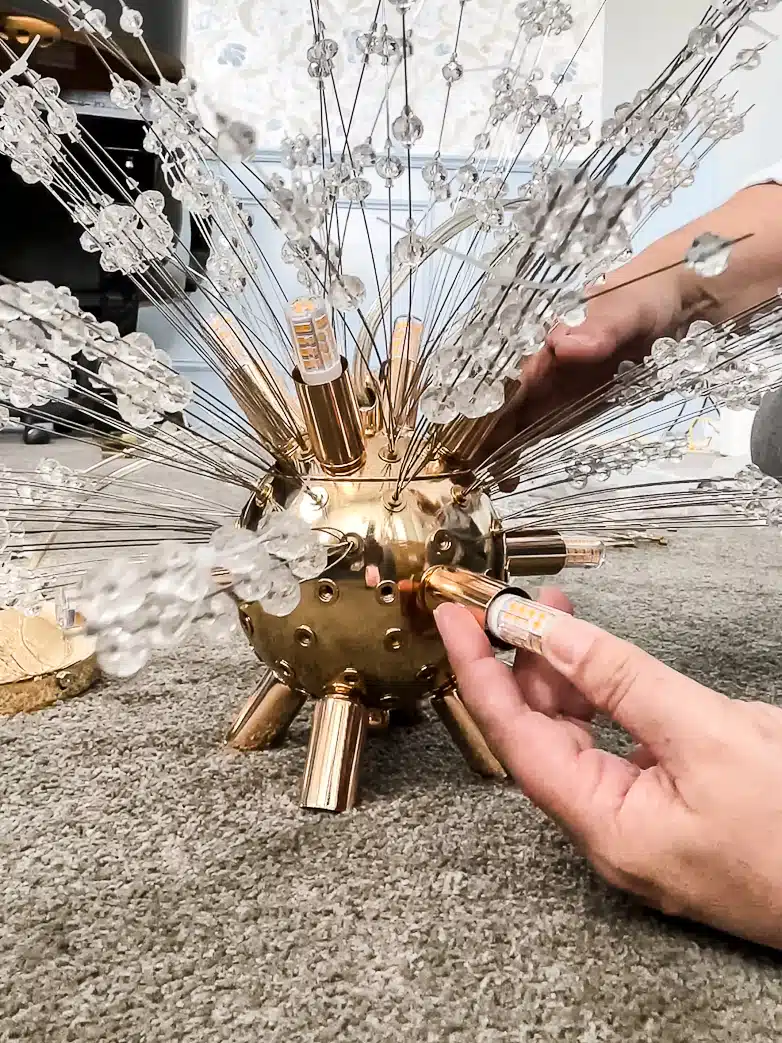
The weird-looking LED light bulbs had to be ordered separately. I’m not a fan of how they look, but from afar, the little yellow bars blend in with the gold finish.
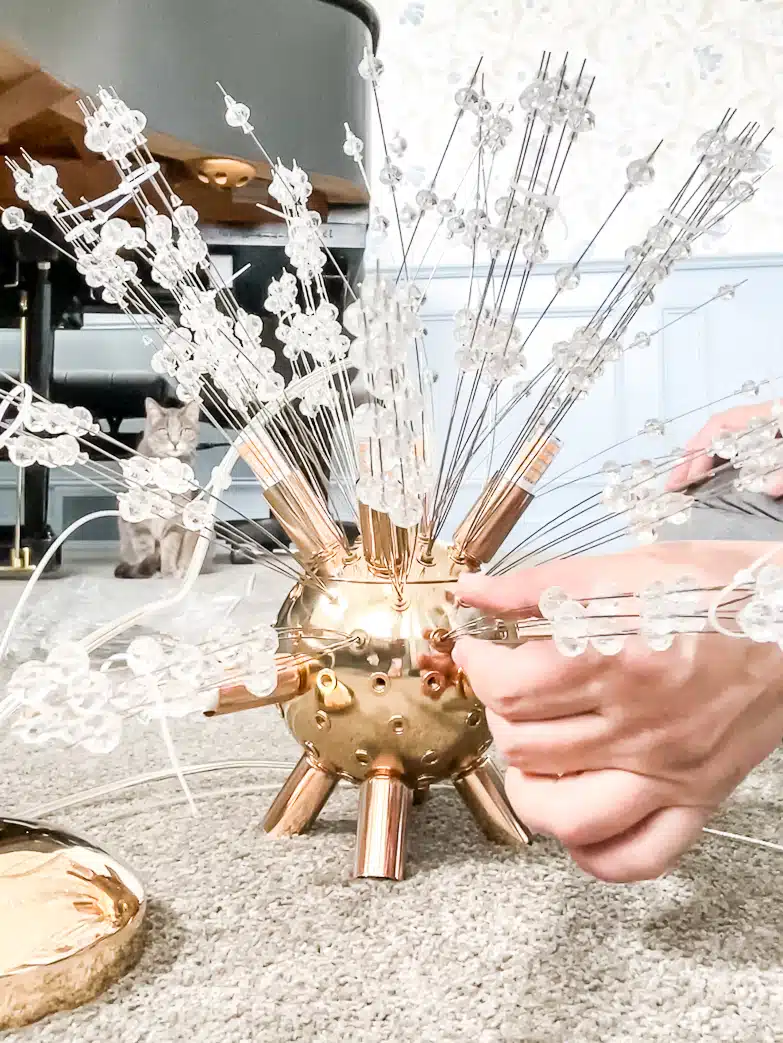
The crystal beads on metal rods came in (what felt like hundreds) bundles kept together with cable ties. Each bundle had to be screwed into the body of the chandelier.
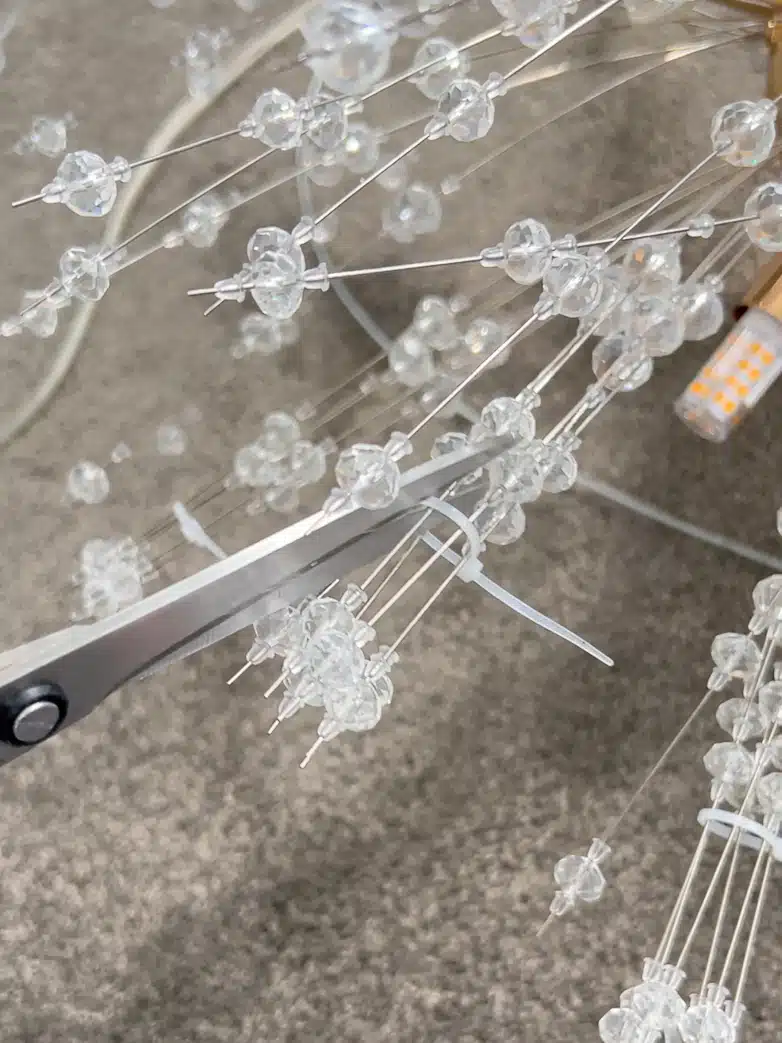
Cutting off the ties after screwing in each bundle turned out to be quite amusing!
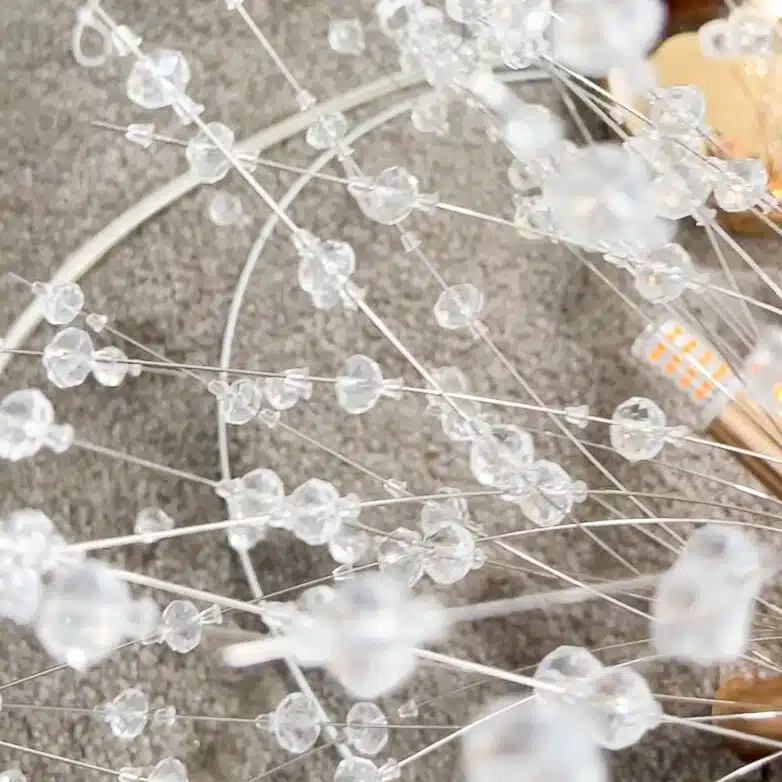
As I cut them open, the wires flew open in all directions.
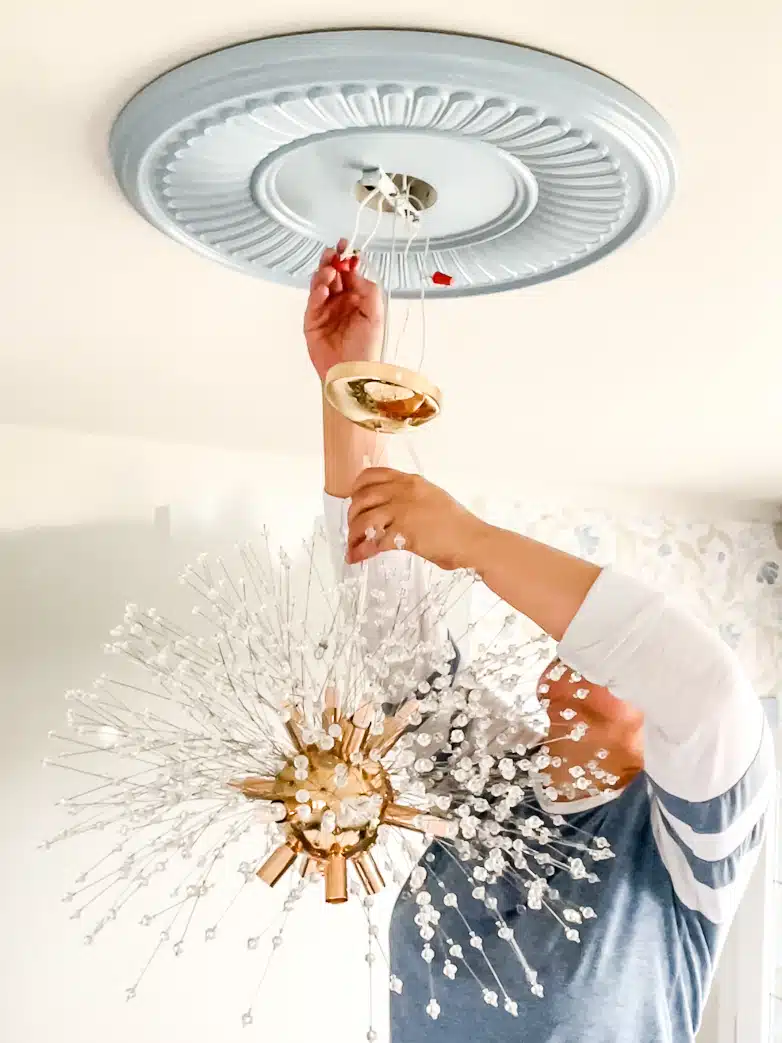
Before installing the chandelier, I painted and added a ceiling medallion. I love ceiling medallions but have never had one before. I think it’s the perfect addition to my home office.
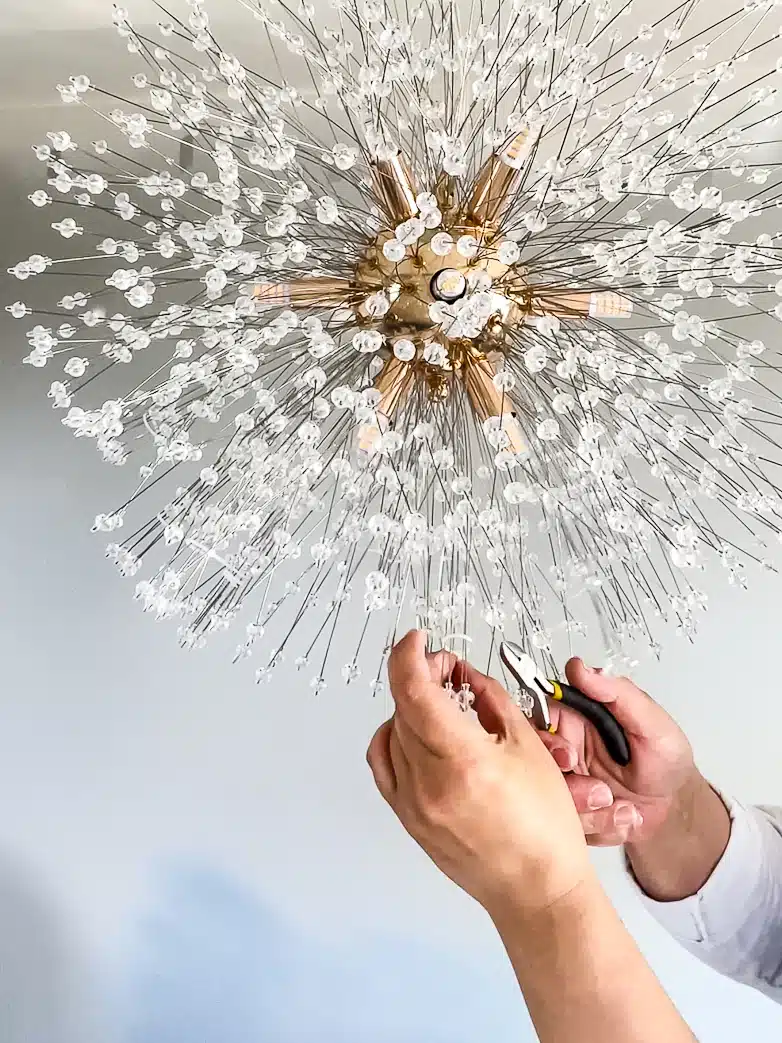
The installation instructions say first to install the body of the chandelier and then screw in all the crystal and wire bundles. That makes a lot of sense, but I added the top half before installing it to see if it was a keeper. I did the bottom half after.

Here it is fully assembled and installed with the ceiling medallion. I am in love!
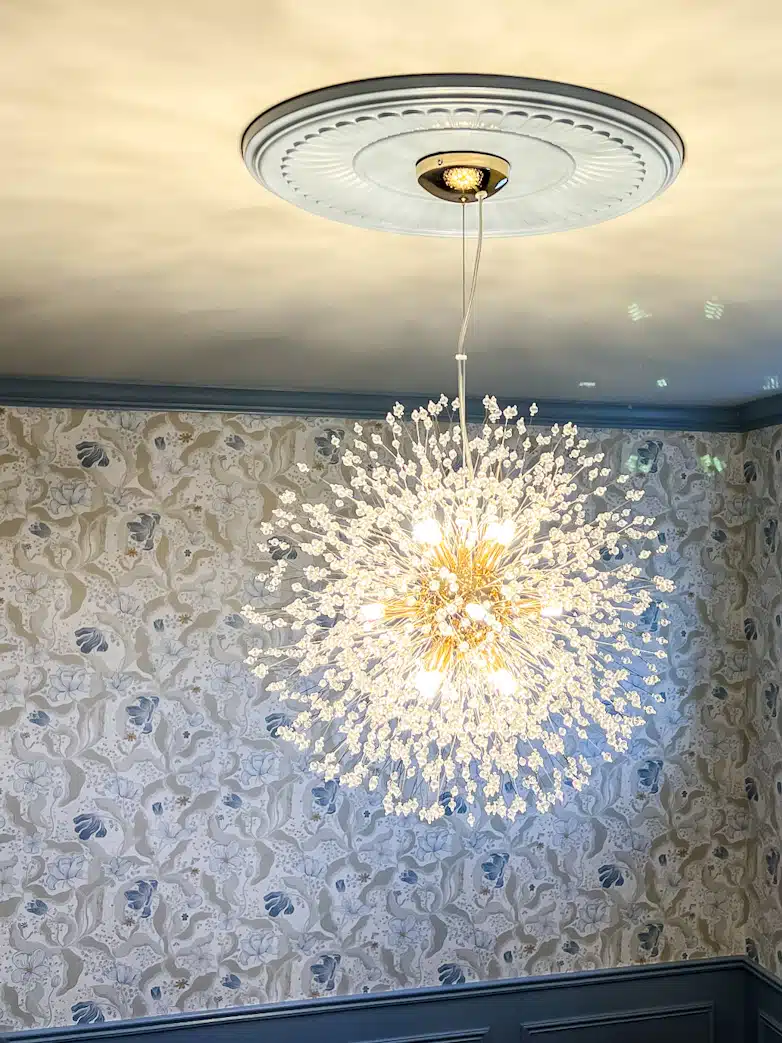
The LED bulbs provide A LOT of light but without being too bright. The name of this chandelier is “Firework,” and it indeed lives up to its name!
Installing Door Hardware
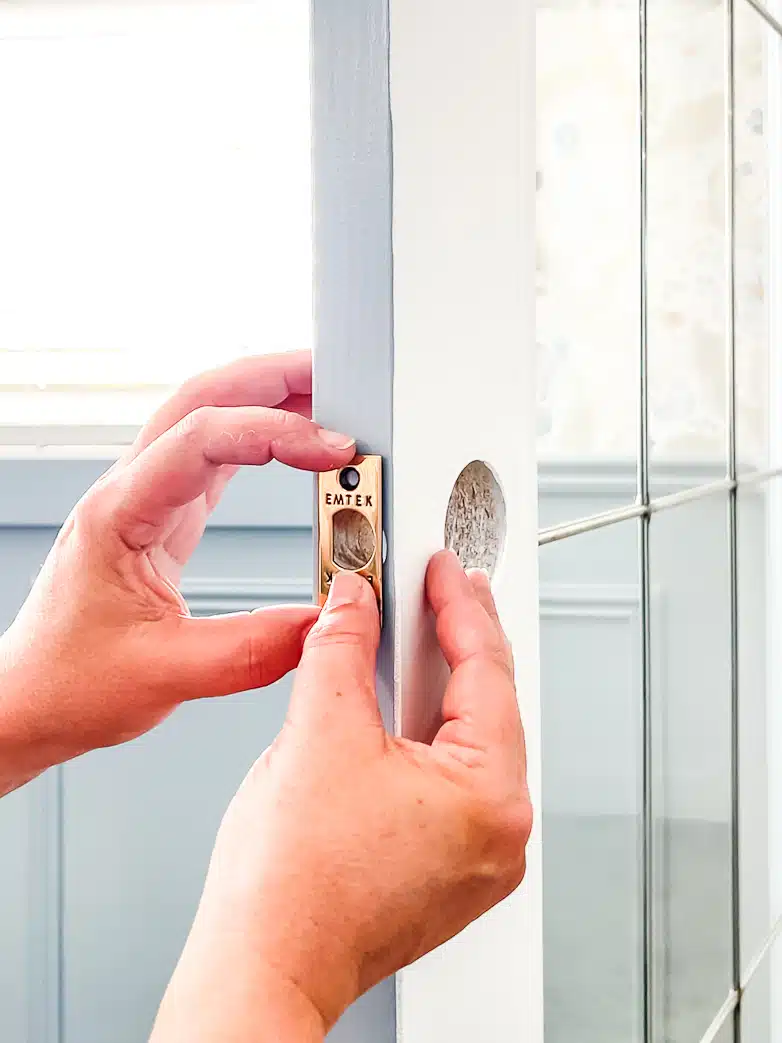
Every component of Emtek‘s hardware is a work of art. Like this brass face plate that had to be sunk to be flush with the door. (The previously installed, builder-grade hardware did not have a faceplate.)
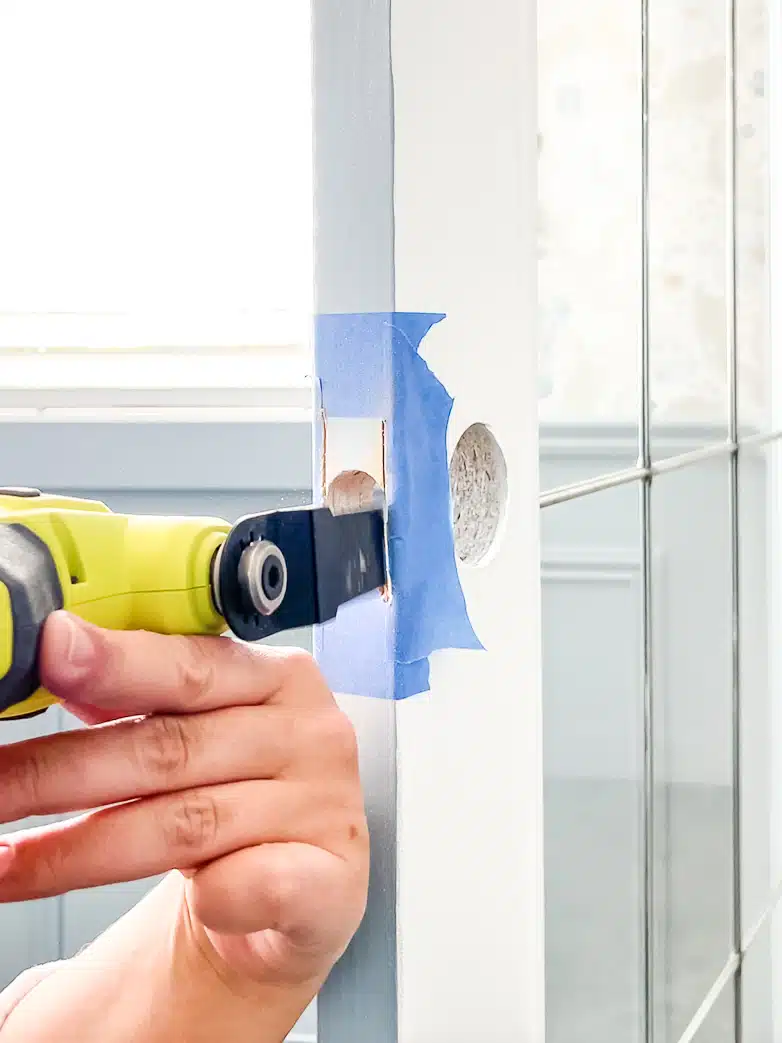
I marked the position of the face plate with painter’s tape before cutting the outline with my multi-tool. A wood chisel would have been better, but I don’t have one and tried to make do with what I had on hand.
This reminds me of something I heard recently about using the wrong tool. When someone told a DIYer he was using the wrong tool, he replied: “If it works, it’s not stupid!” That resonated with me! (Maybe because I ever so often use the wrong tools.)
I digress.
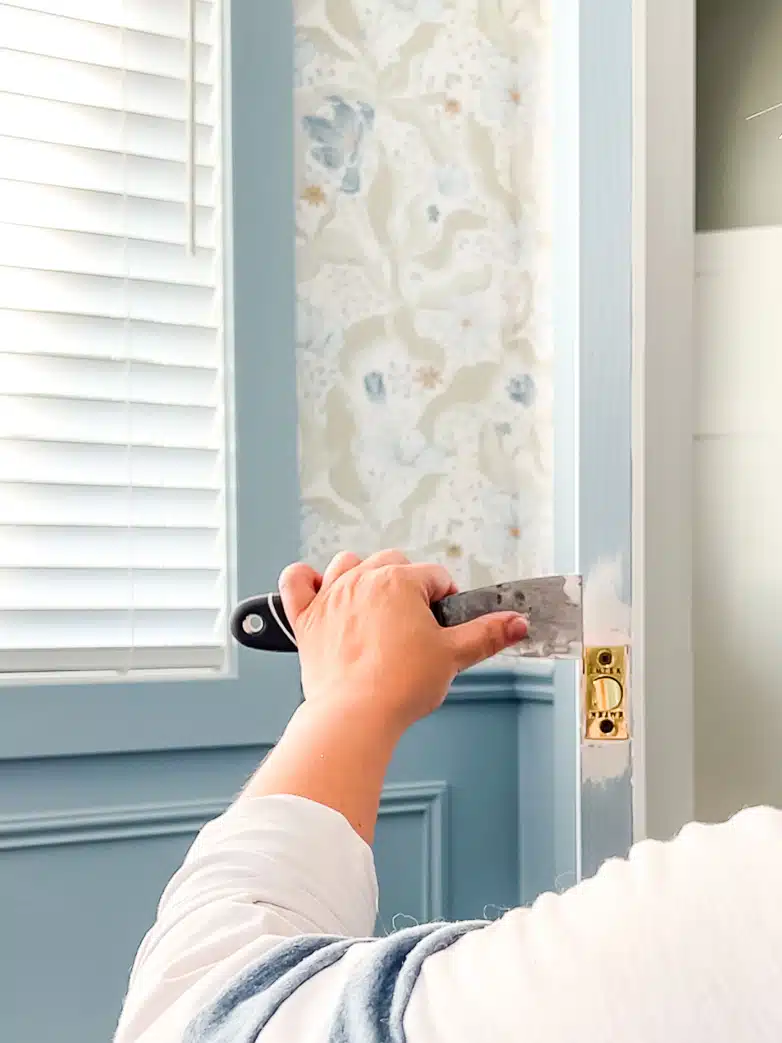
I did hack away more of the door than necessary, but nothing that couldn’t be fixed with a bit of filler and paint.
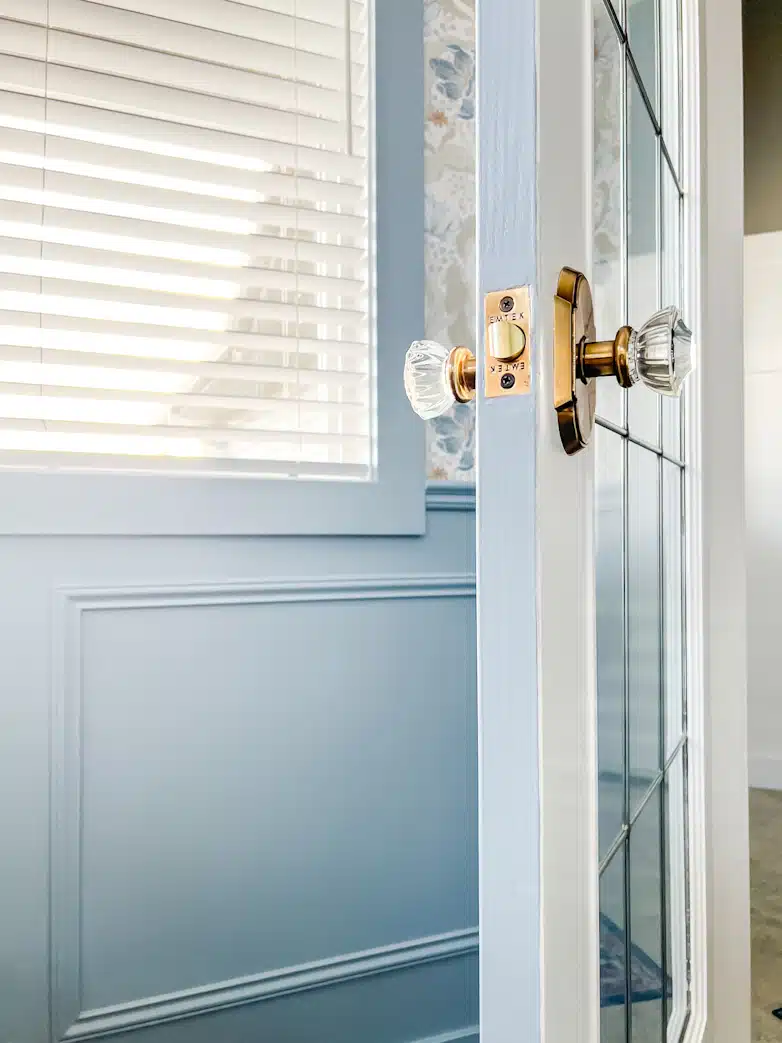
The rest of the installation was straightforward. Two screws and voila! Oh, and replacing the strike plate on the door frame.
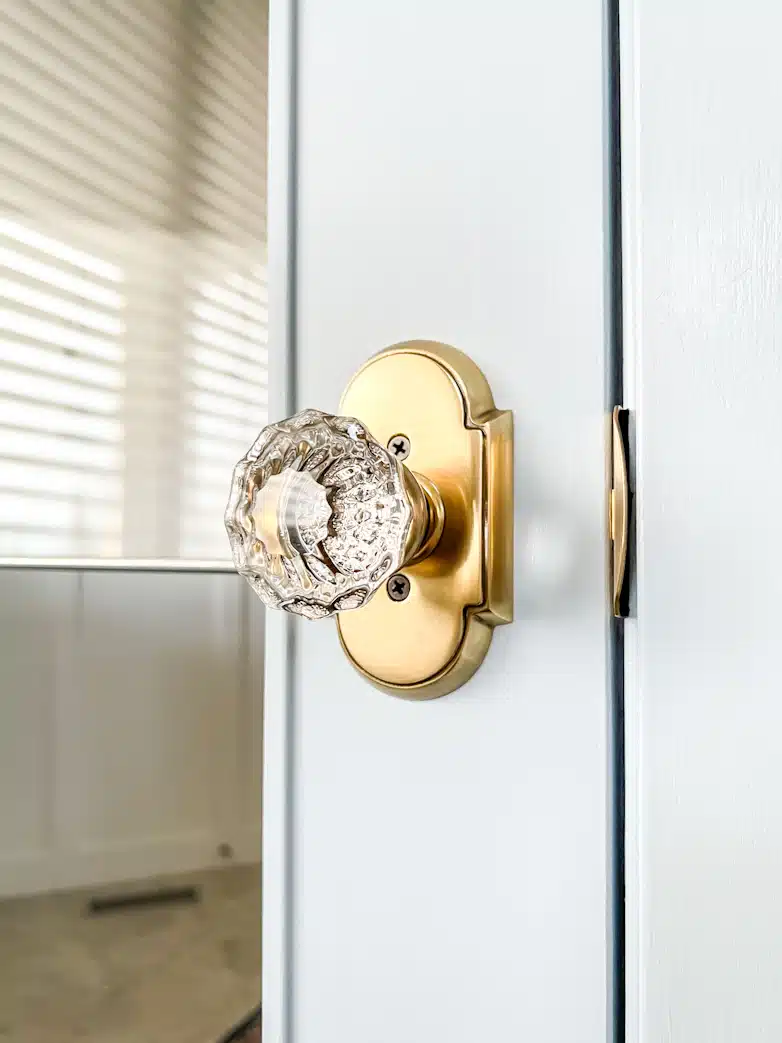
The brass and glass combo is gorgeous; I just can’t stop staring!
This office has so many beautiful elements. It would be a miracle if I get any work done here!
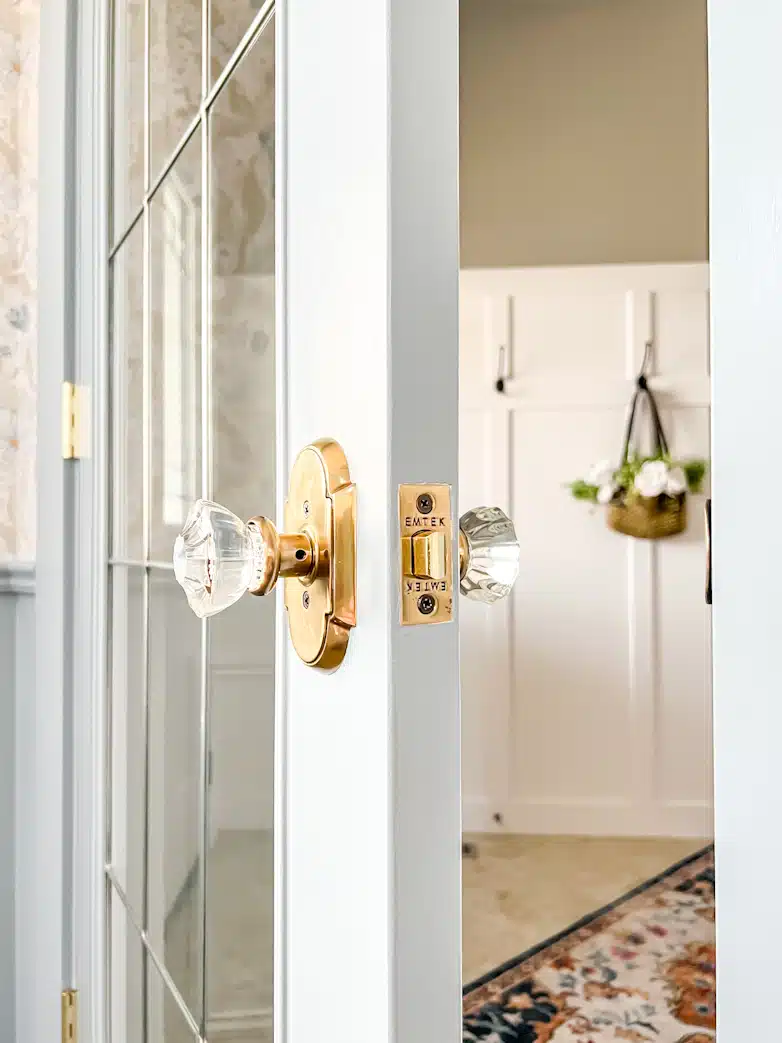
Thank you, Emtek, for sponsoring the door hardware for this home office makeover!

Head over to the One Room Challenge website to see the progress of all the guest participants.
Until next time, happy renovating and decorating!
