Installing Home Office Wallpaper
Week 1 | Week 2 | Week 3 | Week 4 | Week 5
Week 5 of the One Room Challenge is in the books, and it was a successful week. We hung the home office wallpaper!
Preparation Before Hanging Wallpaper
I spent the first couple of days of the week touching up a few spots on the wainscoting, I also corrected overspray on the edges of the door and painted and replaced all the electrical outlet covers and the air intake cover.
Luckily, all the walls had a smooth finish and were ready for the wallpaper to be hung. It’s always a good idea to wipe over the walls with your bare hand to feel if any tiny bumps need to be sanded. A paint droplet or roller fiber is almost always left from the previous paint job. It probably won’t show through your wallpaper, but if you make an effort, you might as well do perfect preparation.
Textured walls need a little more preparation. A wallpaper lining is required before you can hang your wallpaper.
Installing the Home Office Wallpaper

I was super excited to get this gorgeous Bodri Light Blue Tulip Garden wallpaper on the wall.

I created a cutting area with a masonite board wider than the wallpaper, a steel carpenter’s square, and a utility knife. It made things SO much easier! To cut wallpaper, the blade needs to be super sharp. I began with a new blade and replaced it halfway through.
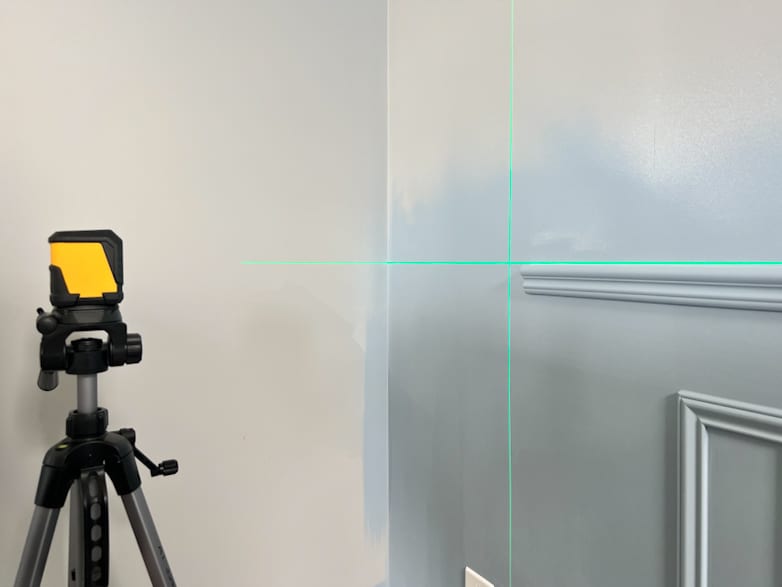
As predicted, the laser level was a big help in getting that first strip of wallpaper on the wall. Beginning with a plumb line is crucial! If your first trip is not 100% plumb, you will see how your pattern changes at the top and bottom with each repeat.
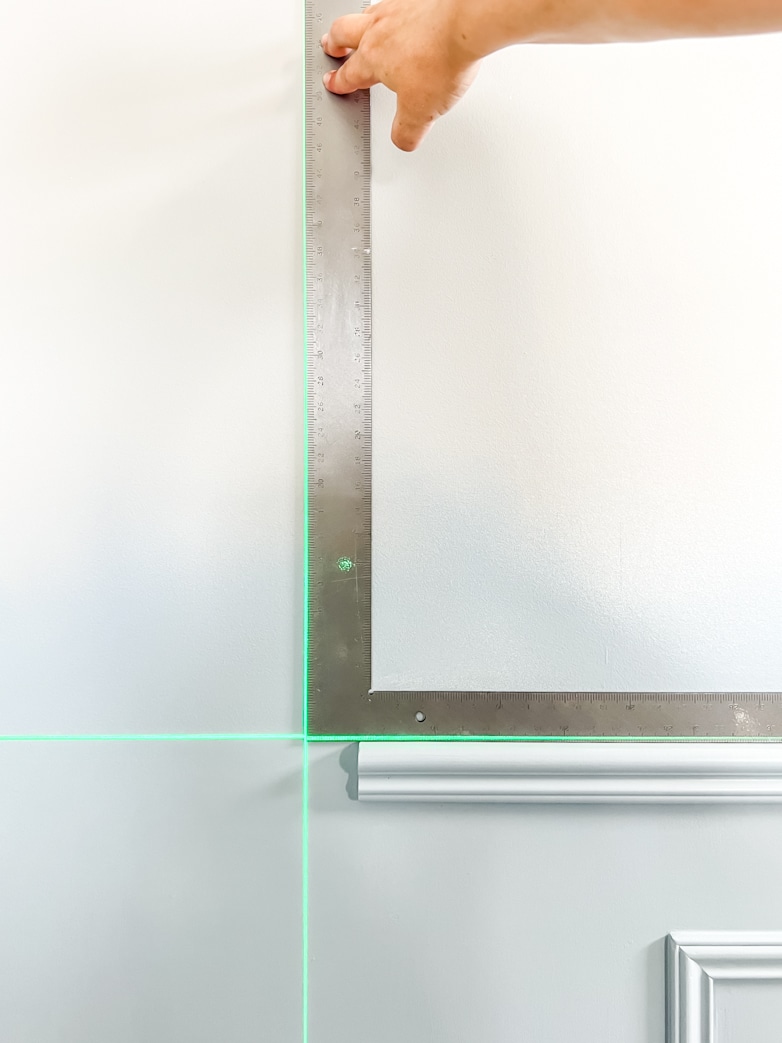
I double-checked the laser lines with the carpenter’s square just to be sure.
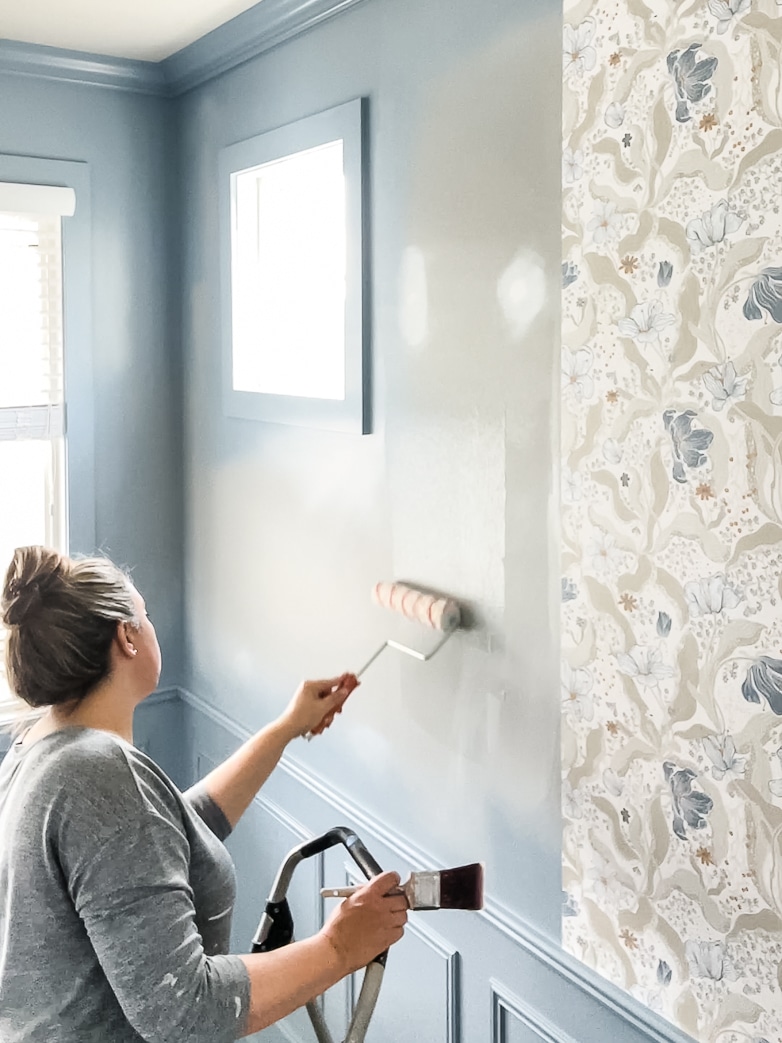
This is a “paste the wall” type of wallpaper (my favorite), and I find it easiest to apply the paste with a paint roller and paintbrush.
Once an area slightly wider than the wallpaper is covered in paste, position the strip of wallpaper. Cut an extra allowance of at least two inches at the top and bottom.
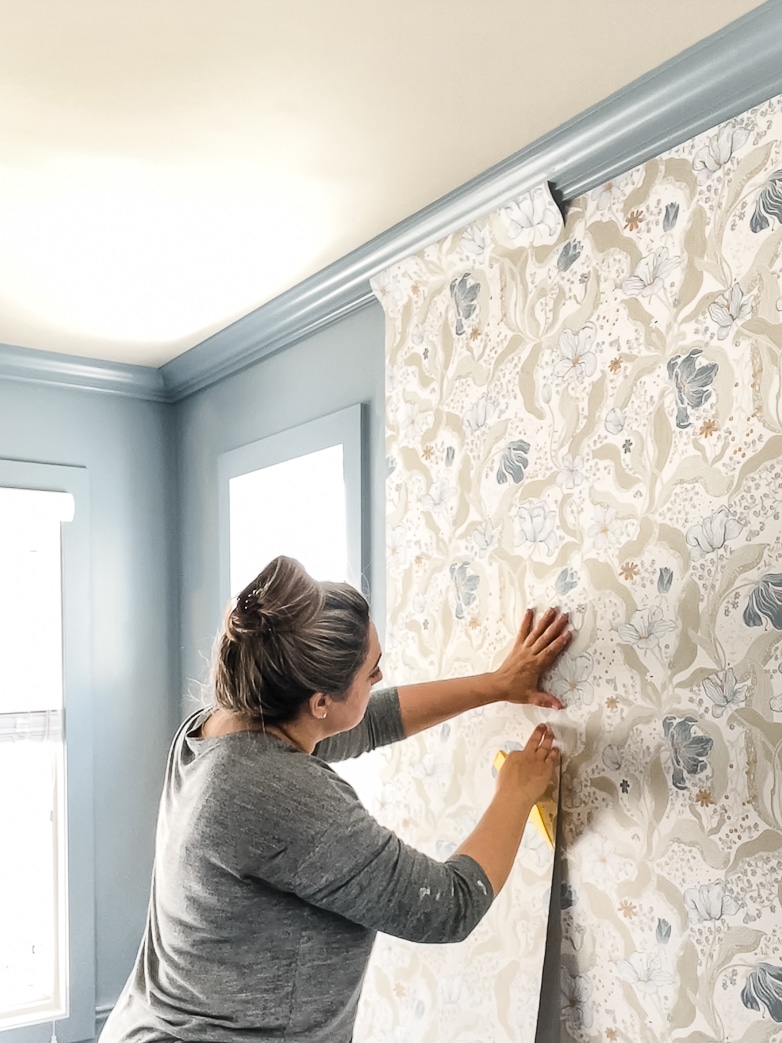
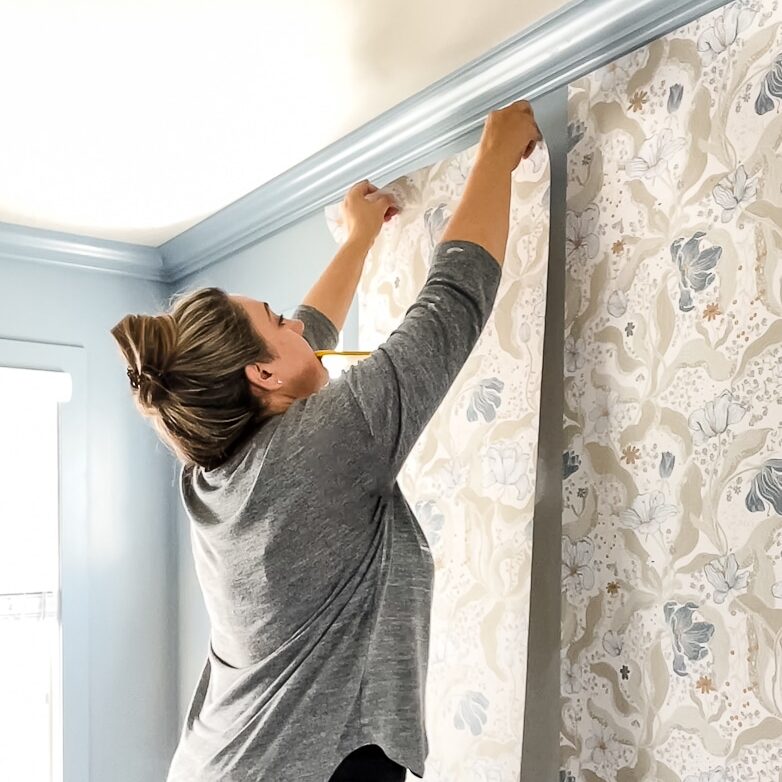
Make sure the pattern aligns with the previous strip all the way down the edge of the paper. Pasting the wall makes it fairly easy to slide the paper into place.
Once the pattern lines up perfectly, you can smooth out the paper, removing any air bubbles and excess paste.
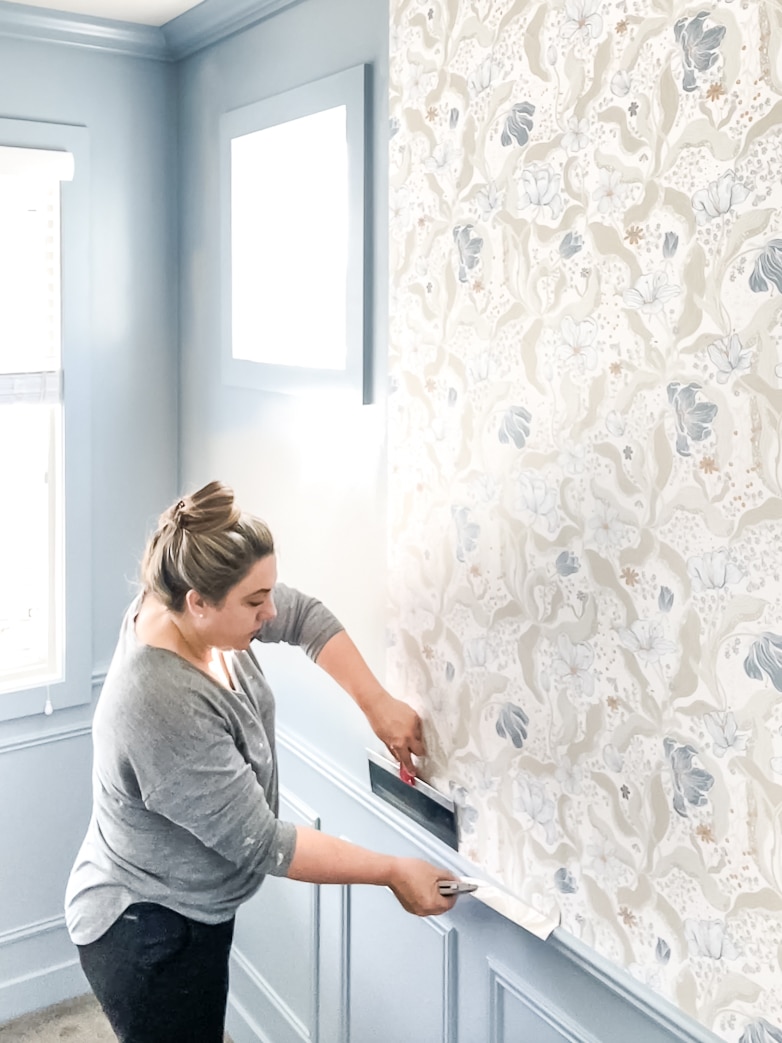
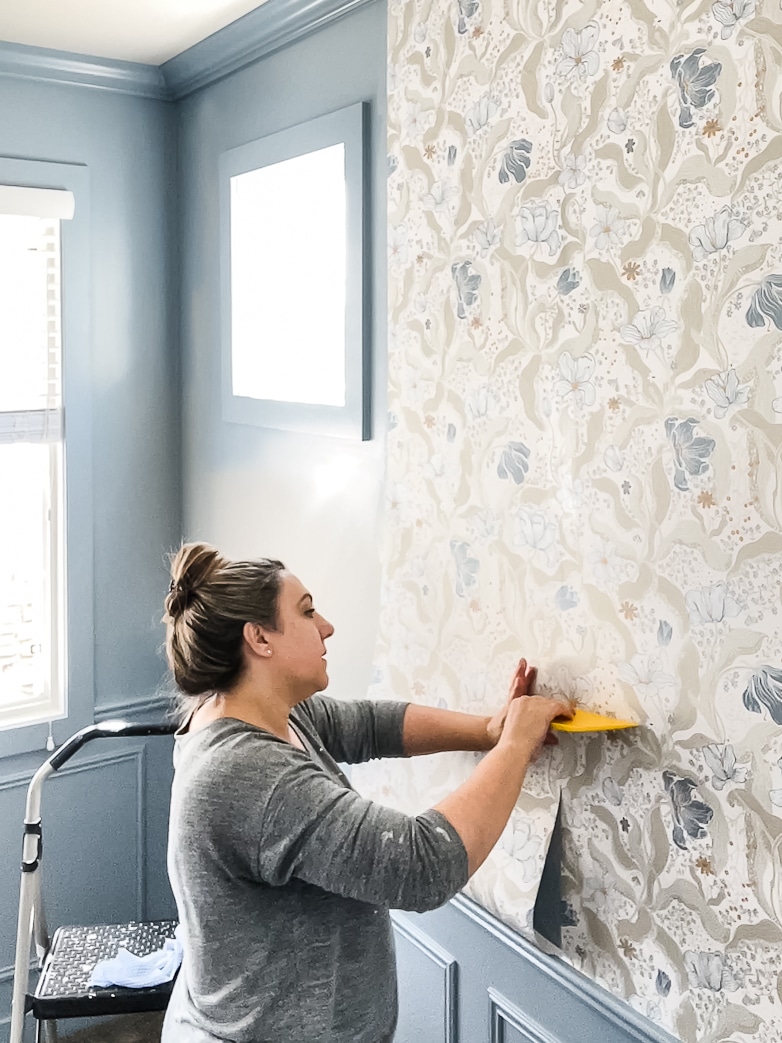
I used a 12-inch taping knife as a guide to making straight cuts with the utility knife as I trimmed away the top and bottom.
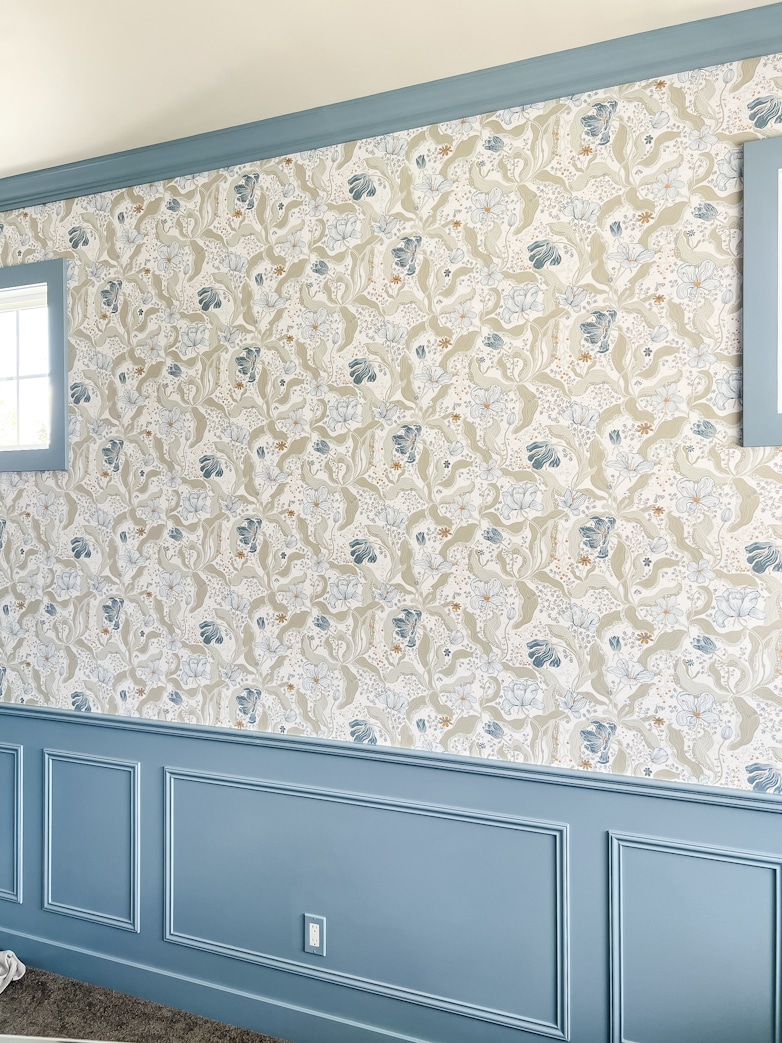
And there you have it, wallpaper installed in the home office. I think it looks amazing framed by the blue molding and wainscoting. Also, can we take a moment to talk about that ceiling color?! I am so happy with it! I’m thinking I might never paint another white ceiling.
A Tip to Preserve Wallpaper When Hanging Pictures and Railing

My plan is to hang sheer curtains to both help with the late afternoon sun and soften up the room.
I measured and installed the curtain rod before hanging the wallpaper above the window (just in case I measured wrong and had to move a hole!) Once I was happy with the position, I removed the rod again and pasted the wallpaper over the wall plugs.
The photo above made me laugh out loud when I saw the little “orphan” on the other side of the door!


Back to my tip to prevent damage to your wallpaper! Before inserting a screw into the plug, make two cuts (you can cut a cross or an arrow) over each plug. Fold the triangle(s) open and insert the screw.
If you ever want to remove the screw, the paper can be pasted and folded back into place without leaving a hole in your beautiful wallpaper.

What’s Next?
Next up are the built-ins! Those built-ins that I plan to build from scratch even though I’ve never done it before. I am nervous but also excited to get started.
It helps to know that most of the room is complete, and I can focus all my attention on this massive undertaking.
Wish me luck because come Monday, I’m pretending to be a carpenter!
Love this wallpaper pattern and your tip to prevent damage…so clever!
Good job!
Thanks, Gail!
It looks so beautiful, you’ve done a wonderful job so far. Looks professional to me!
Thank you so much!
Sooo lovely!!! The pattern is so welcoming, and the blue is very soothing.
Have you ever used peel and stick wallpaper?
Hi Marchia! I’m so glad you like the wallpaper. I have not used peel-and-stick on walls, just inside a hutch. I’m open to the idea, though!