Wainscoting & Crown Molding
Week 3 of the One Room Challenge was all about installing trim – crown molding, and wainscoting. It took way longer than planned, even though I worked all day, every day.
The most time-consuming task was filling nail holes! I tend to get a bit carried away with these small details. Filling and sanding, refilling and resanding. Until it looks perfect.
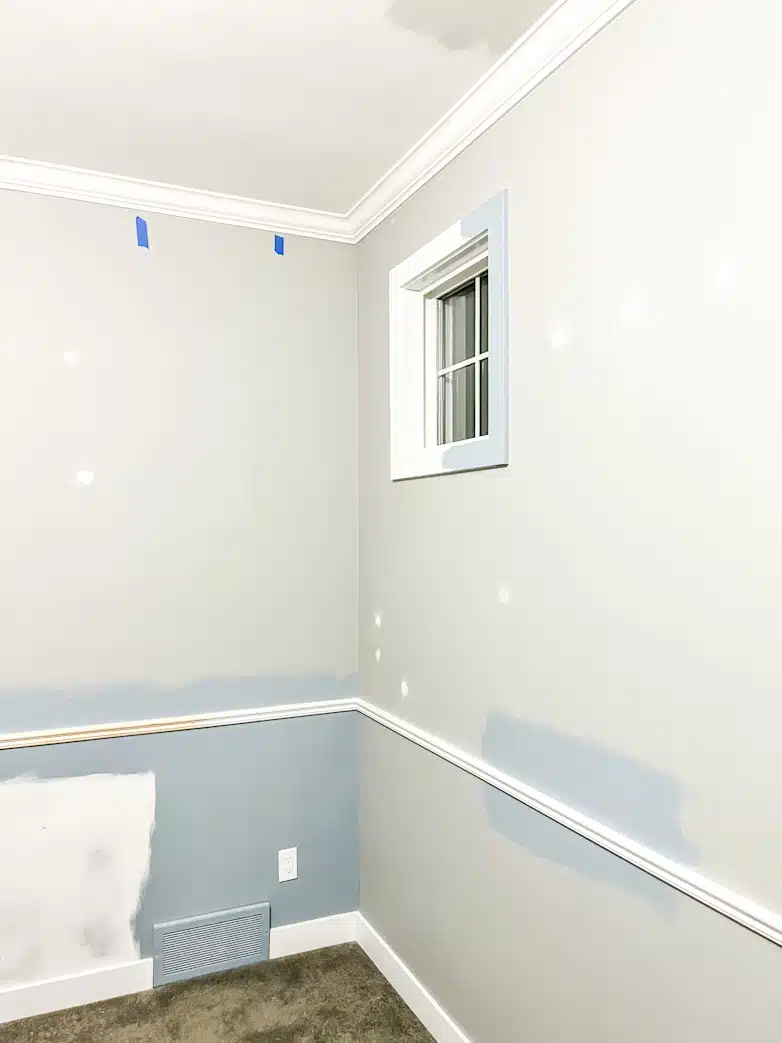
In the photo above, you can see the crown molding and the chair rail. The pieces of blue painter’s tape are marking where the studs are. Shooting nails directly into the studs prevents the crown molding from pulling away from the wall.
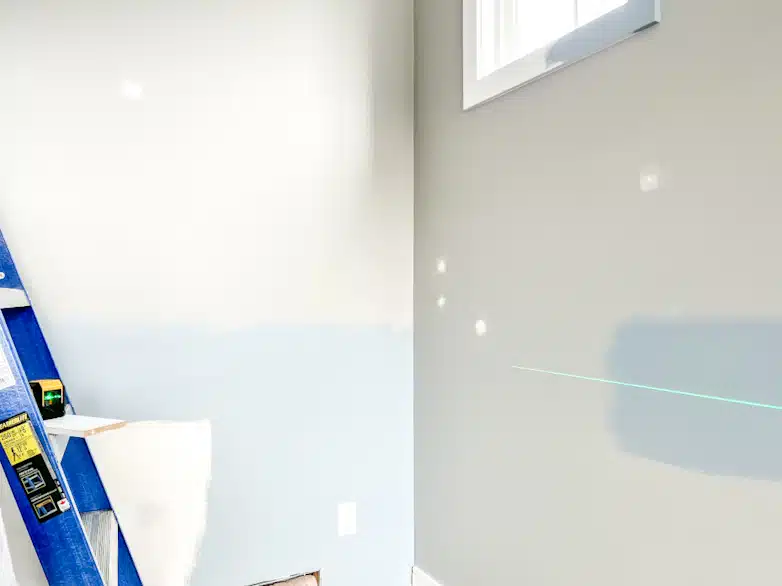
I invested in a laser level that made my life much easier when I installed the chair rail! It will also come in handy when I hang the wallpaper.
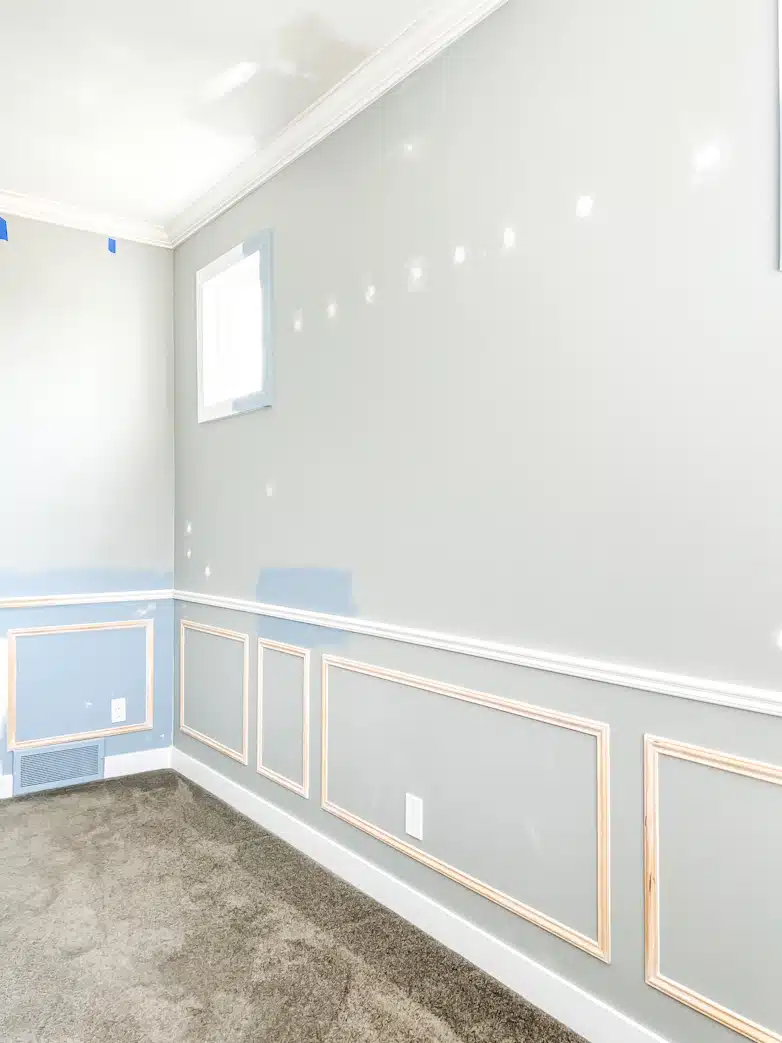
I did not buy a single piece of trim for the wainscoting; I already had all of it saved to finish the stair area. Unfortunately, I have now used every last bit I had left.
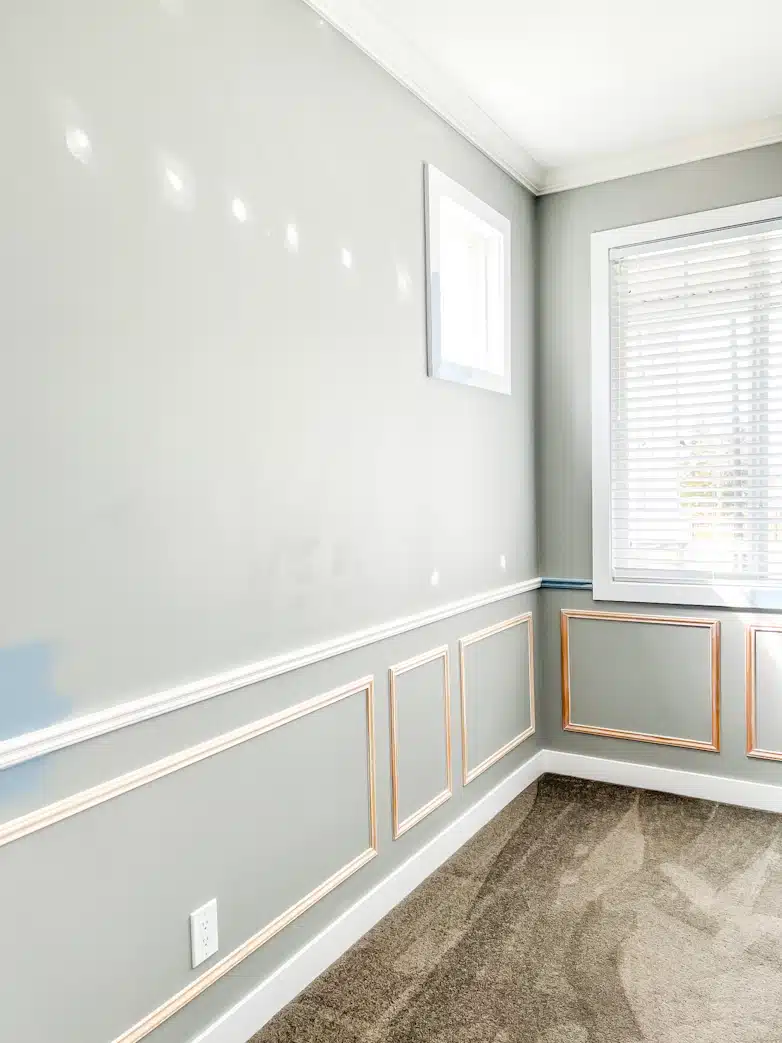
For the wainscoting, I created “boxes” or panels in different sizes but placed them symmetrically. I was surprised when my husband asked why they weren’t all the same size.
On Friday, I posted a “How would you do it” poll in my Instagram stories to hear more opinions. I was surprised that the option of making all wainscoting panels the same size had won by two votes! Somehow, I always imagined them in different sizes, and that is what I did. If you voted for equal-sized panels, I would keep that in mind next time, I promise.
What Else Happened During Week 3?
The plywood for the built-ins was delivered on Friday! I am so eager to start building.
Something else I shared in my Instagram stories this past week was the gorgeous door hardware that was delivered.
Since the wainscoting and crown molding didn’t need a lengthy update, let me tell you more about the door hardware and the wallpaper, both sponsored by brands who wanted to collaborate on this home office design.
Door Hardware by EMTEK
This hardware design is the stuff my dreams are made of. Can you imagine how beautiful this French Antique Brass finish will look against the Winter Lake Blue paint?
Hardware is the “jewelry” of a room, and this doorknob most certainly looks the part.
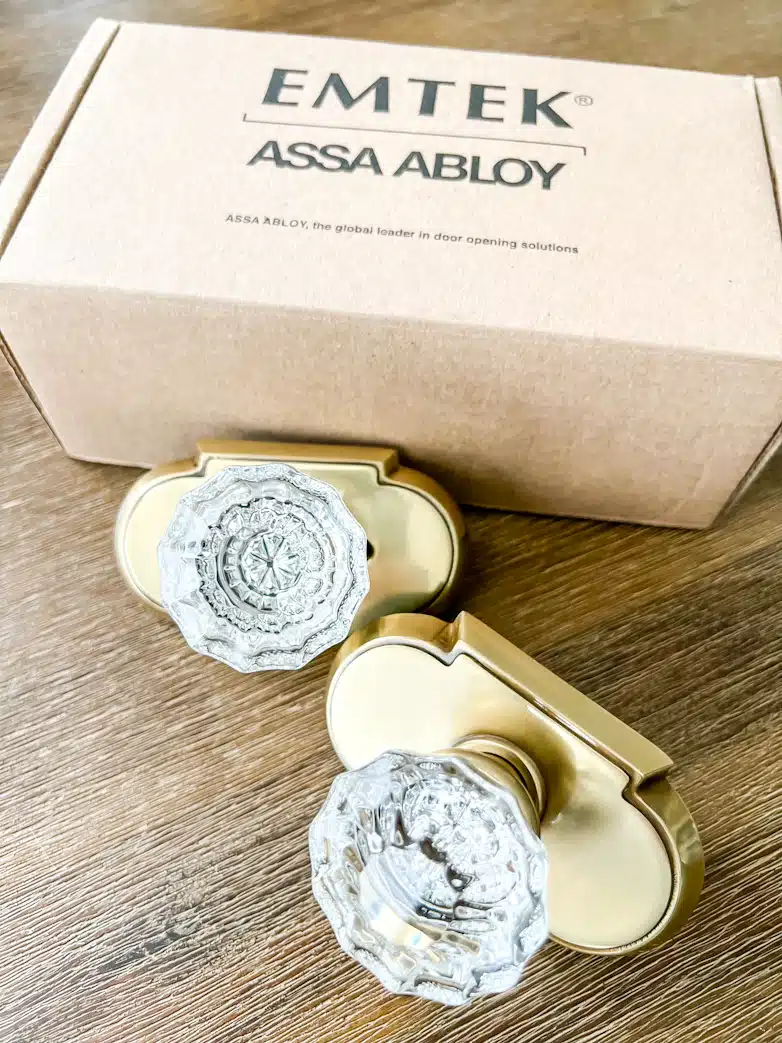
I am incredibly grateful to have Emtek as a brand partner on this project.
That is not all, though. I received a second product from Emtek, which will be featured (installed) in my next update. It will be the first reveal during this project, and although this will not be inside the home office, they are somehow related.
Product link: Astoria passage knob (affiliated)
Wallpaper by A-Street Prints
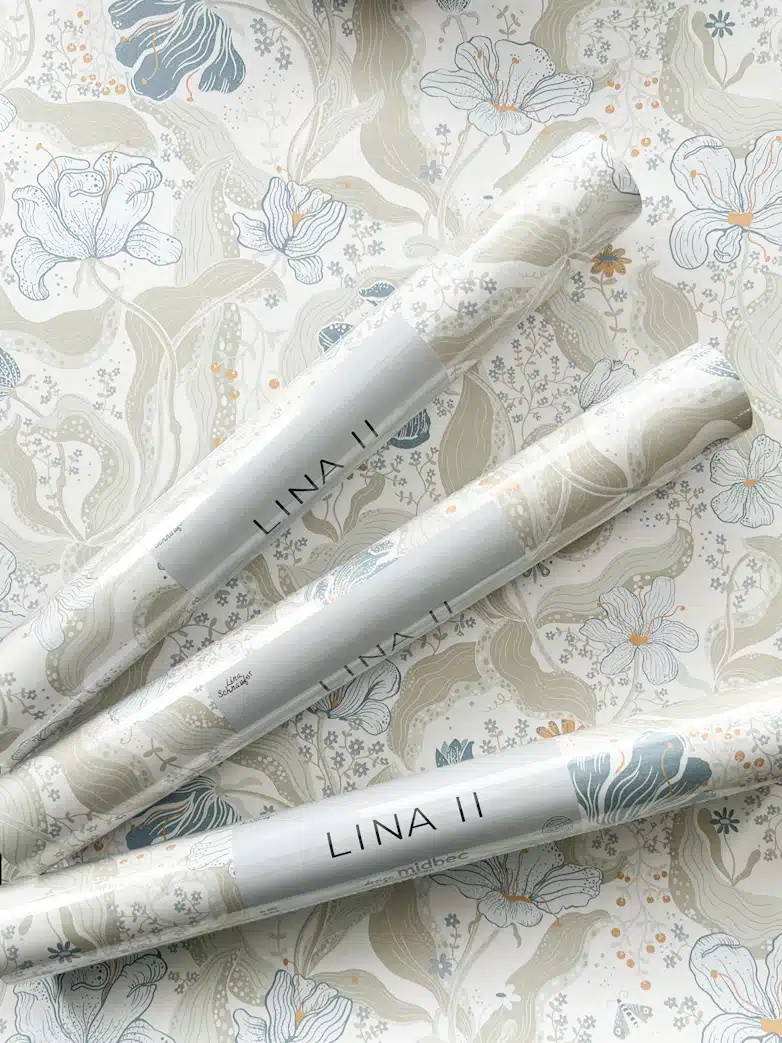
This design is called Bodri Tulip Garden (Light Blue) from the Lina collection.
To see the weekly progress of all the challenge participants, visit the One Room Challenge website.
