My Vision for the Home Office Design
The time has finally come to start the next room makeover, and it is…… a home office! Step one is the design and showing my vision for this space.
That is not all, though… I am super excited to announce that I have entered as a guest participant in the One Room Challenge® of spring 2023. That means I have eight weeks to complete this project, posting a weekly progress report of how the home office is coming along (with a big reveal at the end). No idea what I’m talking about? Let me explain!
What is the One Room Challenge®?
It is a biannual event (every spring and fall) that started in 2011. Bloggers and influencers enter the event with a room they want to complete during the given period. Participants link their weekly project updates on the ORC site, and spectators and participants can easily follow along by browsing the weekly progress page.
Apartment Therapy is the event’s official media partner.
The Home Office Design
On our very open-concept main floor, there are only three spaces with doors: the powder room, the mudroom, and what will be the home office. The latter is next to the front door, overlooking the porch and front yard. Most people call it a den or flex space; we have always called it the study.
In our previous home, the study had beautiful mahogany built-ins with bookcases, storage, and a desk area. When we moved into this home, we quickly had to make a plan if we wanted to unpack all of these boxes filled with books.

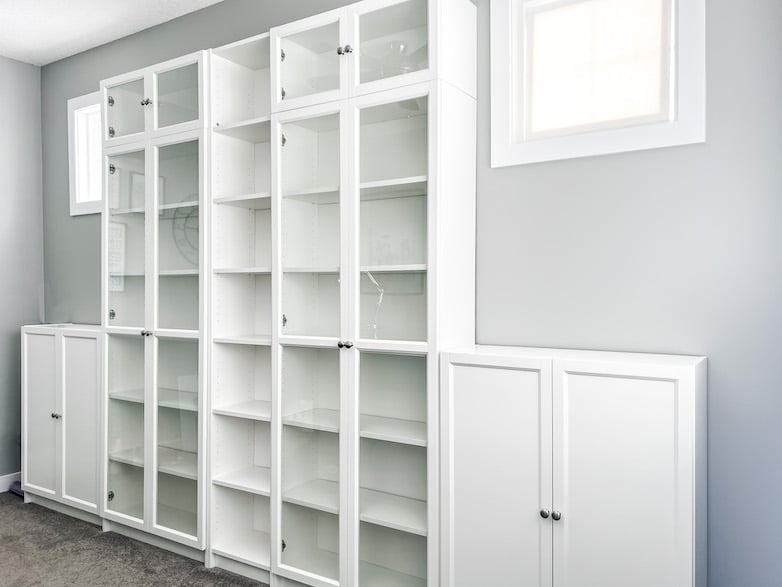
Ikea to the rescue! We bought a desk, a chair, and the best storage and bookcase situation we could configure for this area. Together with the upright piano and my grandmother’s armchairs, we created a cozy but functional space.
That’s how we rolled until…

Our young pianist developed the need for a grand piano. The desk and chair had to go! It felt like this monster of an instrument filled the whole space, but this was the ONLY space we had.
For a few years, she practiced every day, for hours on end. When she left for university, the house became very quiet. Occasionally, when she is here for the weekend or school break, we enjoy the familiar sounds again. Needless to say, I may have decided to put this space to use again, but the piano is going nowhere! I will have to share my office space.
Prepping the Room for a Transformation
I brainstormed for months about getting the most out of the (shared) space. First of all, the Ikea bookcases had to go. They worked well, but now I need a better solution.
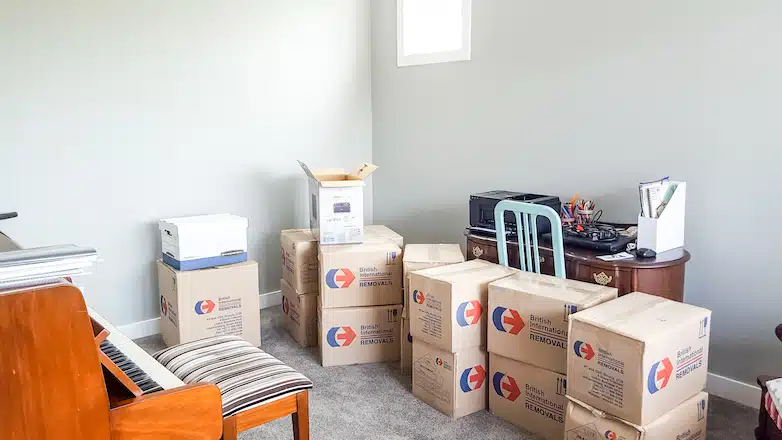
The books are back in boxes, and I advertised the bookcases on Marketplace. They sold within a few hours for a pretty decent price.

All the holes in the walls are filled, and we just need to move all these boxes out of here before I get started.
I will have to work around the piano, though. The plan is to cover it with a blanket, followed by tarps and thick plastic that can be taped up to protect it from dust and paint.
The Home Office Floor Plan

Moving the piano to the right, where the Ikea bookcases used to be, will free up a lot more floor space. To make the most of this space, I am once again opting for built-ins. I designed them, and I am going to build them from scratch!
Have I ever done such a big woodwork project? Absolutely not.
Am I scared out of my mind? You bet!
Am I going to do it anyway? Yes, I am, and I am going to need you as my cheer squad!
This will be the biggest and most time-consuming task of the whole project. I will have to hustle!
The Built-ins Design
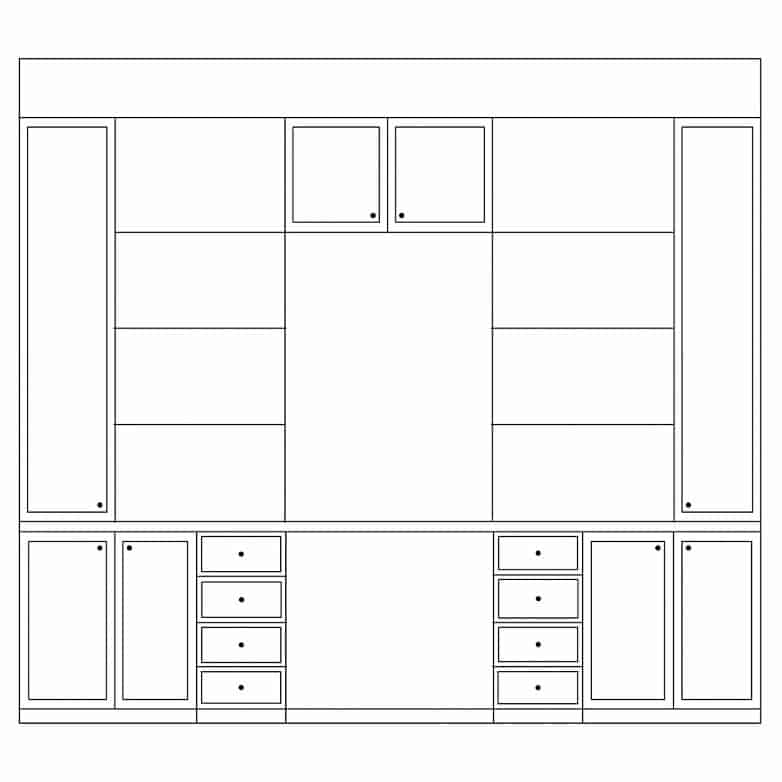
This is just to give you a basic idea of my plan. I will share all the details when it’s time to build.
The desk area will be in the middle, spanning from the outer edges of the drawer units, and will be eight inches deeper (standing forward) than the storage cabinets on either side.
The upper cabinets and shelves will be eight inches less than the bottom cabinets (closer to the wall). This might sound confusing, but the floor plan I showed earlier might give you a better idea of what I mean.
The Project Plan
The tasks on hand to complete this room:
- Remove the ceiling fan and move two electrical outlets to accommodate the built-ins
- Remove texture from the ceiling, add crown molding and paint the ceiling.
- Build and install the built-in cabinetry
- Install decorative molding on the bottom third of the walls.
- Spray paint the wainscotting, trim and built-ins
- Install wallpaper on the top 2/3 of the walls
- Paint and reupholster vintage 3-seater for seating
- Change the door hardware
- Install lighting and decorate shelves.
I must admit, this is a tremendously ambitious project plan! Will I manage to get it all done in time? All bets are on!
Design Details of the Home Office
I know this is what you really wanted to see, and I made you wait until the very end!
If I had to pick three words to describe this design, I would say feminine, glamorous and serene.
I fell in love with a wallpaper design that inspired all the other decorating elements.
The color scheme is a mix of muted blues and linen-like neutrals.

The built-ins and wall trim on this vision board are just to give you an idea of the form, not the color choice. The wallpaper in the background is the exact design. Isn’t it gorgeous?? Do you like the design plan? I would love to hear your thoughts!
I hope you are excited to see this design plan come to life, as I can’t wait to share the weekly updates with you! If you would like more real-time, day-by-day updates, follow me on Instagram and catch my story updates.
If you are curious to see the design plans of the other participants, hop on over to One Room Challenge’s website.
Until next week, happy renovating!
Update: You can see the finished home office makeover here.
Sounds like a great plan!! A few ORC ago I had to do the same for my husbands office…piece of cake 🙂
Oh it’s going to be beautiful! And you can just play a little chopsticks on the keys when you need to clear your mind while you’re working! 🤣 Can’t wait to follow along with this one!
Ha ha, Barbara! This made me laugh SO hard!
FYI, I can’t even play chopsticks!
You will make a huge success of this project as you have done with all the others over the years. Your natural talent, creativity and determination are the most valuable skills needed for this and you have plenty of it! Go girl go!!👏🏻👏🏻👏🏻