A Desk Pad DIY that will Transform Your Workspace Instantly!
Be inspired by this desk pad DIY. A quick and easy decoupage project will make your workspace look gorgeous in an instant!
A few years ago, I bought this soft, flexible desk pad to use underneath my laptop on the dining table or wherever I sit down to work (creating my dedicated workspace begins next week!).
When I searched for the link to post here, I was surprised to learn that it is called an oversized or gaming mouse pad – not a desk pad! Anyhow, this 12 x 30 inches rubbery, soft pad with a fabric layer and stitched edges suited my needs perfectly.

This design, however, is a little harsh on the eye. I can’t remember if I chose this design or if it was all I could find. I like the flowers, they are just a little bold for my current taste, and the black background is not for me.
If you’ve known me for longer than two minutes, you also know that when I don’t like the look of something, I change it, and that is exactly what I did!
FAQ: Can Fabric be Painted?
This a question people ask often and the answer is yes! The secret is to keep your fabric just a little wetter than damp throughout the painting process.
This will prevent the paint from forming a thick, dry layer that will crack and crumble. You basically want to stain the fabric with paint using thin layers, building up the color to the desired look.
A misting bottle is perfect for wetting fabric without soaking it. It’s best to mist before and also during the painting process, to keep the paint moving and enable it to get right into the fibers of the fabric.
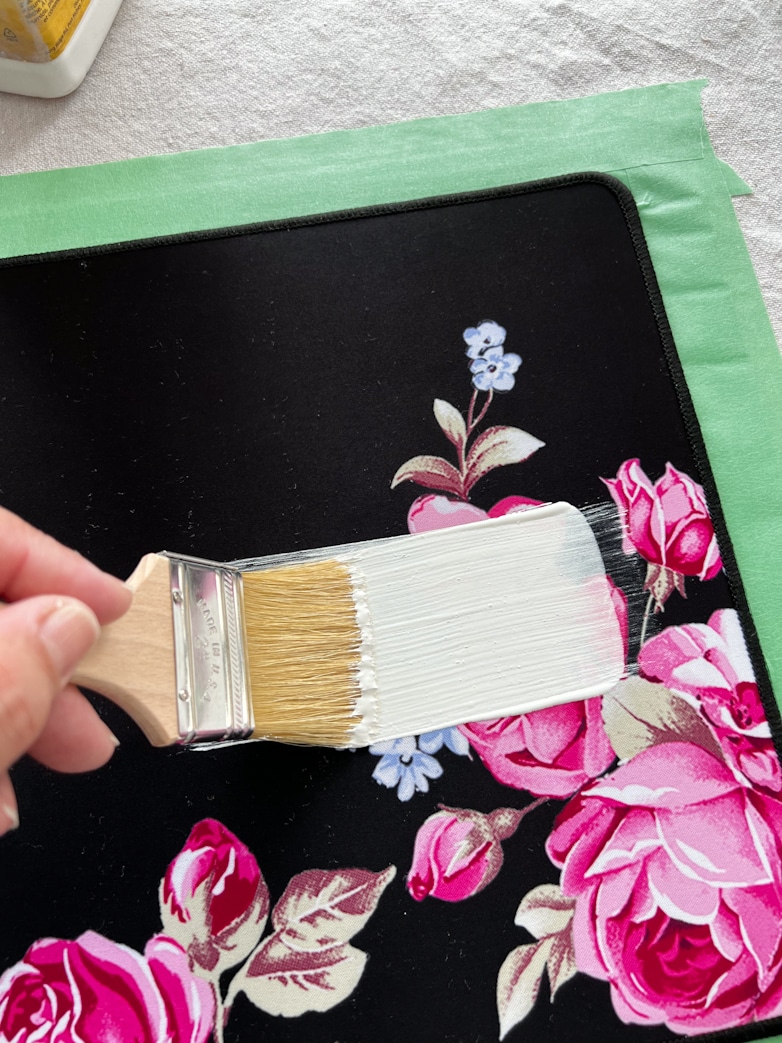
After misting the whole pad with water, I started painting with white chalk paint. This step is crucial! Whether you’re using paper napkins or decoupage rice paper for your project, know that any color or pattern underneath will show through. Always paint your item white before decoupaging!

Just like unfinished wood, the painted fabric will dry with scratchy little fibers standing up, and just like wood, you can sand them perfectly smooth with a 240-grit sanding sponge. (If you can even call it sanding, all it needs is one light wipe with the sanding sponge to be super smooth.)
Decoupaging with Rice Paper
The blue-on-white sketched flower design stole my heart the moment I saw it! I was over the moon that I finally had the perfect project to use it.
Traditionally, you would use Mod Podge to apply and seal your decoupage paper, but I used Dixie Belle’s Clar Coat sealer, which worked perfectly.
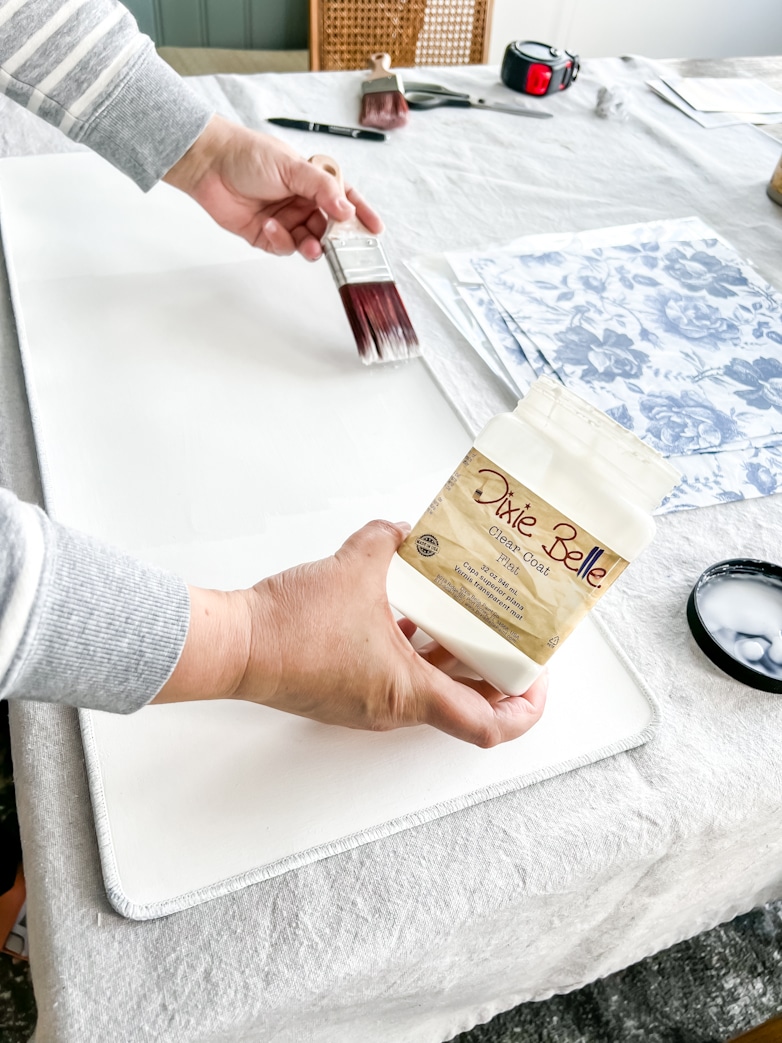
I painted the middle section of the desk pad, slightly bigger than one sheet of the decoupage paper, with a generous amount of Clear Coat.
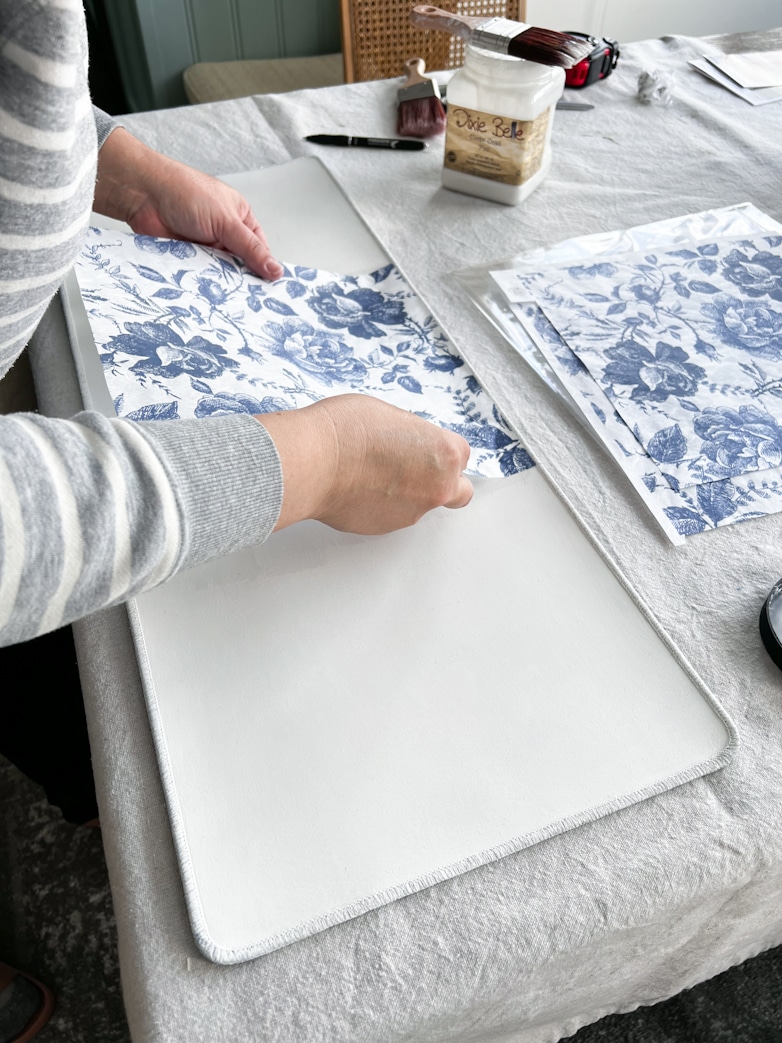
Dixie Belle’s decoupage paper includes three sheets per pack, which was perfect because I needed three sheets (just under one square foot each) to cover this desk pad.
The pattern on the individual sheets lines up perfectly, like wallpaper, but you must cut off the unprinted edges first.
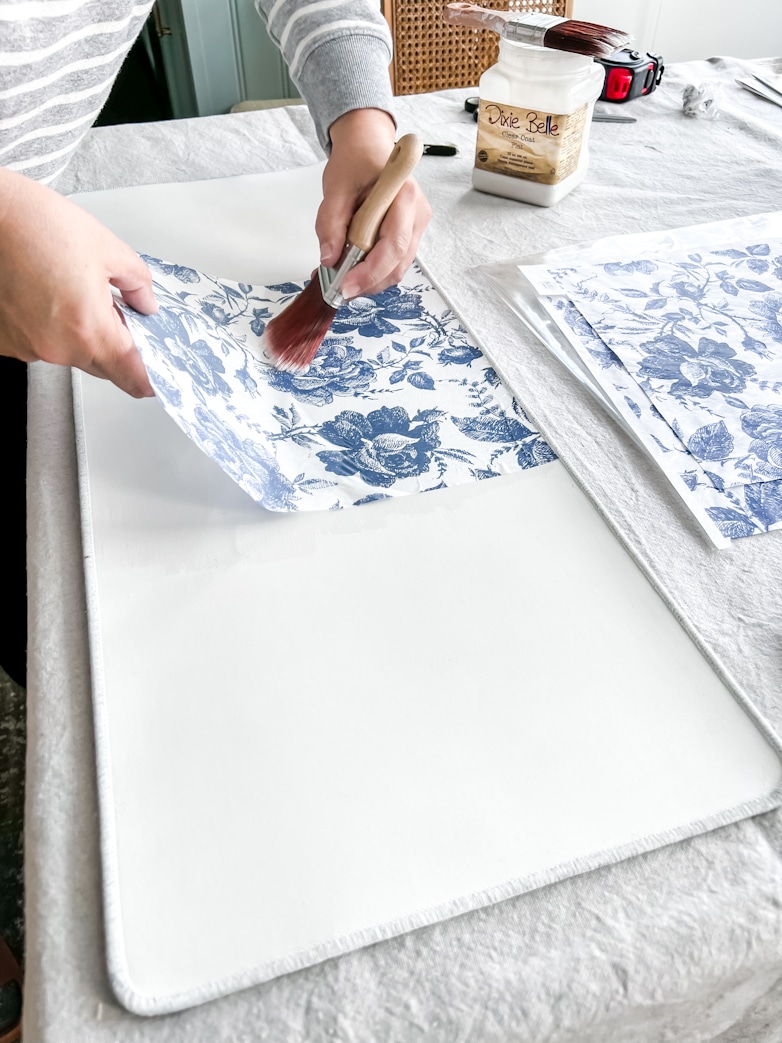
A clean paintbrush worked perfectly to push the paper down onto the Clear Coat, smoothing it out to avoid air bubbles and not stretching or tearing the paper.
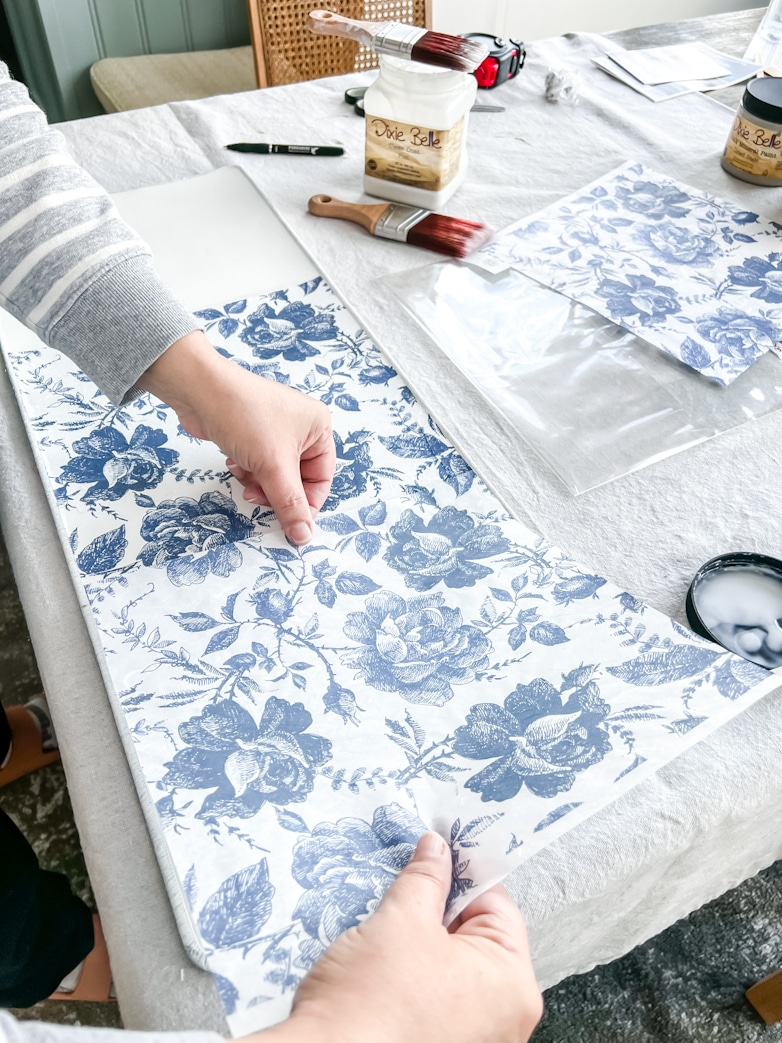
I placed the first sheet perfectly centered to space the two joints equally in case they are visible. Luckily, the sheats lined up seamlessly, and I almost forgot there were any joints.

I tried my best to smooth out the paper thoroughly, but it does start to stretch a little as it gets wet, and a few wrinkles on a decoupage project are normal. After trimming the excess paper, I sealed the whole surface with three thick coats of sealer, allowing ample drying time between each coat.
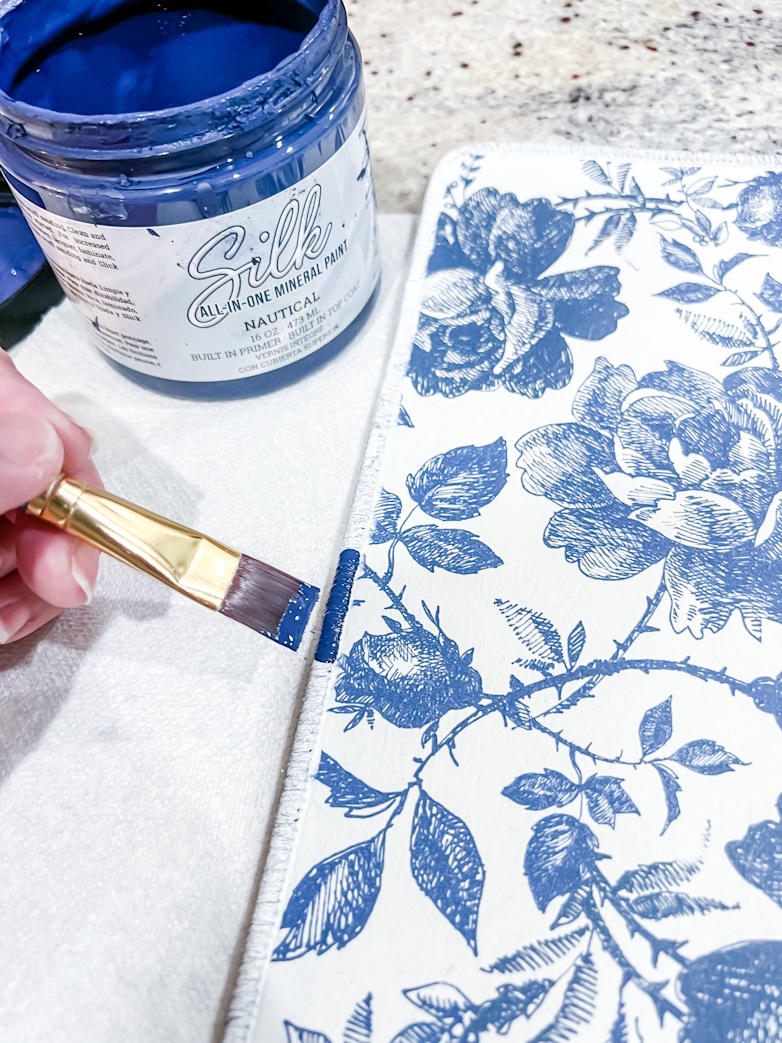
Lastly, I finished off the stitched edge by painting it with my all-time favorite blue color, Nautical.
A Desk Pad DIY – Brand New in Blue and White
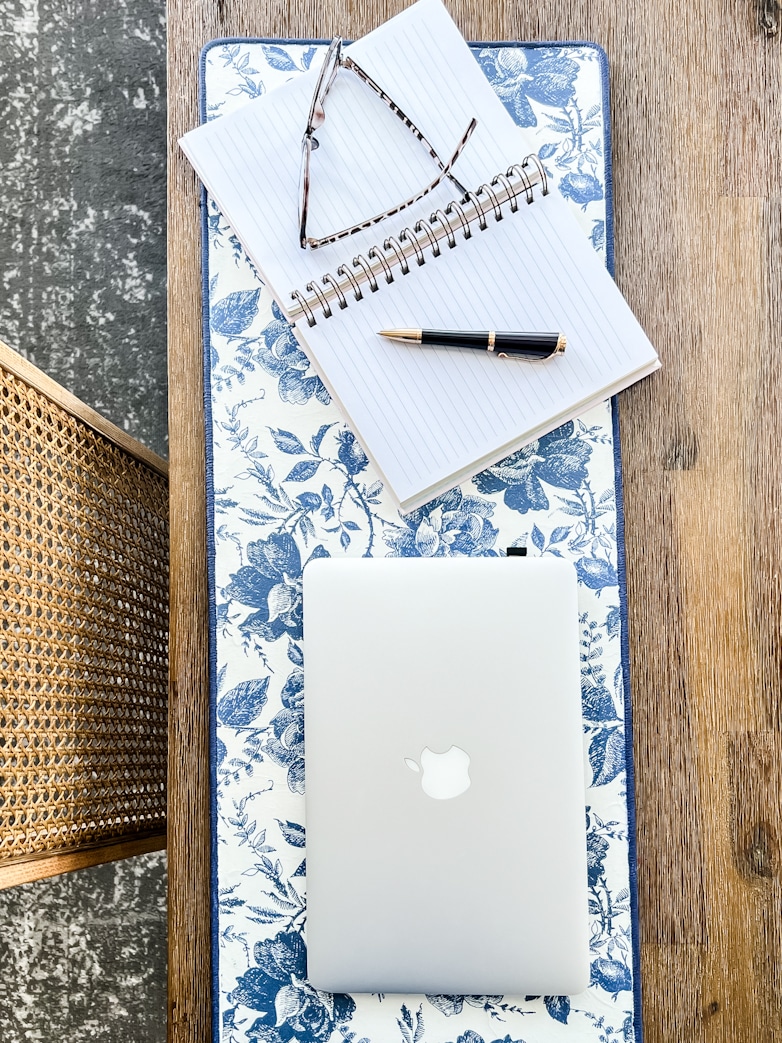
If you know how much I love blue and white, you can imagine how happy this new look makes me!
You might be surprised to know that the pad is just as flexible as it used to be. The paper layer moves effortlessly with the rubber backing. I am amazed myself! I had no idea if decoupaging a flexible surface would be possible without tearing or cracking the paper. This was an experiment that turned out beautifully!

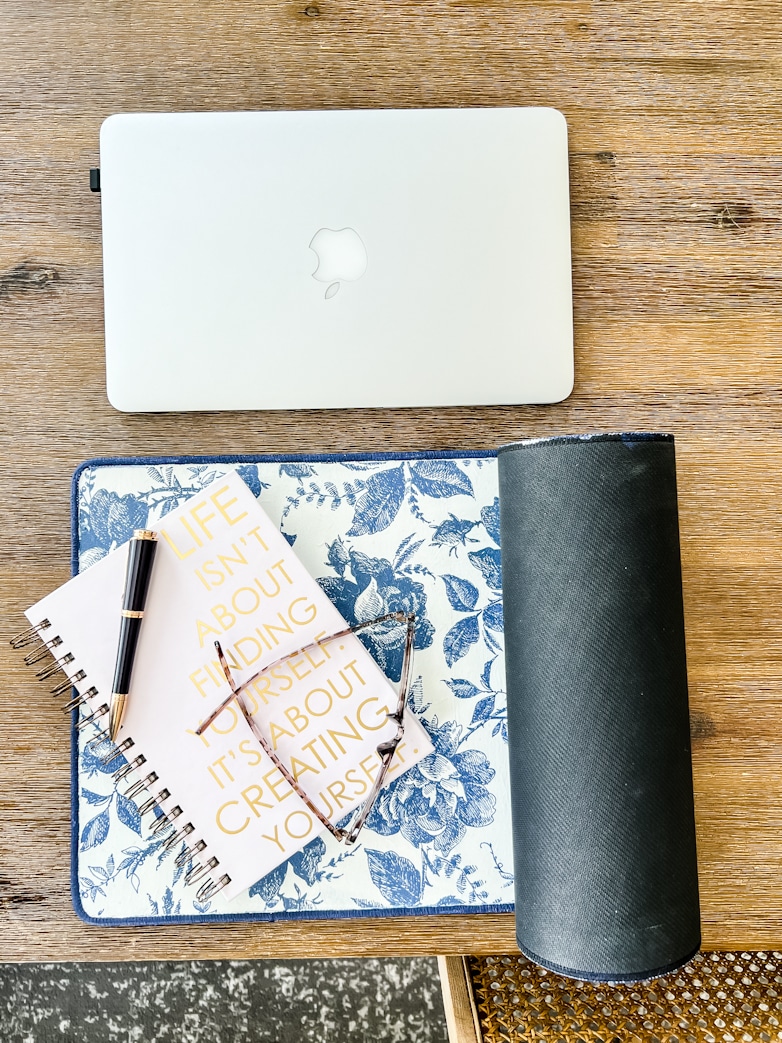
I enjoy using the desk pad more than ever! Do you think it’s an upgrade? Let me know in the comments below, and until next time, happy crafting!
You May Also Like These Posts
- How to build a simple desk with drawers
- DIY Blue & White Chinoiserie Pumpkins
- How to Reupholster a Counter-Height Chair
- DIY Wall Decor And Other Inexpensive Ways To Decorate Your Walls
- Packing a big punch in a small space with wallpaper
- Making Beautiful Placemats with Leftover Wallpaper
- My Friend Cindy’s Beautiful Decoupage Project
I have a Old Outomen and I was wondering how to paint it . Is there a special paint, and sealer to keep it from Running. Thank You Carol
I think it’s beautiful! Never would have thought one could do that – very inspiring. Thank you for sharing!
That is so pretty! I also love Dixie Belle products, and blue and white! 💗
This is such a clever idea! So beautiful!
Thank you for sharing this Marieza. I love how it turned out.
Thank you so much, Carol!
Beautiful. Definitely like the blue and white better. Great idea for renewing old mouse pads that have faded.
I’m so glad you like it, Suzie! I always appreciate your input.
Wow! You are amazing! I wouldn’t ever have thought of that, but it’s just gorgeous! And how cool is it that it still rolls? Thanks for continuing to inspire me, and congrats on a really beautiful place to work!
Aw, thanks, Barbara! It’s always great to hear from you.
Your desk pad makeover is a winner as always! Thank you for sharing your tips with us. You are a great teacher. 🤗
What an amazing compliment, thank you!
I love it! This is a great idea. I don’t need one but want it just to do this project.
Ha Ha! I love to hear that, Cindy!