Pressing Flowers with a DIY Flower Press
Pressing flowers with a DIY flower press means you can enjoy your garden flowers all year round and not just during the growing season.
Fall is officially here. There is a slight chill in the air, and the color of the sky has changed. I love this time of year, but also, there is a little bit of sadness in knowing that the garden is past its prime. With our unpredictable weather, a hard frost can hit any time now, ending it all abruptly.
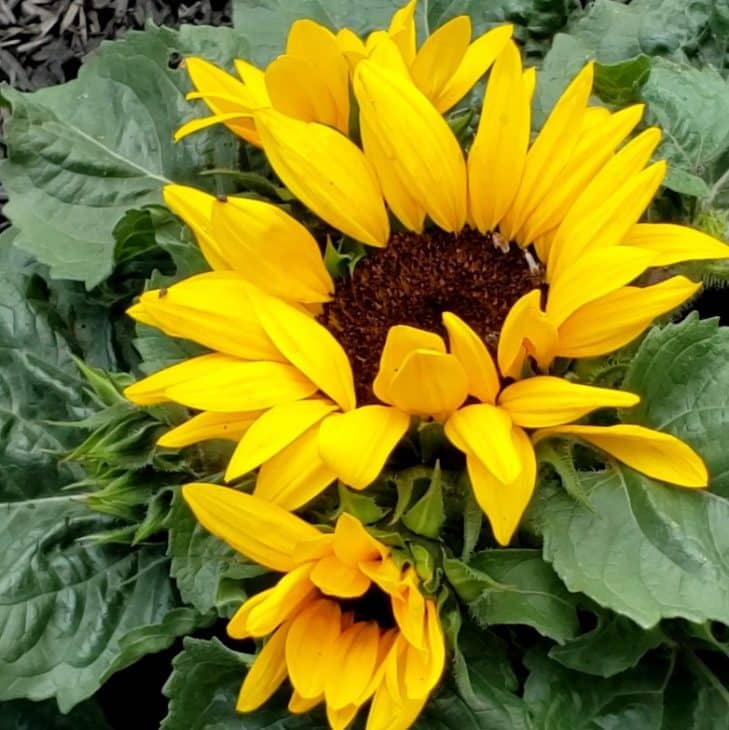
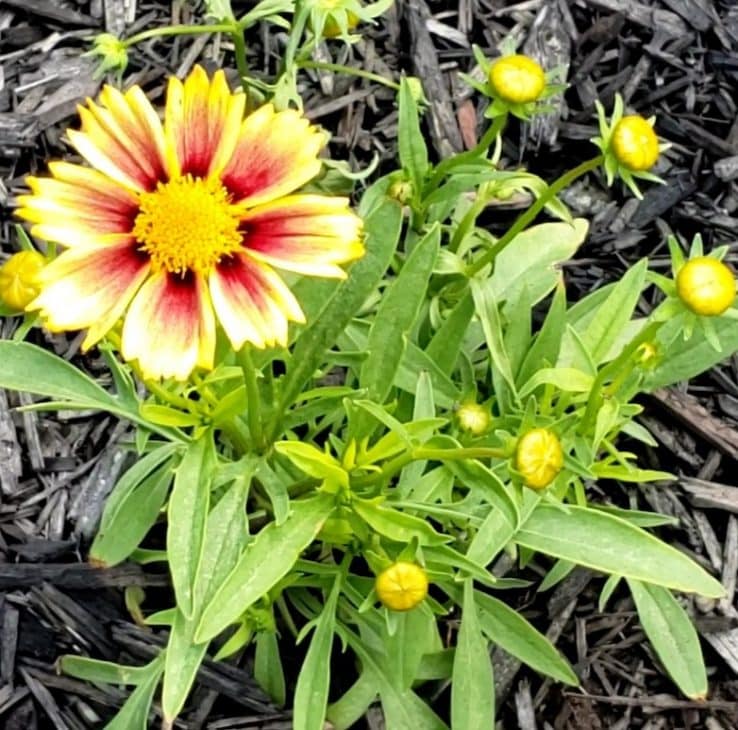
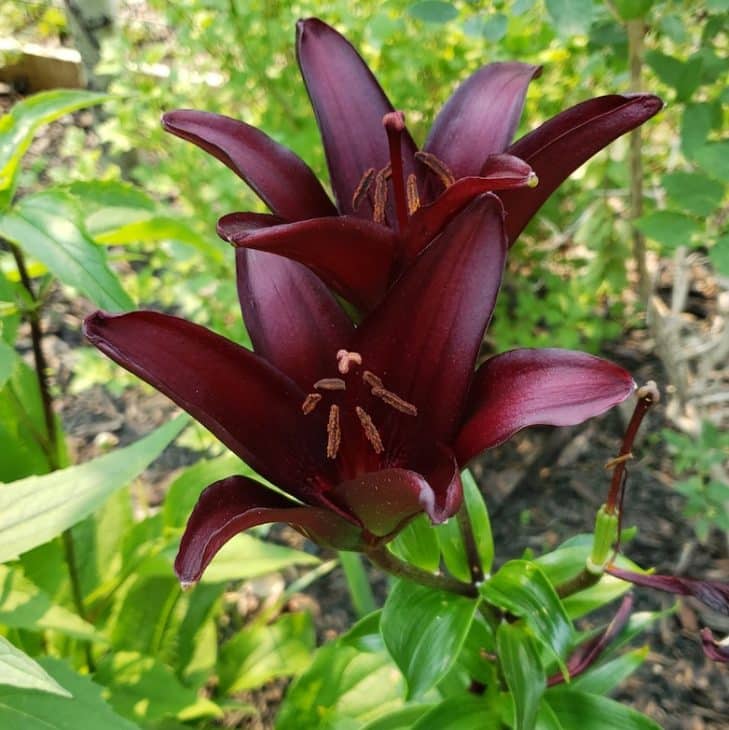
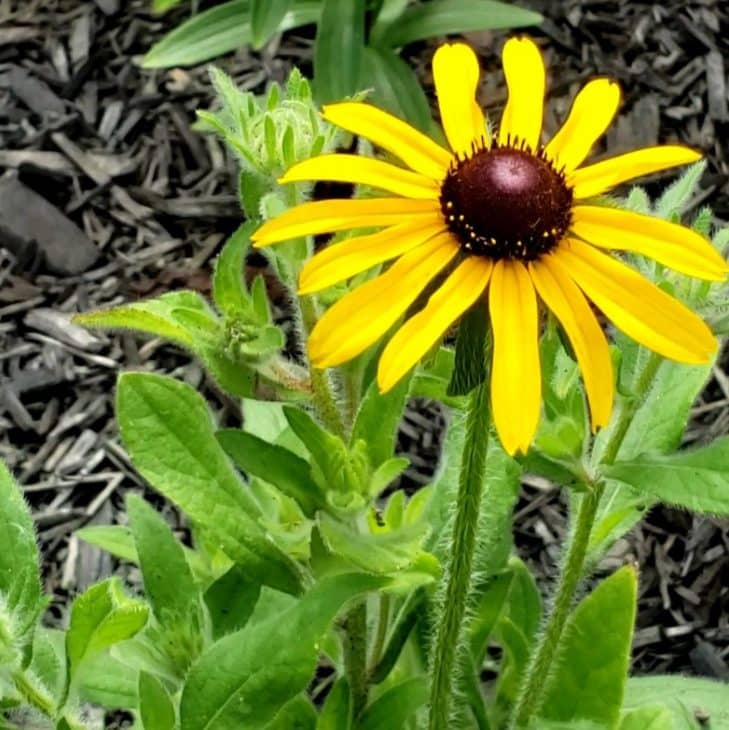
This year, I dreamt of creating a cottage garden with loads of colorful blooms and wildflowers.
I made new flowerbeds, planted many things I had never grown before, and created a little sitting area.
It was an extremely dry and hot summer, but the flowers did not disappoint.

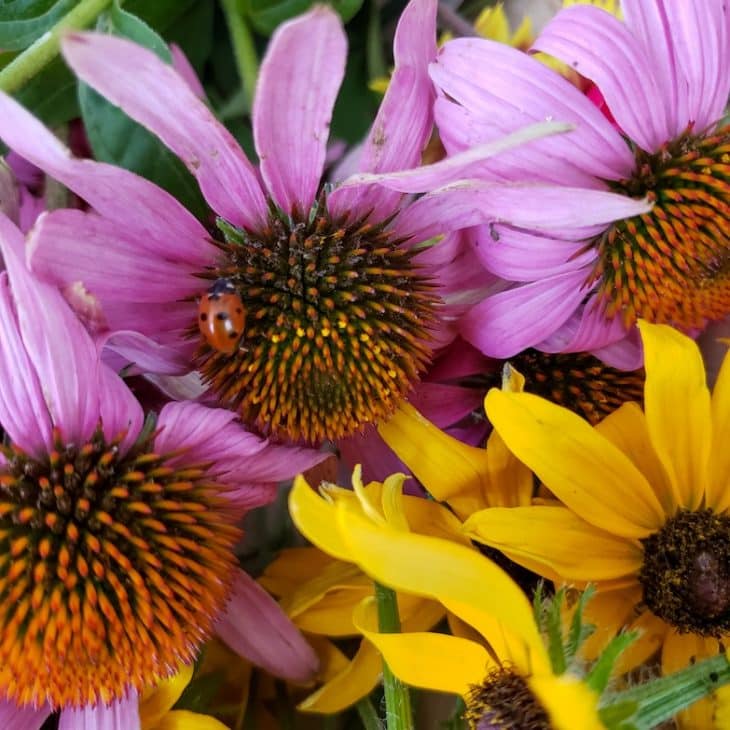
It would be too sad to see them all go to waste. Every year, I say I want to preserve just a bit of the garden to see me through until next summer, but I never do.
This year, I am proactive! I decided to make a custom flower press, big enough to press enough flowers to use for crafts later on. Let me show you what I did!
Materials to make the flower press
1 x 4-foot piece of plywood (this was leftover from the centerpiece I built in this post)
4-inch bolts with wing nuts (four of them)

I cut the 1 x 4 foot piece of plywood into four pieces of one square foot each.

I clamped the four pieces of wood together. Drilling through all the pieces at once ensures the bolts fit easily.
Let’s press some flowers!
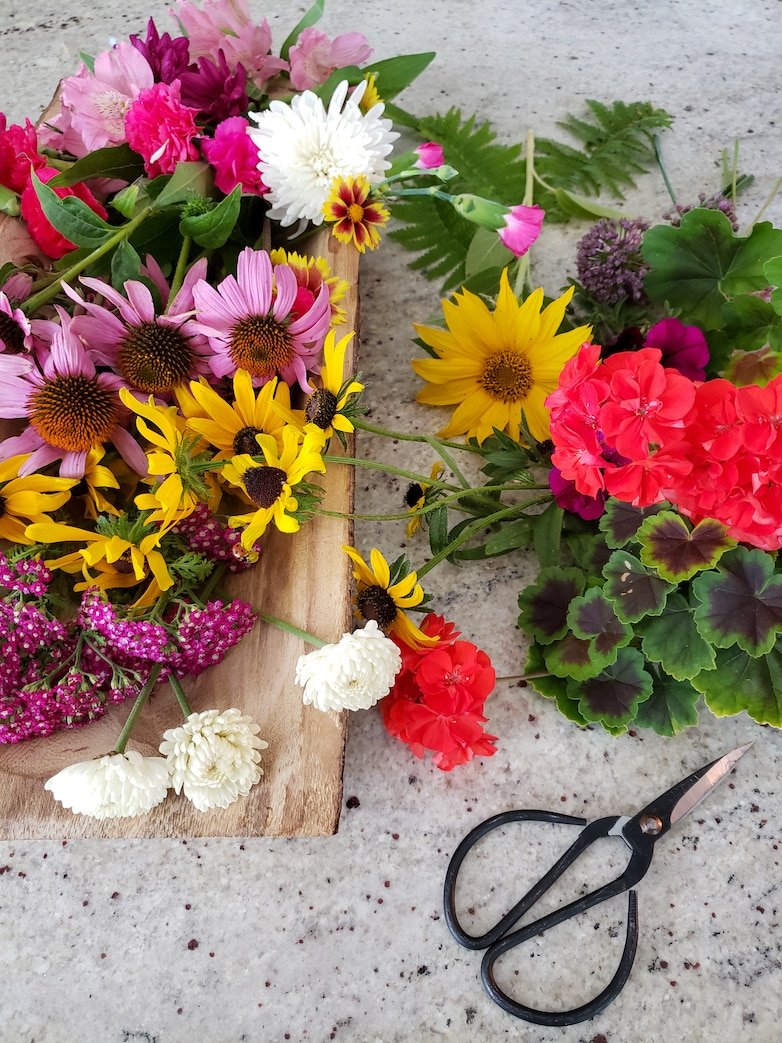
This is the fun part! Collecting and choosing flowers to press.
Flowers with a single layer of petals are the best for pressing, like pansies, violas, and even daisies.
I also tried yarrow, fern leaves, geranium leaves, chrysanthemums, and petunias.

You will need absorbent layers on top and underneath your flowers.
You can use blotting paper, newspaper, or even Bounty sheets.
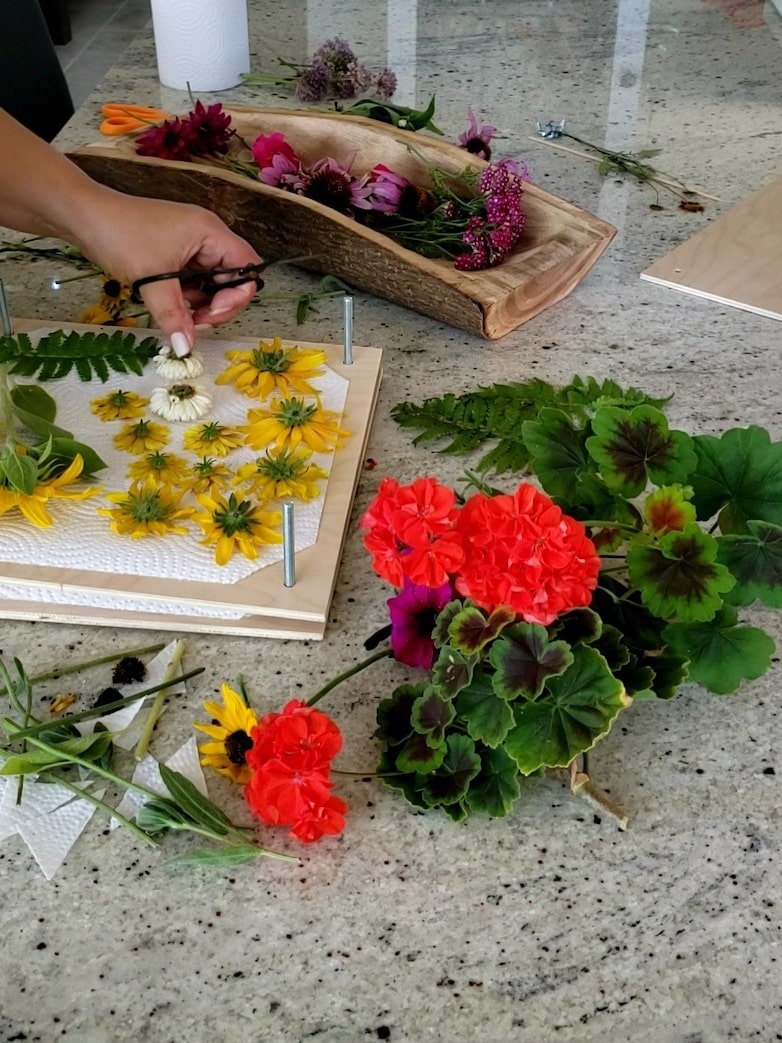
Laying the flowers face down will keep the petals spread open and in place when pressing them down.
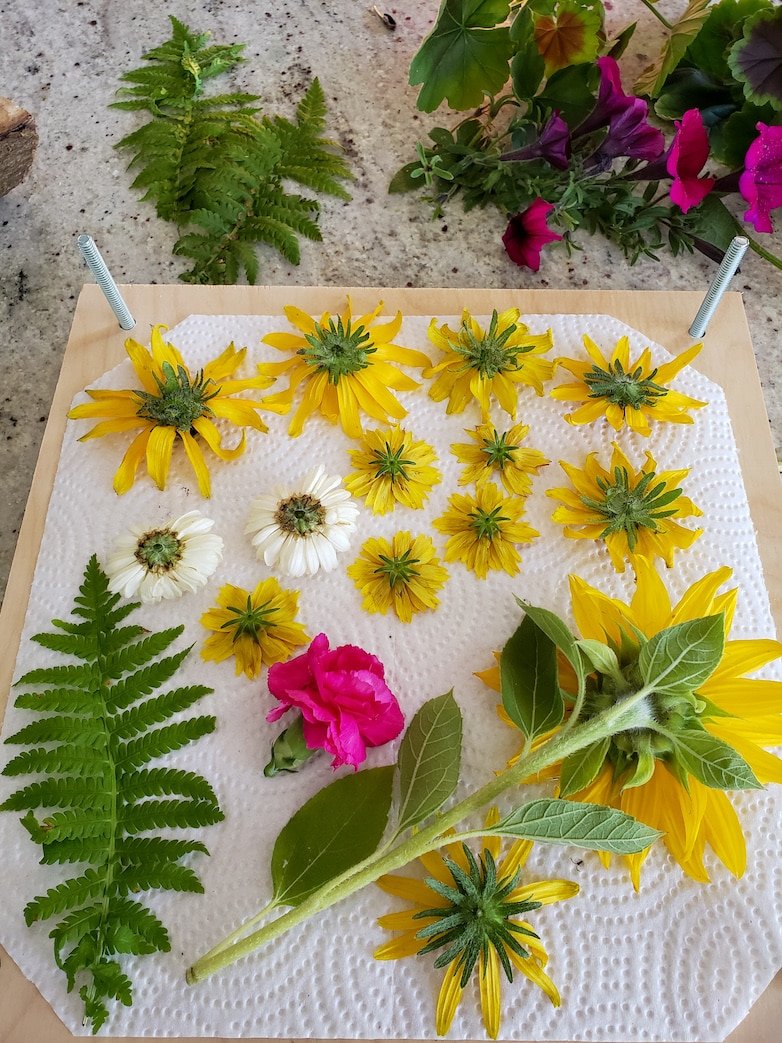
Overlapping the flowers will press them together, and they may tear when they are dried and you want to take them apart. The flowers in this photo need to be further apart.

Once all your layers are filled, you can place the last layer of wood on top and start fastening the wing nuts. Gently press down and tighten each corner a little at a time, going round and round. As the flowers dry out, you can tighten the wing nuts a bit more each week until your layers are completely flat.
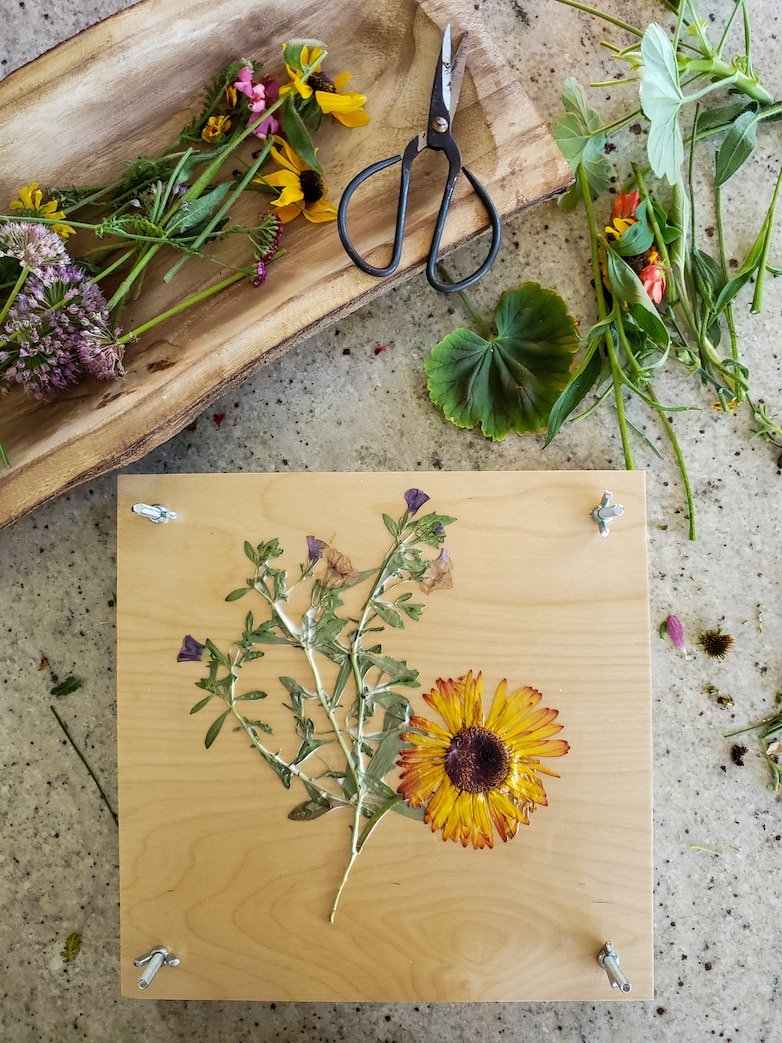
Decorating your flower press

I decided to decorate the top layer of the flower press with flowers I pressed in a book during the summer. I painted a thick layer of Mod Podge on the wood and again over the flowers, making sure they were glued down well.

Once the first layer is dry, you can cover it again in a thick layer of Mod Podge.
The thick layer of Mod Podge takes quite a while to dry, but the flowers are pressed, and now we wait…
Once the flowers are dried and ready to use, we will use them for a fun craft. What that will be, I do not know yet.
You are welcome to leave a comment below if you have a suggestion, and don’t forget to subscribe! You will be the first to be notified when new content is published.
For more info on how to dry and press flowers, you can also read THIS blog post.
Pin this to make later!

Loved the step by step demonstrating! This looks fairly easy and I’m excited now to save and enjoy my sunflowers I received for my birthday recently!! Thank you !!
Thank you so much for the feedback, Michelle! I am so glad you like it. Sunflowers can be tricky. Mine was still very young with a fairly flat head. Press them lightly and increase the pressure gradually every few days. That should do the trick. Enjoy!
Marieza, I loved this. They look so beautiful. Thank you for showing us how to press flowers.
Thank you for stopping by, Roxanne!
Love this so much and your photos are gorgeous!!! I had no idea you could press something as big as a sunflower. Amazing!!!
This is very cool! I’ve only ever pressed flowers in books. What a great way to prolong summer.
My husband made me a wonderful flower press like this a few years ago. It’s so lovely to have pressed flowers as art around your home.
That is great to hear, Carol! I would love to see what you make with your pressed flowers.
Oh my goodness Marieza, I am in love with this post! I now want to try to do a flower press, this will be on my list for sure. Your photos are so beautiful, love them!
Thank you so much, Melba! I had an idea that you might like this post. I had so much fun making this!