How To Build A Wooden Tray Centerpiece
See how I built a custom wooden tray centerpiece, with a herringbone pattern, for my dining room table. Perfect for displaying decor pieces.
Shortly before Christmas, I built a wooden centerpiece for our dining room table that was bulky and rustic and it looked perfect filled with pinecones and candles. I imagined how I could dress it up for every season.
Then spring rolled along, and my wooden centerpiece didn’t look so perfect anymore. I moved it to the deck since I think it would be perfect as a planter for colorful flowers. And that left me with a bare dining room table once again!
I did, however, still like the idea of a wooden tray kind of centerpiece. Something wider, lower, and less robust. So back to the drawing board, I went. Back to browsing the isles of Home Depot might be a better description.
Getting The Right Materials
I wanted the end product to be roughly 1 x 4 feet. Most pieces of wood or board are sold in 4 x 8 feet pieces but that is way too big to handle or fit into a car.
The section in Home Depot with pieces cut down to 2 x 4 feet, is my favorite! Quarter-inch plywood was perfect for the base on which I wanted to create a herringbone pattern.
I also found a bundle of thin, narrow, 4 feet long pieces which I’m fairly sure was meant to build a lattice with but it was perfect for what I had in mind. The price was even more appealing!
Let’s Build A Wooden Tray Centerpiece!

I cut the 2 x 4 feet piece of plywood in half with the table saw, leaving me with two 1 x 4 feet pieces.

With the miter saw, I cut what felt like hundreds of small pieces to create my herringbone pattern.
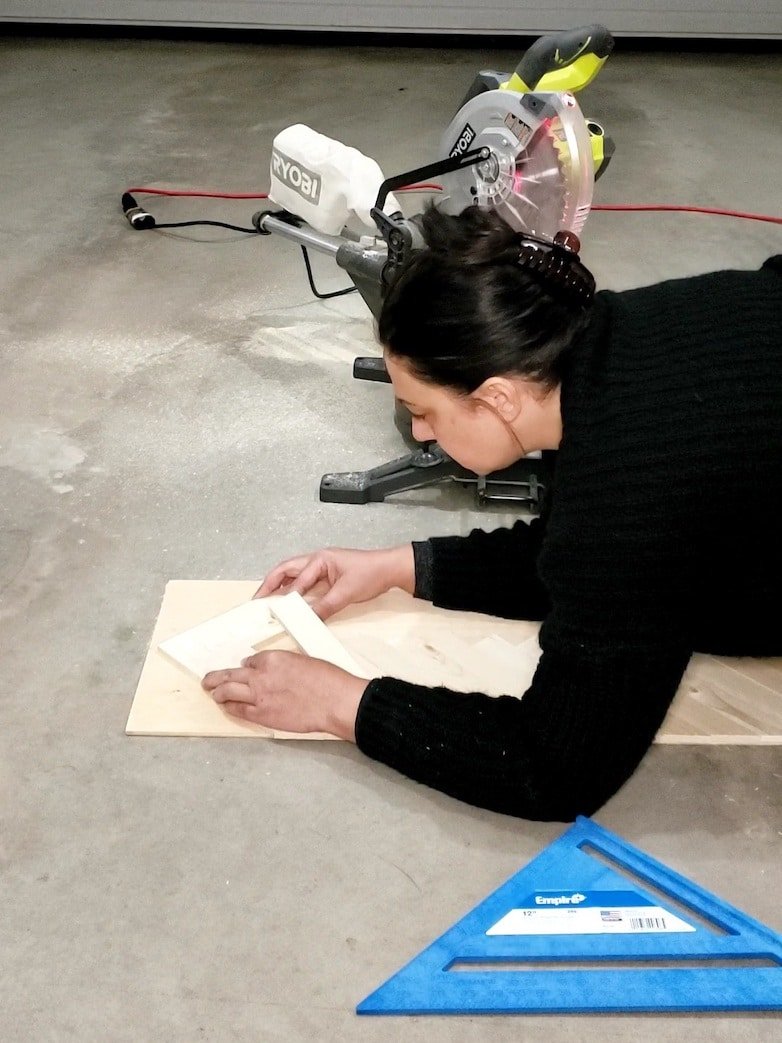
Here, you can see how I planned out my pattern and made sure to cut enough pieces.


With wood glue and the help of a few clamps, I attached the small pieces to the base.
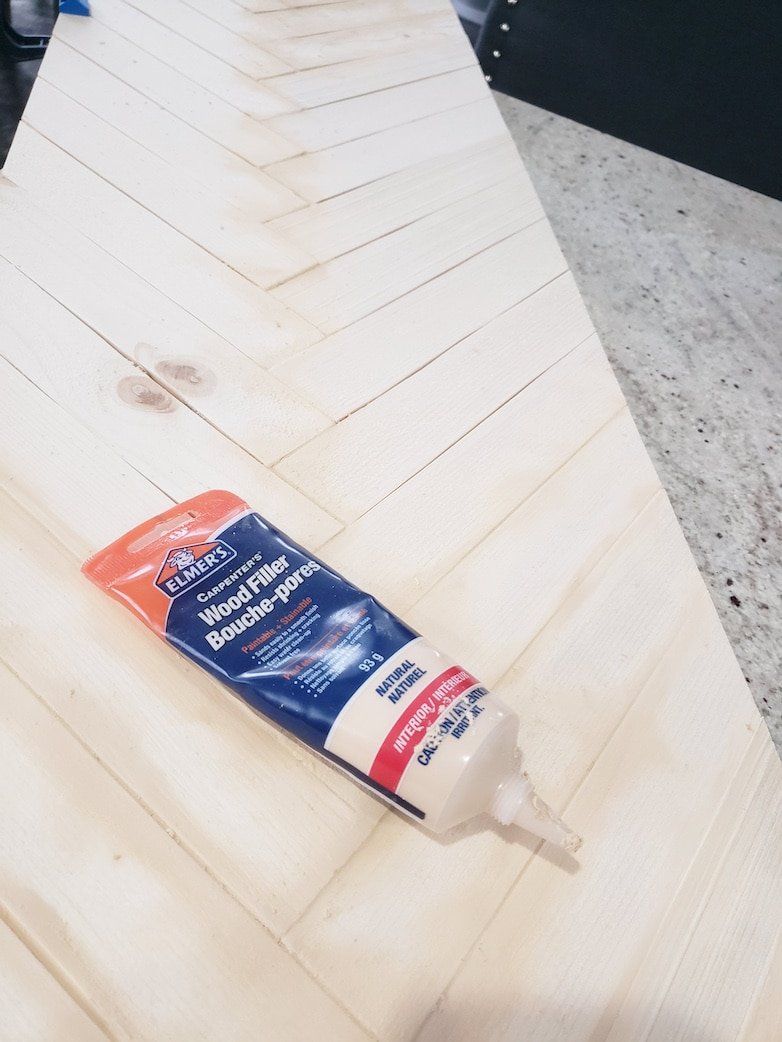
The wood strips were not all perfectly sized and left uneven gaps here and there. I used natural-colored wood filler to fill all the gaps. Once dry, I sanded it down with my palm sander.
I used the same 4 feet long wood strips to build the sides of the tray. A light whitewash was all it needed to be finished.
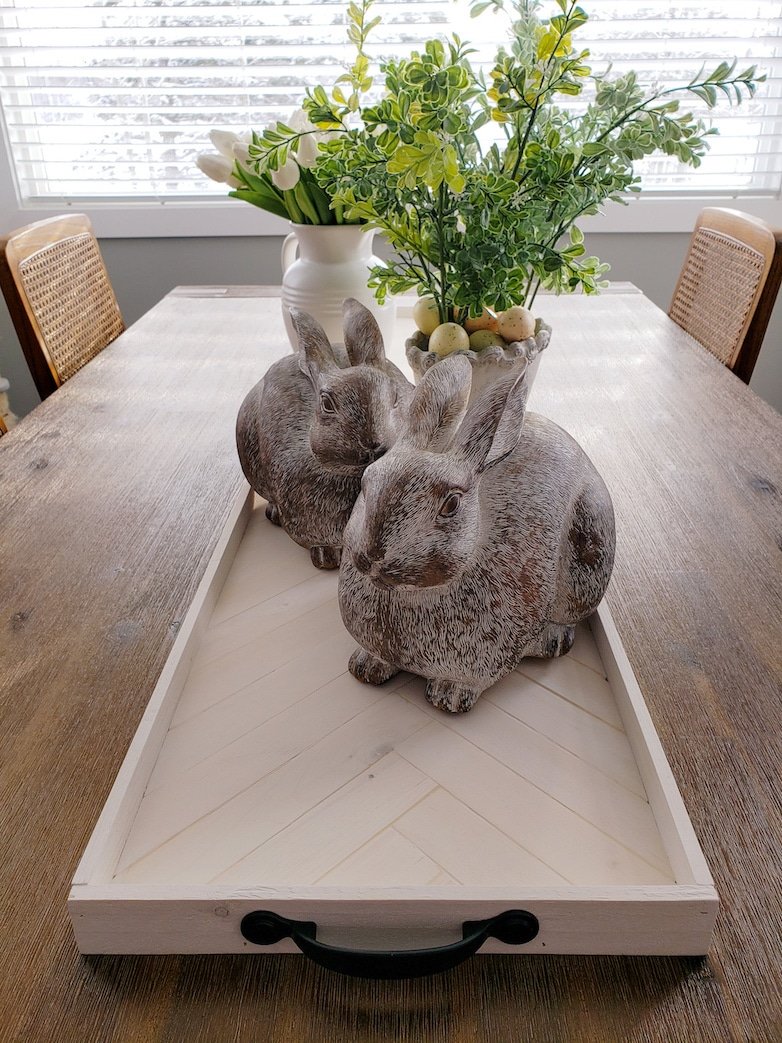
I almost forgot! Handles for the short sides? Yes, please! They are mostly decorative but could be handy when the tray needs to be moved. Let’s add the spring decor!
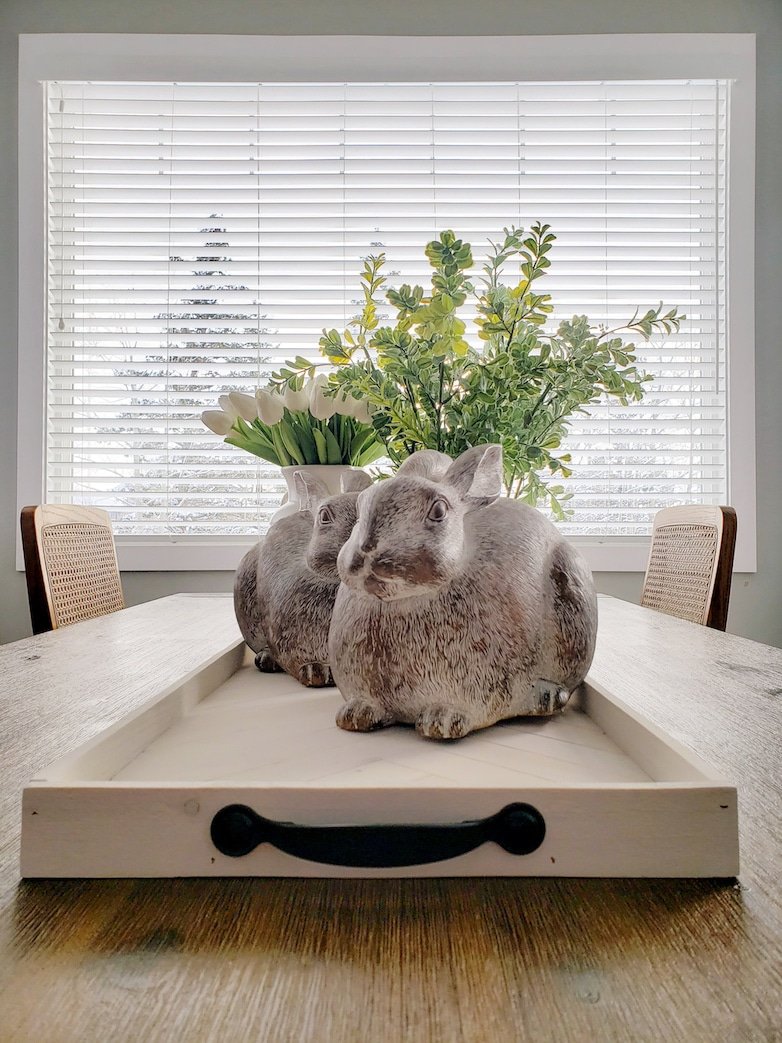
Ready To Decorate
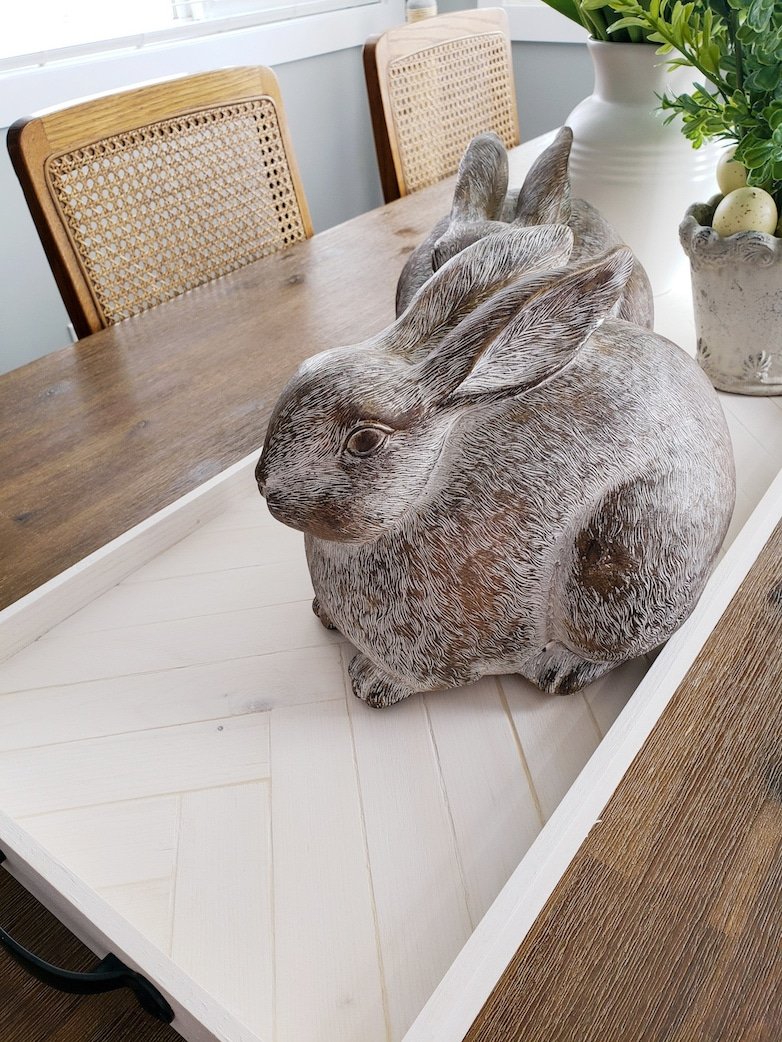
This wooden tray centerpiece works so much better than the previous one. I do like it, but to be totally honest, I’m not 100% convinced that it is the perfect size and look this table needs. For now, it is great, but there might be a third attempt somewhere in the future.
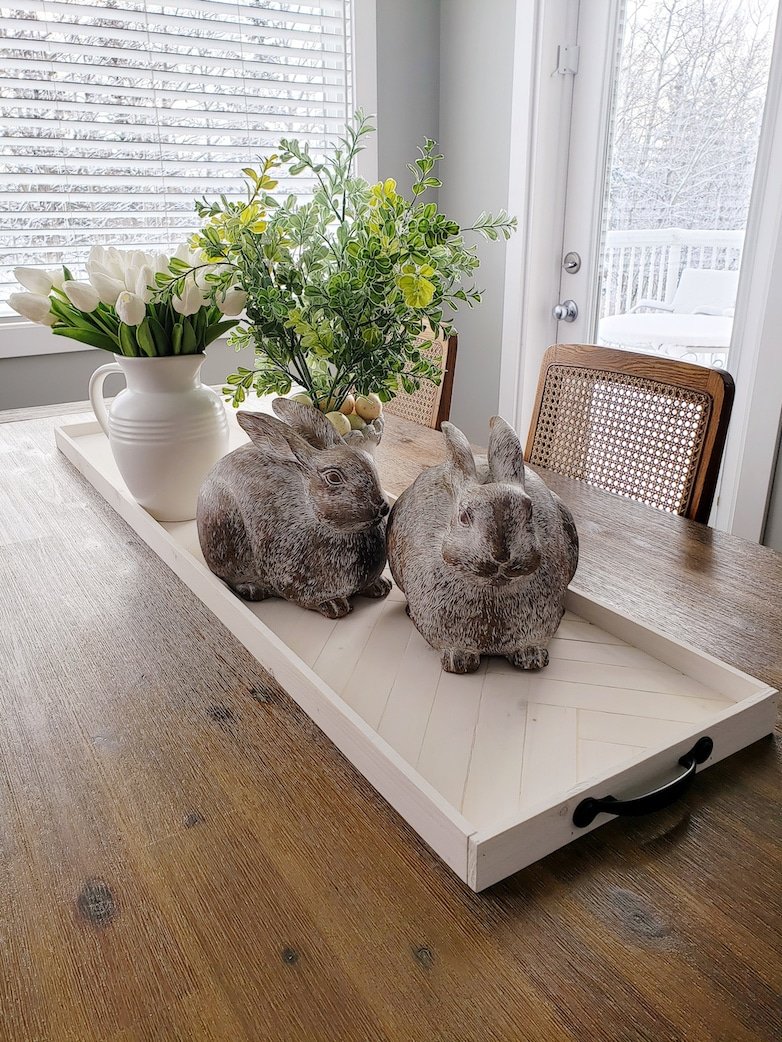
In the photo above, you can see the patio furniture covered in snow (thank you, Alberta), but inside, we are all about spring!

Posts Related To The Wooden Tray Centerpiece
- Making A Centerpiece To Decorate The Kitchen Island
- Two Fun Projects Using Stencils
- Inexpensive Wall Decor and Other DIY Decorating Ideas
- Easiest DIY Wood Box Centerpiece You’ll Ever Make
Pin this for later!

Marieza, such a great project! The chevron pattern is so pretty and even though you had to cut a million pieces, it was worth it! BTW, I’m drooling over your table saw! I need one of those!! Pinned!
Thank Cindy! The table saw is my latest addition to the power tool family. I just need a proper workspace and not use it on the floor like a hillbilly!
It turned out so good! It looks like something you can buy at a store!
I can’t believe you made this! I love the herringbone! It looks so good!
This is exactly what I need – thank you. I love, love, love the bunnies!
I am loving this chevron patter! such a great job and it looks great on your table:)
You are always so very kind! Thank you, Maria.
Looks great! I love how you did the wood pattern, very nice! Thanks for sharing! Pinning!
Thank you so much, Linda! Thanks for stopping by.