Our Mantel is Decorated for Christmas: with Nutcrackers!
Our mantel is decorated for Christmas, and I can not wait to show you how cute it looks! I can’t even remember where the inspiration came from, but I decorated the mantel with nutcrackers! Lots and lots of nutcrackers.
I had to do a quick DIY project to give the nutcrackers a new look, but that’s part of the fun, right? Remember this blue Nutcracker I painted? It’s nothing like that! And this opulent red and gold Christmas mantel from last year? Nothing like that either!
This year’s mantle has a much simpler and cleaner look, and all the nutcrackers are painted one color: gold.
Creating an Army of Golden Nutcrackers
I searched for plain, undecorated nutcrackers and found a sweet deal on 12-inch ones in shades of pink and white. They came in packs of three. ( I bought three packs).
For a bit of variety, I added six small ones that are about four inches tall.
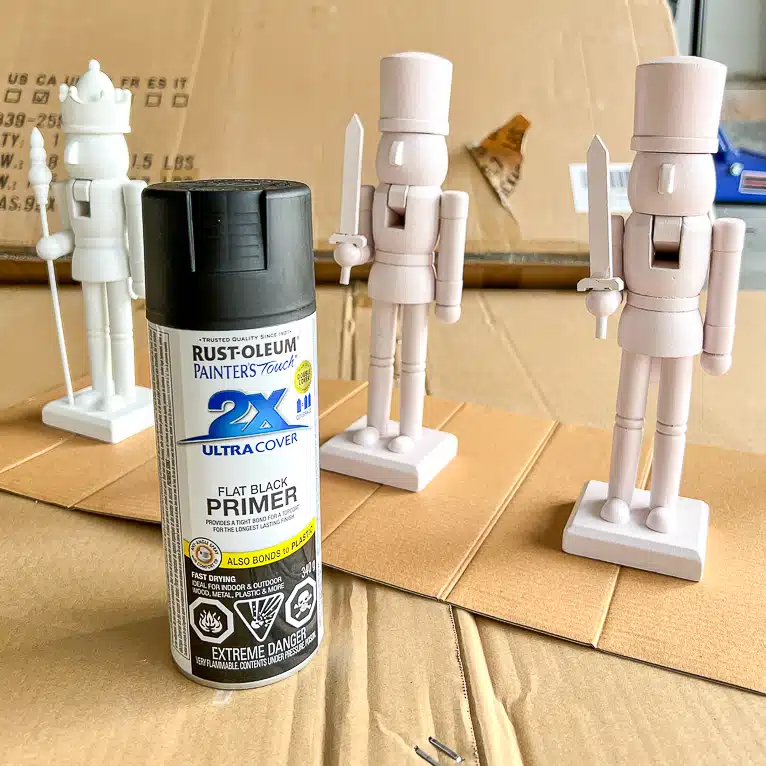
The easiest way would have been to spray them with gold paint, but I wanted them to have a little dimension than just one flat color.

1
I used a flat black primer to spray all the nutcrackers. It took a few rounds to reach all the nooks and crannies.
2
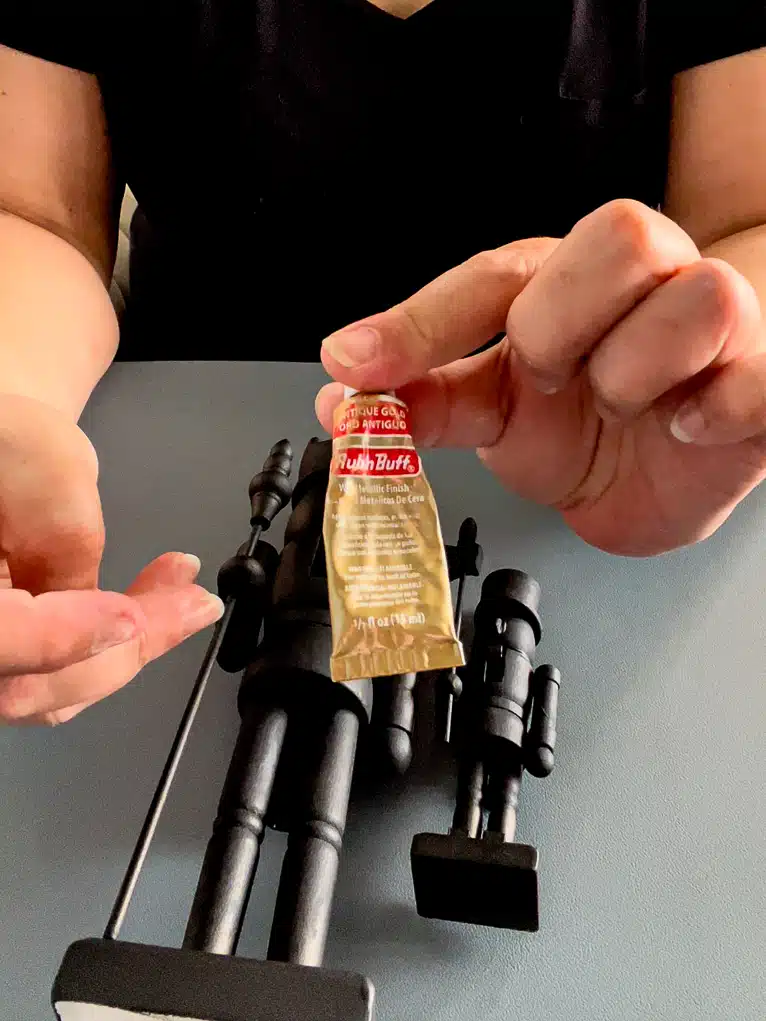
To give the nutcrackers their gold finish, I applied Rub n Buff (antique gold) over the black base color.
3
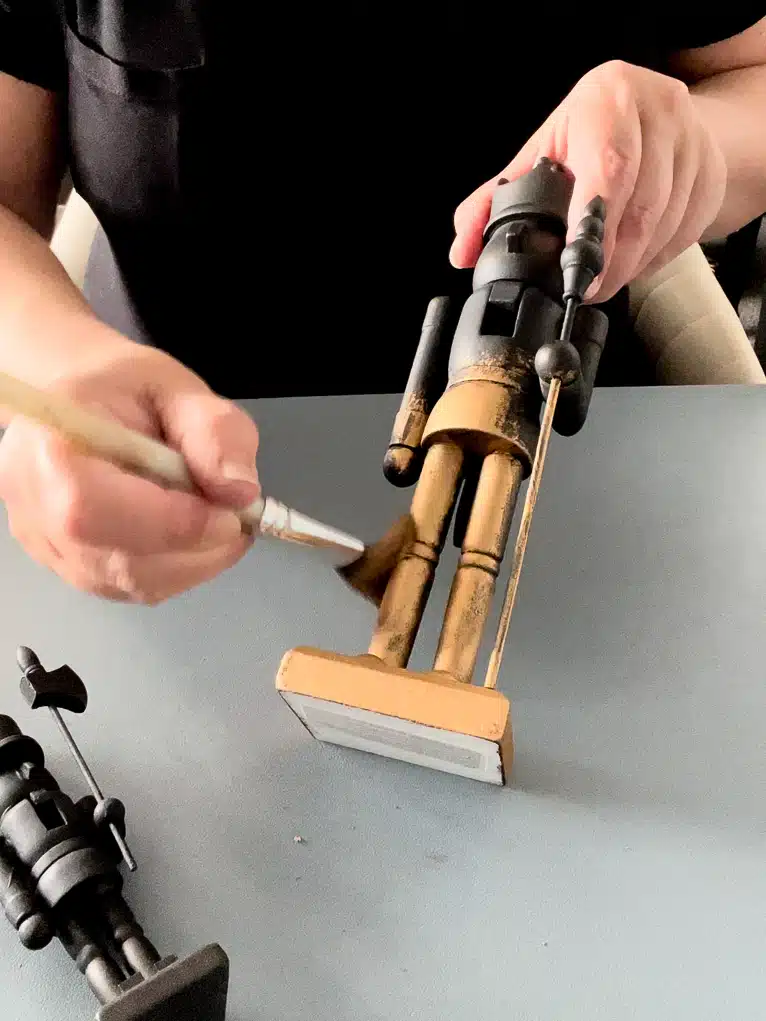
I brushed the gold wax over most of the black paint but didn’t work it into the carved details around the knees, wrists, waist, etc. After they were buffed, they looked even better than I imagined!
Dressing the Mantel
This year’s mantel is really minimalistic compared to last year’s. No foam covered with chicken wire stuffed with a gazillion picks and stems and wrapped in several garlands. I used only two pieces of garland!
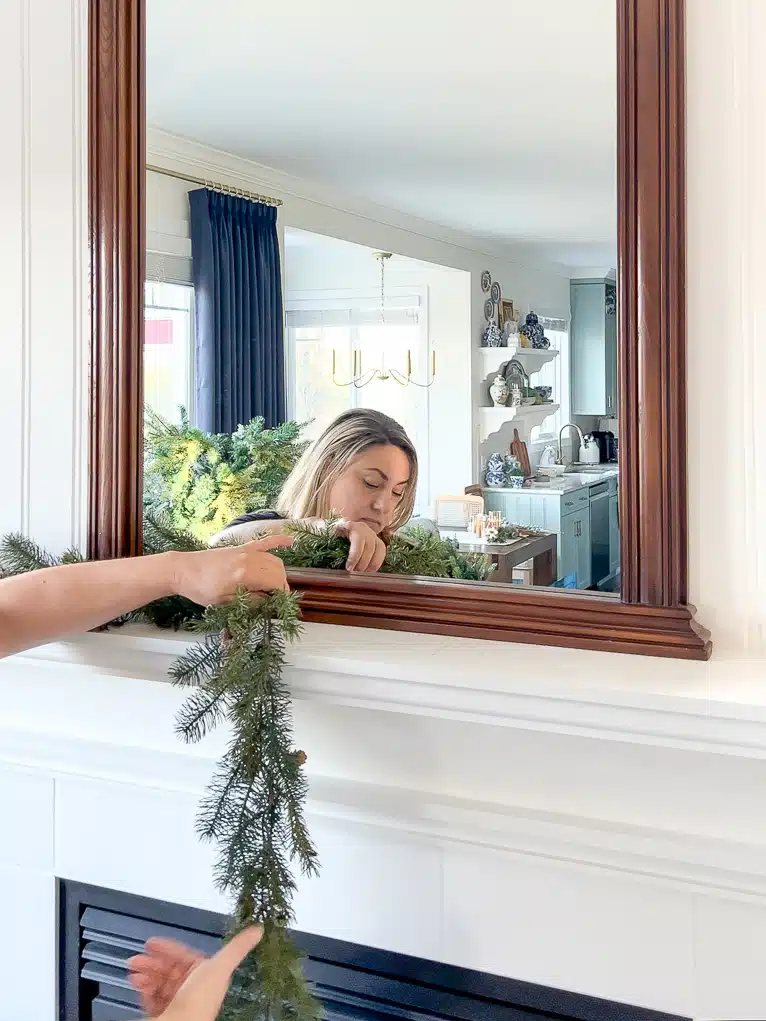
The first garland curves loosely on top of the mantel as a base for the nutcrackers’ feet.
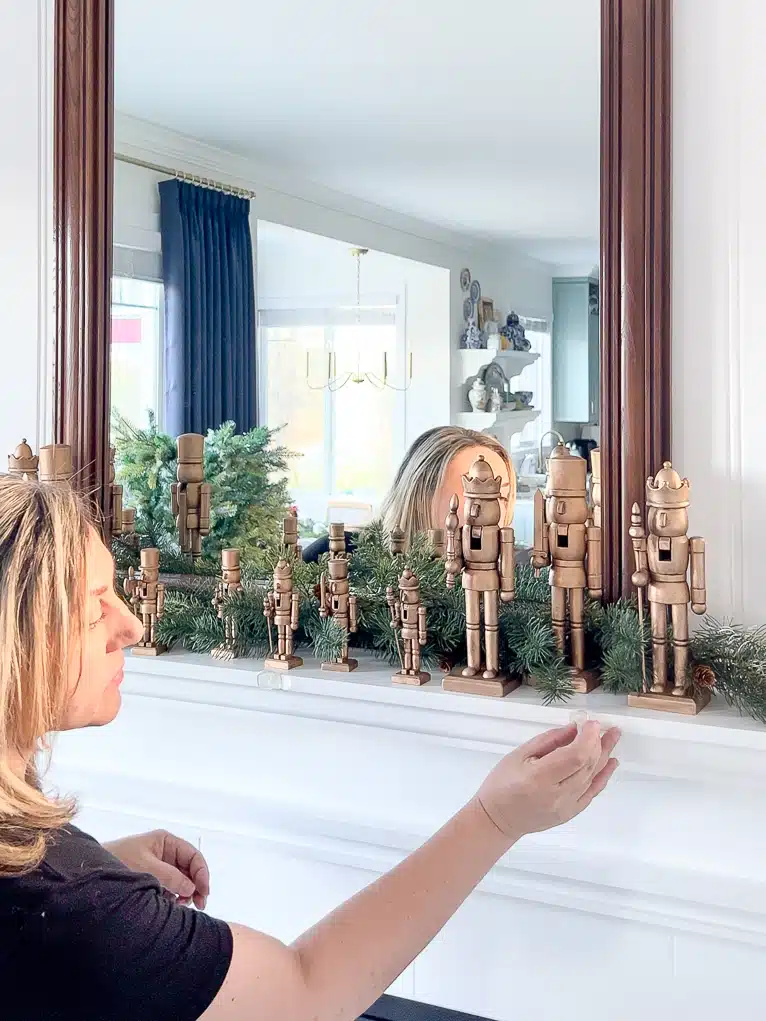
The second garland is pre-lit with a few warm white lights, and I wanted it to cover the mantel’s edge. I used small, clear command hooks to keep it in place.

After pulling the front garland straight to cover the edge, I pulled the garland in the back forward to fill the gaps between the golden soldiers.
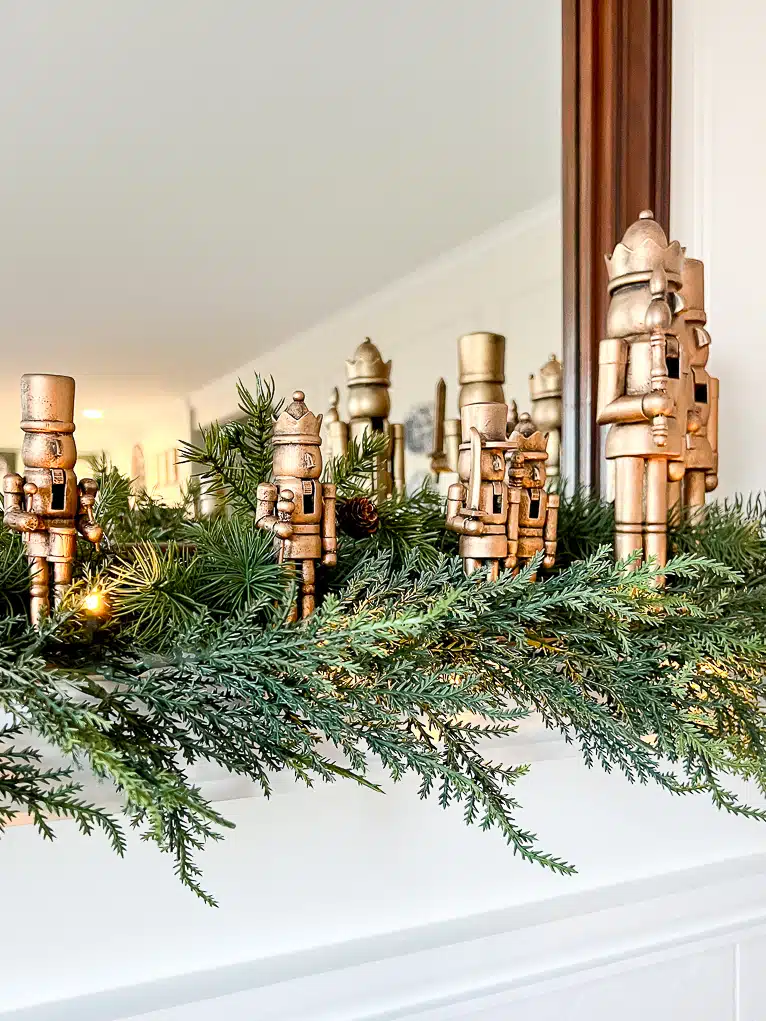
Don’t they look amazing? With their shiny gold finish and a little black showing in places, you could almost think they were made of brass! I adore this faux brass finish!

I moved the nutcrackers around to stand as random as possible. A couple of gold ornaments placed between the garland pulled the look together.

I said I was keeping it simple, but the ends looked just a tad unfinished.

I added three oversized ornaments and a royal blue satin ribbon on one side, and it already looked so much more polished.
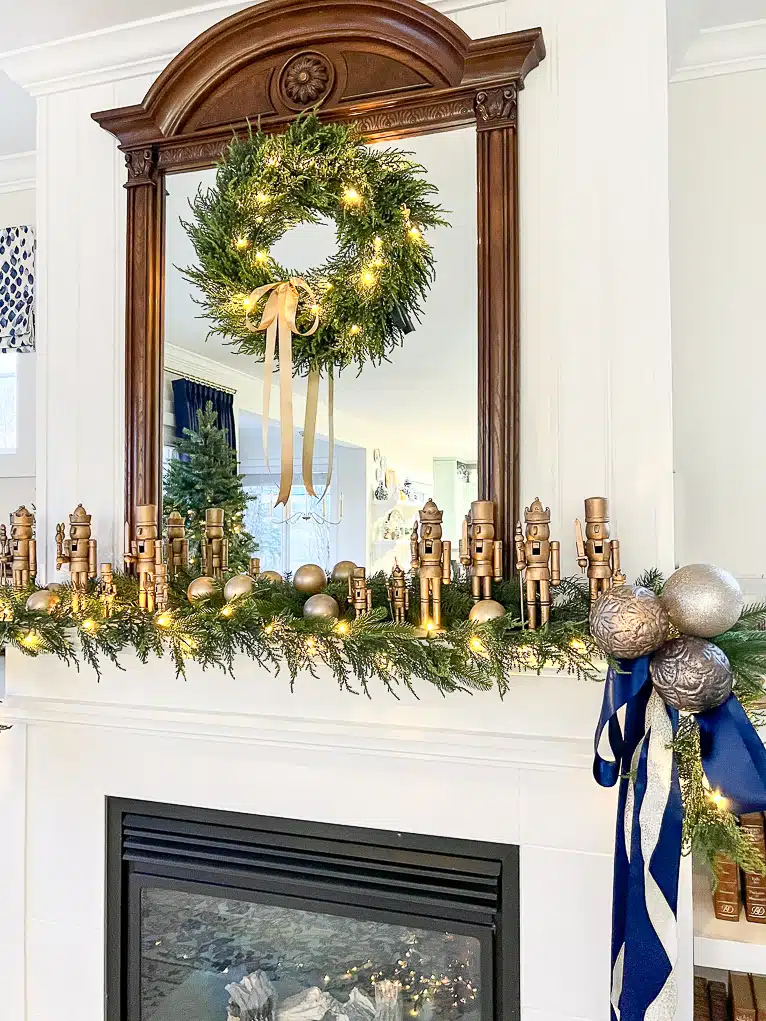
A wreath that matches the front garland on the mirror completes the look.

Giving these nutcrackers a new look was super easy, and I think they look amazing.
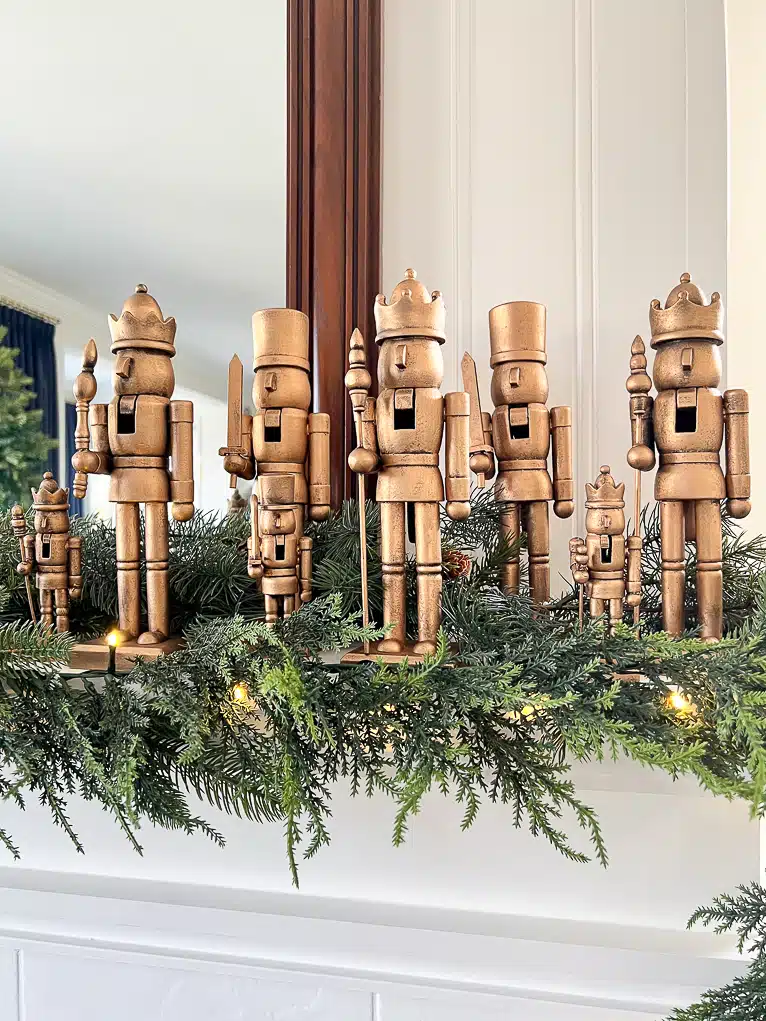
Thinking of making your own golden nutcrackers? If you scroll down to the end of the post, you will find handy shopping links.
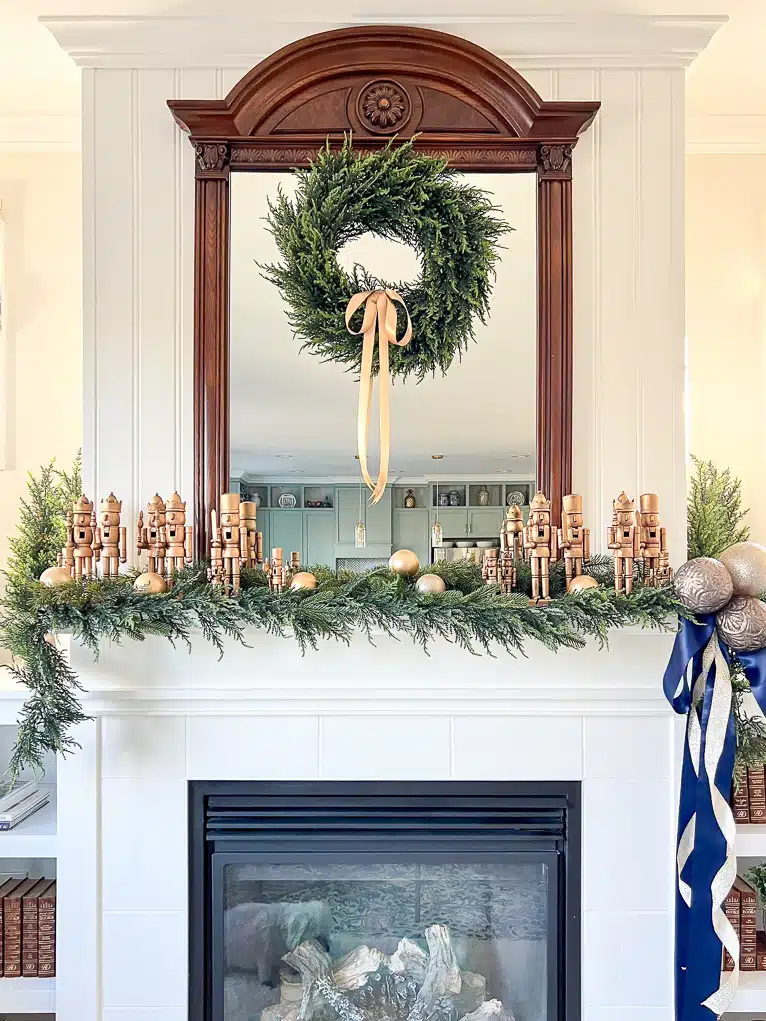
I always love to hear from you! Let me know in the comments what you think of my mantel decorated with nutcrackers.
Until next time, happy decorating!
Shop the Post
Disclosure: These are affiliate links. As an Amazon Associate, I earn from qualifying purchases at no additional cost to you.
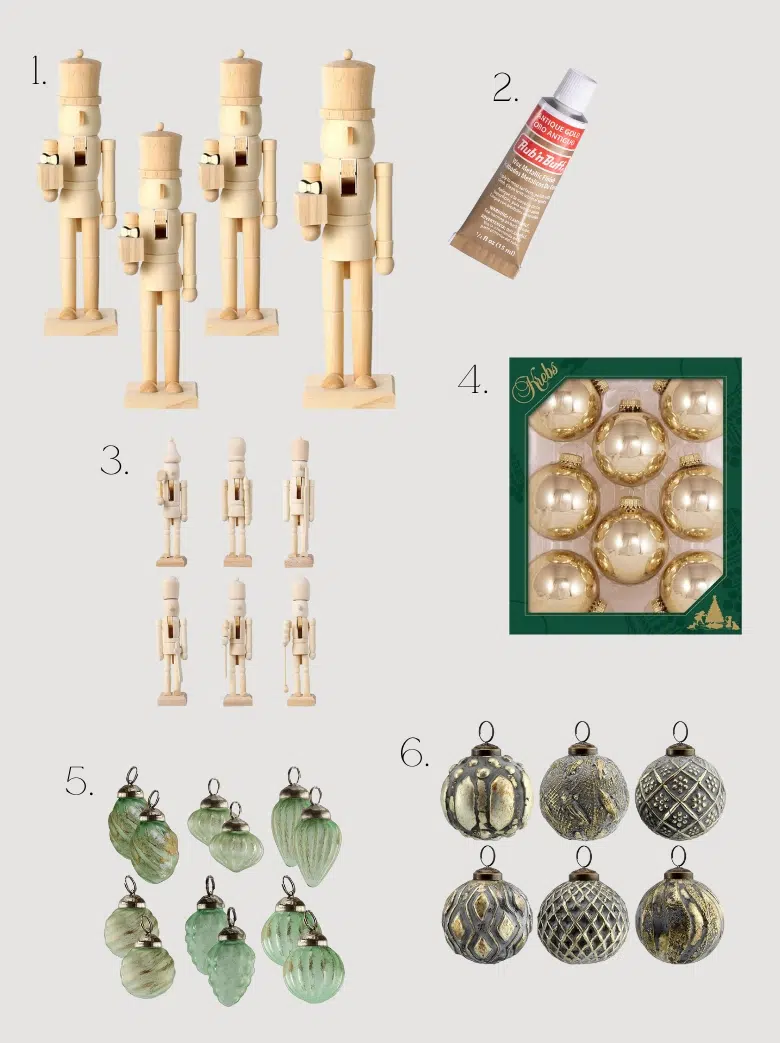
- 4 Pcs 12-inch Natural Wood Nutcrackers
- Rub n Buff – Antique Gold
- 6Pcs Christmas Unfinished Nutcracker Figurines – Wooden Nutcrackers
- 8Pcs Designer Balls from Christmas By Krebs (Shiny Tiffany Gold
- Set of 12 Soda Glass Antique Style Christmas Decorations
- Set of 6 Distressed Metal Glass Ball Vintage Style Decorations – Silver Gray
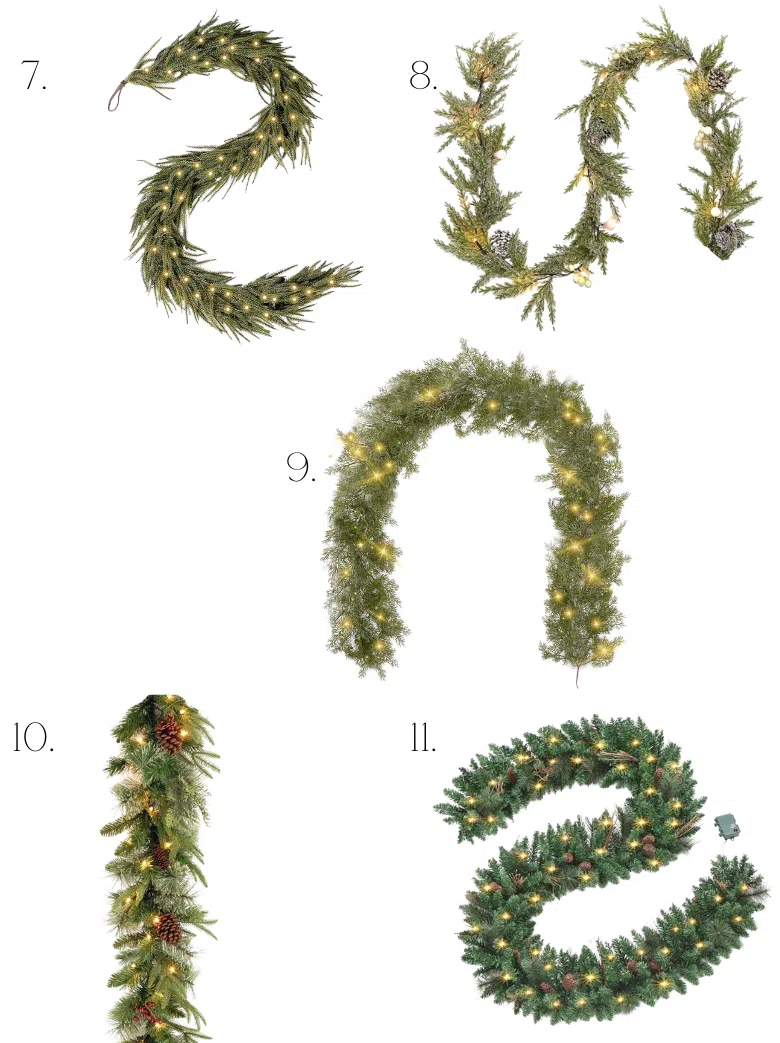
- 6ft Pre-lit Real Touch Norfolk Pine Prelit Christmas Garland
- 6Ft Artificial Cedar Garland with Lights and White Berries
- 6FT Christmas Cedar Garland with 16FT LED Lights String
- Pre-Lit “Feel Real” Artificial Christmas Garland with white lights
- 9FT Pre-lit Christmas Pine Garland Greenery Indoor or Outdoor
