DIY Entryway Makeover – 5 Projects Rolled Into One
I finally gave our entryway a makeover! An all-DIY entryway makeover.
I am not going to explain each step in detail and keep you reading for days. The photos might tell a better story anyway. This entryway, the smallest space in our house, kept me busy for weeks! Why, you ask? Because it was actually five projects rolled into one.
Project 1 – I Got Rid Of The Coat Closet
I know, right? Who in their right mind wants LESS storage space??? Well, let me explain.
It was a double-sided closet. It had doors opening in the entryway and, on the other side, doors opening in the mudroom. Does that make sense? We, as a family, access the house from the garage into the mudroom, and that is where we hang all our coats and jackets. The entryway is just for guests, and they never hang their jackets in the closet. With the double doors in the entryway gone, there is so much more I can do with this space! So… I built a wall.
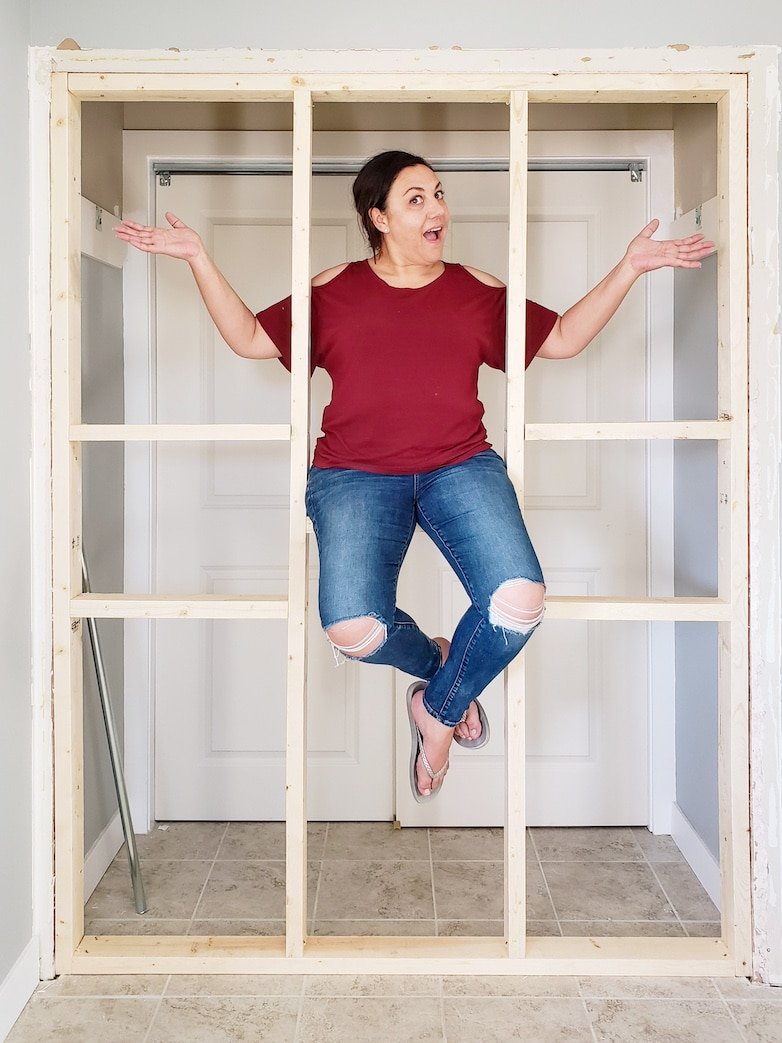

Hold on to your seats for the next crazy idea I got…
Project 2 – I Removed The Texture From The Ceiling!
I really, really, really want smooth ceilings. To match my beautiful smooth walls. Where does one even start?
I started here! While the area was cleared out, it was the perfect time to bite the bullet and remove the unpainted texture from the entryway’s ceiling.
I’m not going to lie, it’s not an enjoyable task. In fact, on my list of worst DIYs, it’s UP THERE!
Was it worth it?
SO worth it! It looks AMAZING! The perfect backdrop for the new light fixtures that am totally in love with.

My craziest idea ever? Not even close! What came next may have been even more whacky…
Project 3 – Removing And Replacing All The Tile Grout
The grout between the floor tiles was in rough shape. Replacing the tiles is not in the current budget. Replacing the grout was the next best thing.

I spent a lot of time on my hands and knees! Once again, a nasty job with beautiful results.

Let me just mention that the tile floor in the entryway is connected to the powder room and the mudroom. Naturally, I had to do ALL of those areas in one go. That’s how I roll!
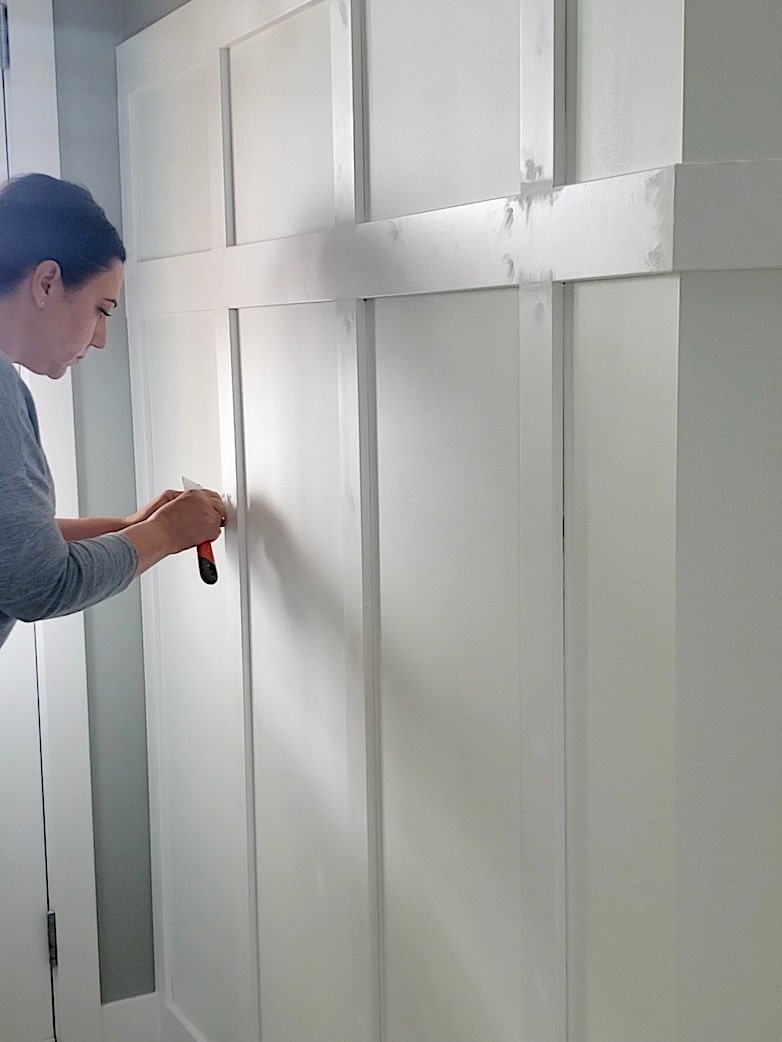
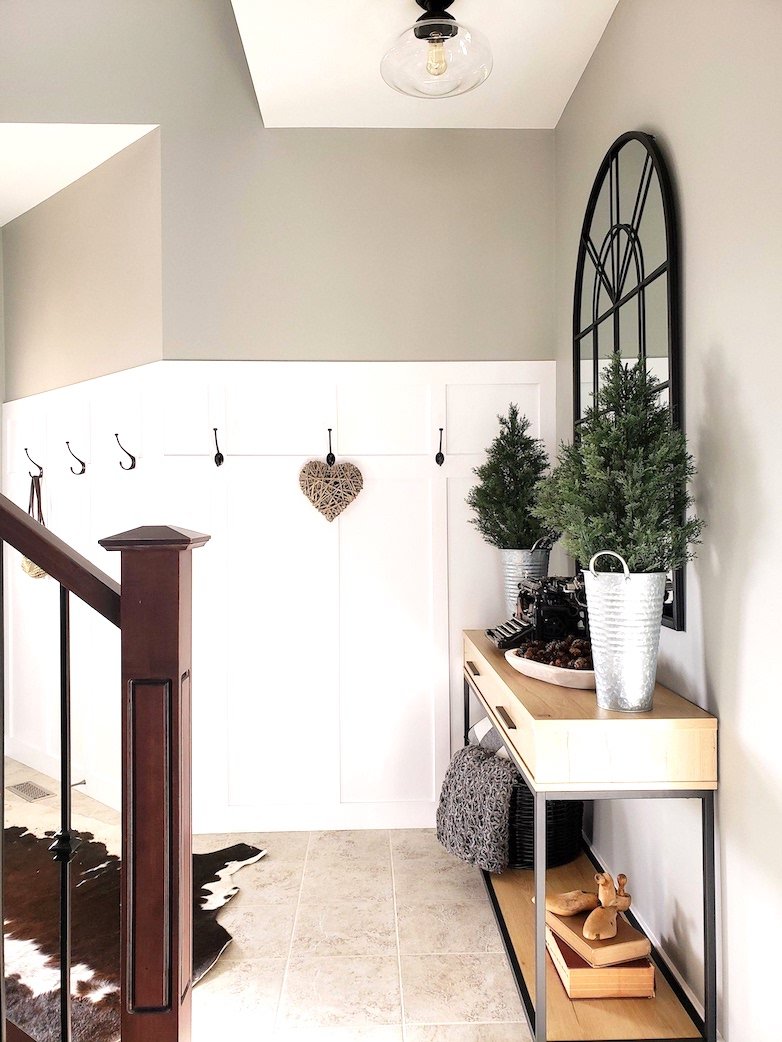
Project 4 – Adding Board And Batten With Coat Hooks
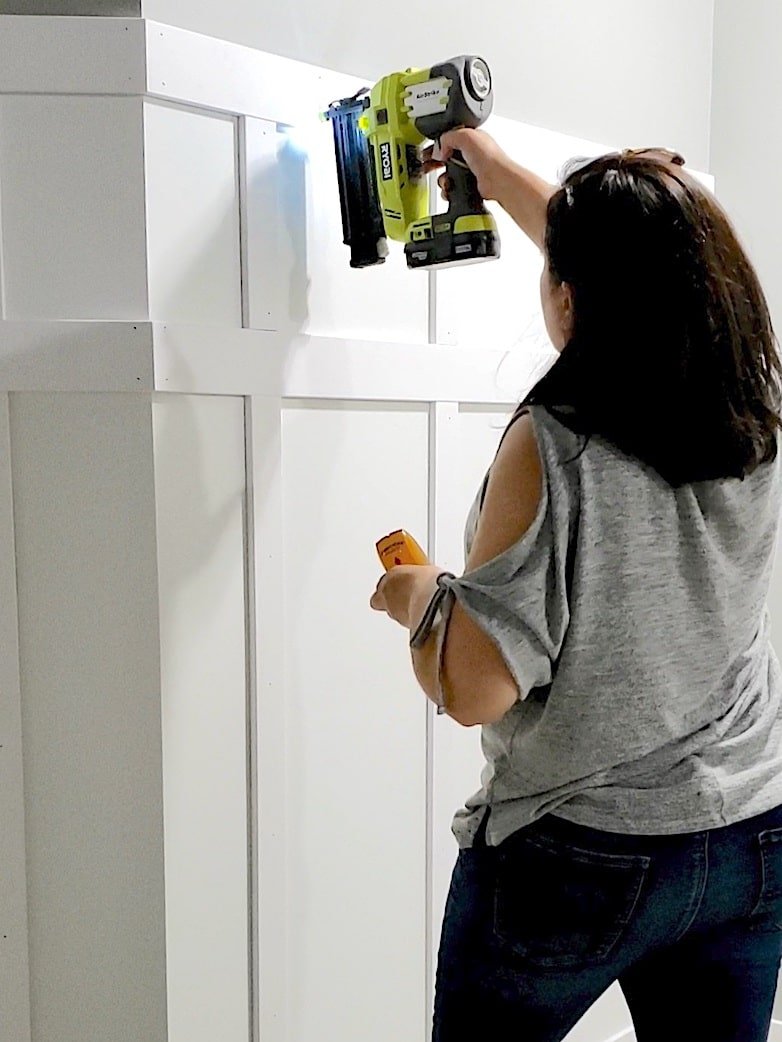
I love board and batten! It adds so much dimension to a room. The very first board and batten project I did was in our powder room.
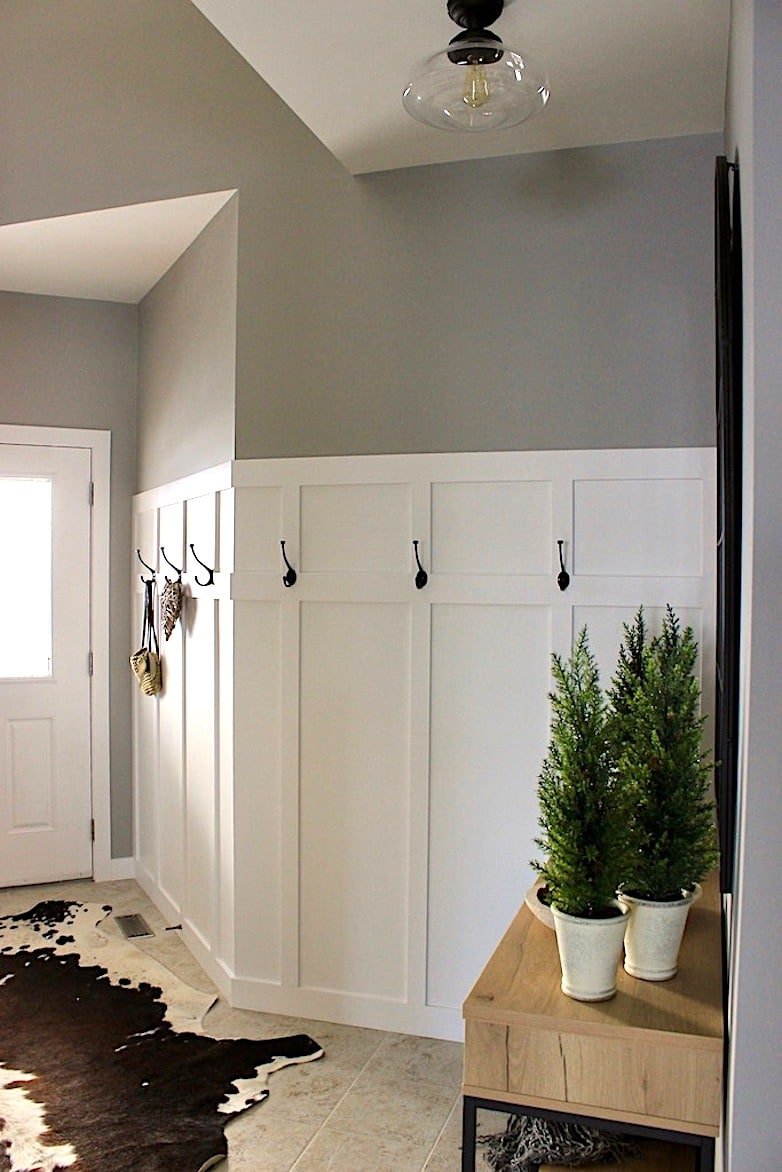
Project 5 – Seating Area For Guests To Take Off And Put On Their Shoes
We live in Canada, where our shoes are covered in snow or mud most of the time. Well, almost. An area to sit and take off shoes is essential. Most people prefer a bench, and I was heading in that direction, too, until I remembered about the two thrifted chairs without a place of their own.

I gave the chairs a makeover and they are perfect for this space!

The new wall where the closet used to be is now the perfect place for a console table and a big mirror. After this makeover, the entryway is now both functional and beautiful.
And there you have it, the reveal of my DIY entryway makeover.
I am so happy with how it looks now! Every time I come down the stairs, I stop for a moment, look at the beautiful light fixtures, and take in the peaceful feeling I get from this space. Mission accomplished!

Your decorating is really beautiful! I also like your idea of repurposing and using what you have. It all looks nice together!
Thank you so much, Sandra!
Beautiful. What are the board sizes, please?
Hi Kelly! The vertical pieces are 3 inches and the horizontal pieces are 4 and 4.5 inches.
Loved it
We did some renovation in our house last summer. When the workers failed to show up we rolled up our sleeves and laid flooring and other things ourselves. What a wonderful feeling of accomplishment we had. I bet you must feel the same way, Marieza!
I would love it if you would share this post at my Friday with Friends link party. https://myhubbardhome.com/friday-with-friends-58-sweet-valentine-ideas/
Thanks
Rachelle
Wow! You did such a great job! I found your post through the Friday link party. Removing popcorn ceiling is the WORST. Replacing the grout – and not the tiles is genius. Your re-grouted floor looks brand new. I am definitely inspired.
I am so glad it left you inspired! I am currently preparing myself mentally to begin smoothing out the ceiling of our main living area. It’s going to be a Duzi!
Beautiful work & LOTS of money savings too!!! Thanks for posting.
Thank you so much, Marcia!
I absolutely love it! Wow very hard work, and alot of work but man great job it looks soooo good!
Thank you so much, Debbie! If you love this, you are REALLY going to enjoy my next project!
I love it when a plan comes together. Great plan….great results!
If I were you I would also paint the white triangle and the white rectangle (I know they are ceilings) the same color as the walls. Your space with feel EVEN bigger!!!
Thanks, Jaclyn! I was thinking more or less the same, just maybe the walls the same as the ceiling?
This is brilliant! Every single thing you have done is really amazing!
Congrats- what great transformations, Marieza!!!
Oh my gosh, Michele, that is so kind of you to say! Thank you so very much!!!
Absolutely love the board and batten! And redoing the ceiling is so in the want to do list…haven’t worked up the nerve to do that yet! Thanks for the inspiration!
Thank you so much for stopping by, Leslie! I’m on the verge of removing some more ceiling texture. This time on the biggest continuous area from the kitchen to the living room. Wish me luck!!!
Board and batten wall turned out very nice. What size/type boards did you use? I am wanting to do a similar feature wall in my exercise room. My baseboards are only 1/2” thick, so standard 1” boards would not work. Can’t find 1/2” thick boards anywhere. Suggestions?
Hi Dianne! I’m glad you like it. My baseboards are also 1/2″ thick. I used pre-primed MDF pieces. I think the product name is Metrie. All the trim and baseboards in my home are from the same range. Just make sure before you buy, the pieces for trim are slightly rounded on both sides while the pieces for baseboards are rounded on one side but square on the other side.
I love the board & batton! It looks so great! Love your new entryway!
Thank you so much, Melissa!
You did such a great job you did. Turned into a big job but the results were amazing.
Aw, thanks Carol! I really appreciate it.
Holy cow you did a lot of work!!! It all looks amazing!!! I love the board and batten and the hooks!!!
Ha ha! It sure was a lot of work and took quite a while. I’m so glad you like it!
WOW! Just wow! All that hard work certainly paid off. It’s GORGEOUS! I would be sitting in one of the beautiful chairs patting myself on the back! 🙂
Thank you so much Libbie! I do sit there from time to time! It’s such a tranquil space.
Um, this looks amazing! I’m sure the grout part was a labor of love! And your website is so clean and crisp!
That is the best compliment you could have given me today! Thank you, Meriah.
Hi Marieza – what a great blog. Just enough info to make it a good read and I love all the photos! Your website it gorgeous!!! Congratulations on your first blog on your new website 🙂
Thank you so much for all your support, dear friend! It means so much to me.
You did such a great job, Marieza! I love the board and batten. It will be so useful, especially when you have company. Beautiful!
I appreciate your kind comment, friend! Yes, unfortunately we haven’t had any guests to use it. Soon, hopefully.
The seating space is very welcoming now! The board and Batten looks great!
Thanks Marie! I’m so glad you like it!
Well all of that work makes for not only a functional but gorgeous entryway!!!
I’m loving the batten board:)
Thank you so much, Maria! That is so kind of you to say!