Decorating A Pumpkin With Flowers That Won’t Fade
Today we are decorating a pumpkin with flowers! Not a real pumpkin or real flowers; we are decorating a metal pumpkin with floral transfer images.
Fall is here, and it’s just pumpkins everywhere – big ones, little ones, real ones, fake ones, plain ones, decorated ones, all shapes and sizes.
Do you also sometimes unpack your seasonal decor and find something that makes you think: how did I ever think this would be cute in my home? Maybe my taste changes too often, but that’s okay because I love giving anything and everything a new look!
I love decorating for fall, and I also enjoy a good craft project now and again. Dixie Belle Paint has just released the most gorgeous new transfer designs, and that made me think: what could be more fun than decorating pumpkins with transfers?!
Have you ever decorated a pumpkin with transfers? Me neither, but I think you are going to love how this fun craft project turned out!
You know what I’m going to say next, right? Let’s paint!
Supplies I Used Decorating a Pumpkin with Flowers
All the products I used are from Dixie Belle but you can use any brand, color or design you prefer.
- A faux pumpkin – mine is made from metal, but any material would work.
- Dixie Belle Chalk Mineral Paint – Yankee Blue, Buttercream, Palmetto
- Dixie Belle Silk Mineral Paint – Cactus
- Belles and Whistles Transfer – Embroidered Lotus (discontinued)
- Gilding Wax Gold
- Cleat Coat Sealer Flat
7 Simple Steps for Decorating a Pumpkin with Flowers
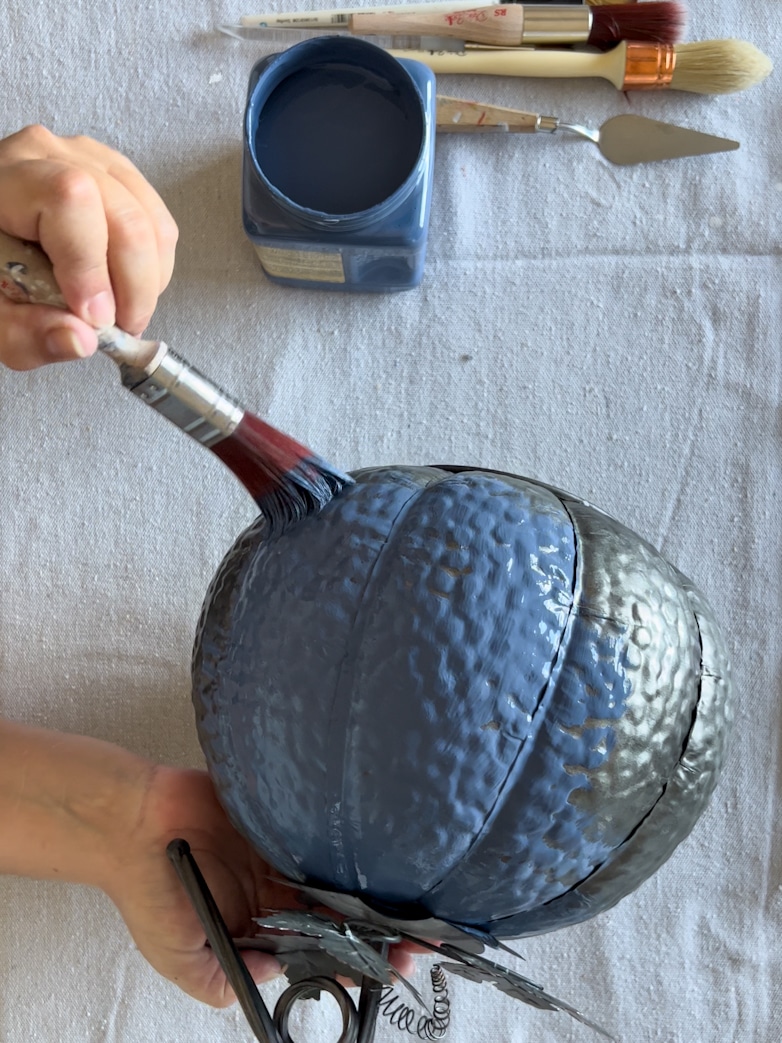
Step 1 – Paint the Pumpkin
I painted my pumpkin with Chalk Mineral Paint in the color Yankee Blue.
Step 2 – Paint the Leaves (if present)
For the leaves, I used Silk Mineral Paint in the color Cactus.

Step 3 – Paint a Second Coat
I painted the pumpkin with a second coat of Yankee Blue, working in small sections and shading with a bit of Buttercream to create more dimension while the blue was still wet.
Since this pumpkin is really bumpy, the shading looks a bit rough. (In retrospect, this step could have been skipped since you can barely see it with all the transfer flowers added.)

Step 4 – Add a Bit of Shading
I mixed a tiny bit of Cactus and Buttercream in equal parts and lightly brushed it over the leaves. The vines of the leaves are now showing more prominently.
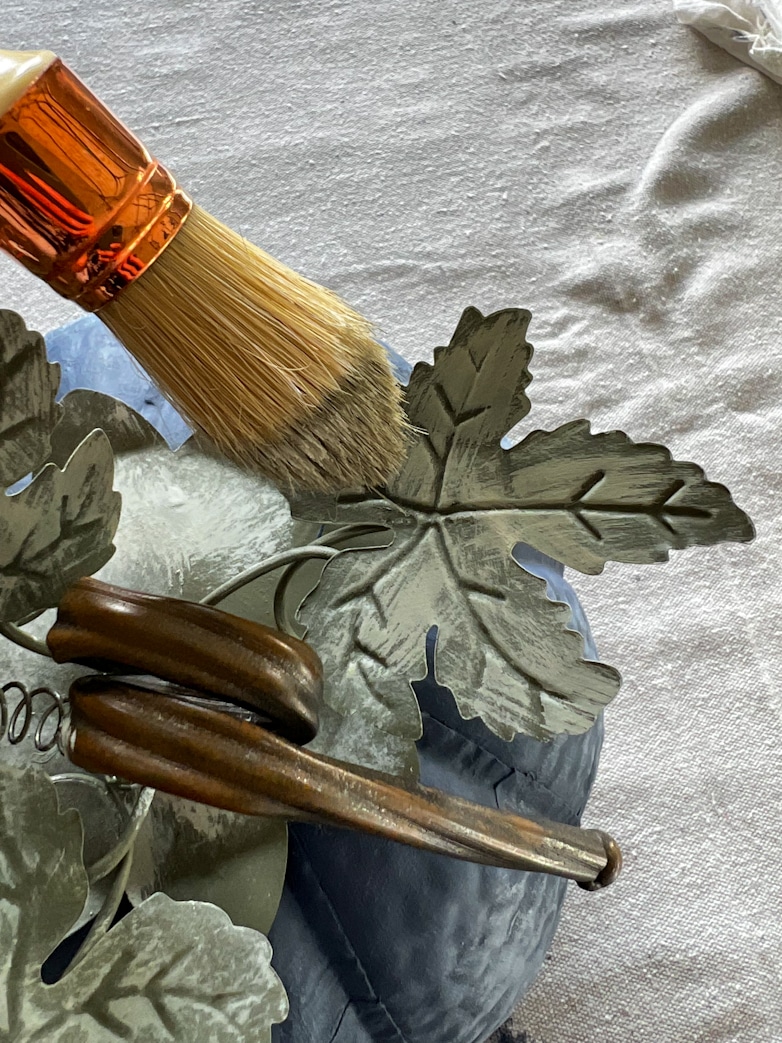
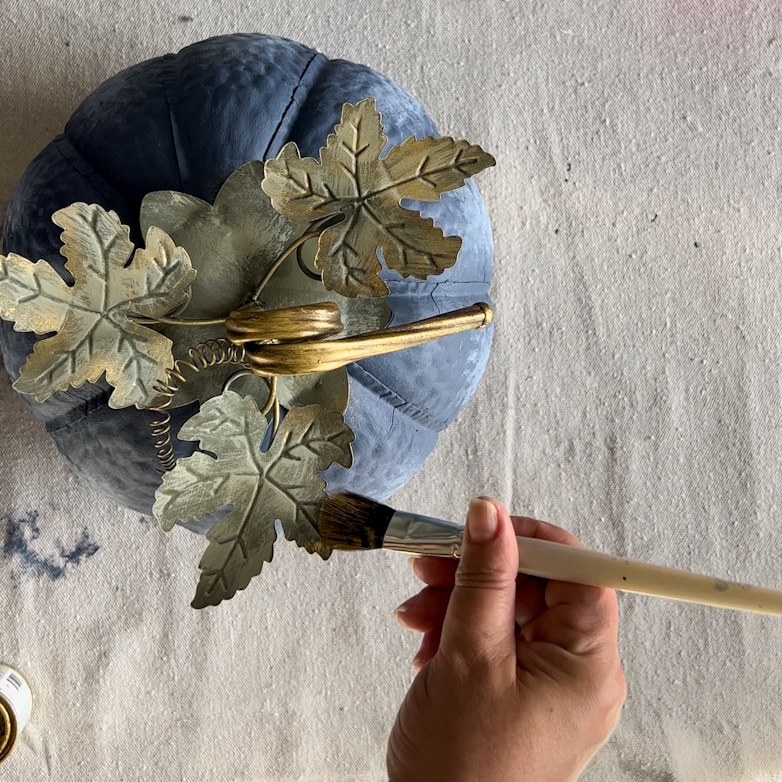
Step 5 – Gild the Stems with Gold Wax
With gold Gilding Wax, I lightly brushed the stem and edges of all the leaves.
Step 6 – Apply the Floral Transfers
It is suggested that you let the paint cure for 24 hours before applying any transfer images.
I did not wait that long and everything turned out fine, but don’t trust me on that. Better safe than sorry.
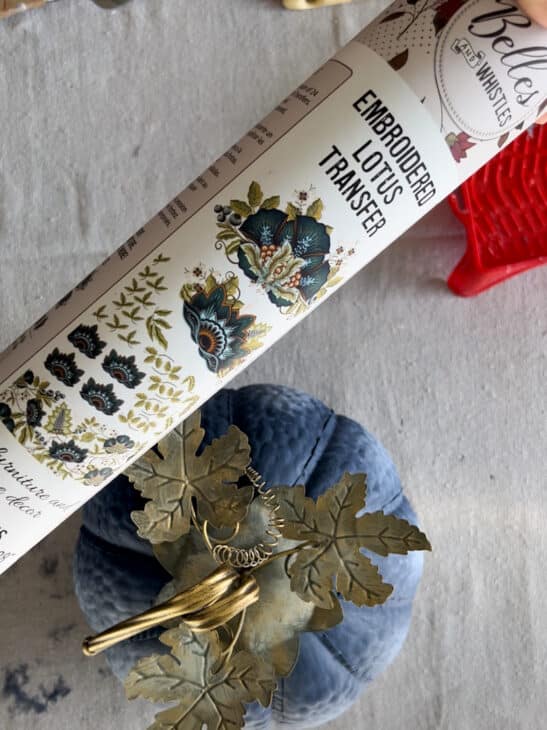
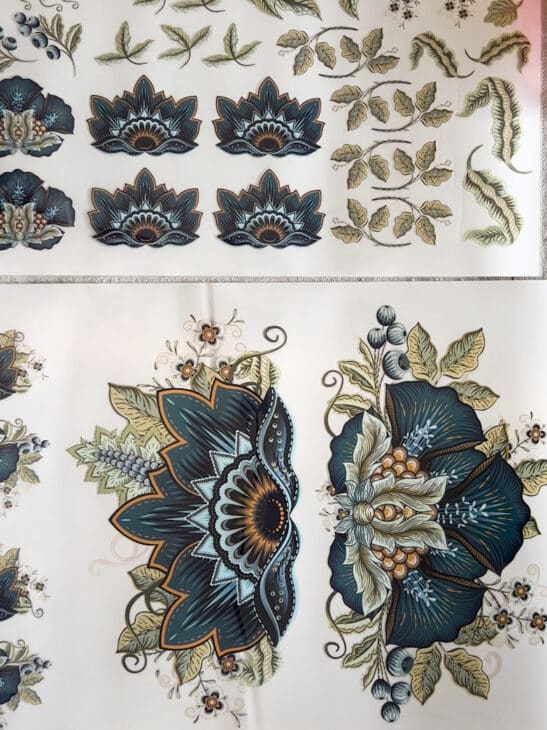
This lotus flower transfer design includes four bigger floral images (two of each), smaller versions of those images, and lots of tiny add-ons like leaves, berries, tiny flowers, and twirly vines. These extra bits and bobs are fun to add. Like the bugs and butterflies in the design, I used to make a centerpiece.
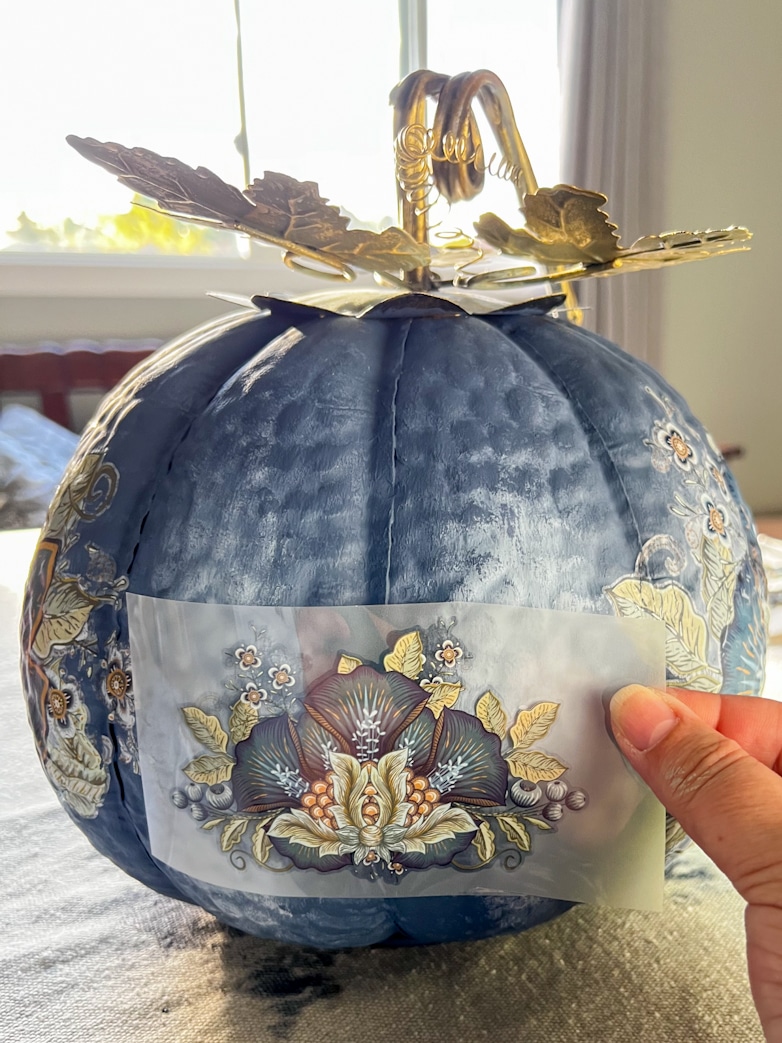
I applied two big florals on opposite sides of the pumpkin with the smaller versions in between.

After that, I went crazy, adding lots of tiny details to the top of the pumpkin.

It was risky to apply transfers to a rounded AND uneven surface, but with a bit of concentration, it worked!
Step 7 – Seal the Paint and Flower Transfers
Lastly, I sealed the entire pumpkin with Clear Coat in a flat finish.
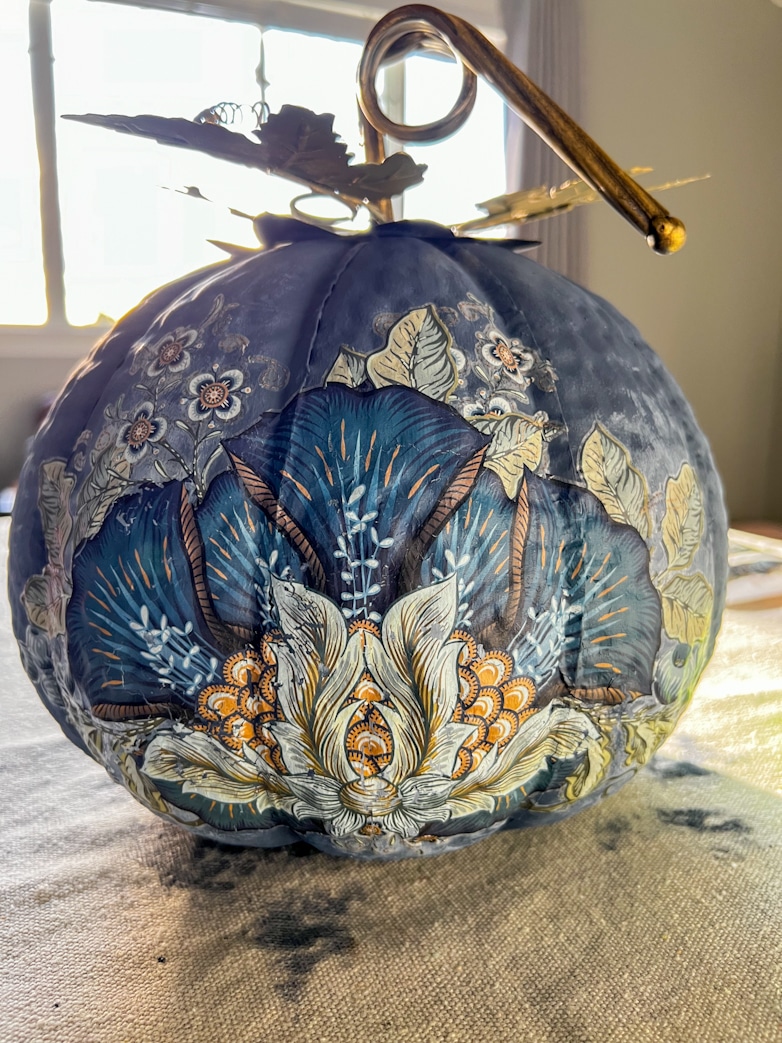
The Pumpkin Decorated With Floral Transfers

The pumpkin looks so much cuter than before. I would love to know what you think.
I hope this post left you inspired. Until next time, happy painting!
Pin This For Later!

I just love how you took a metal pumpkin and turned it into a gorgeous work of art! It’s so beautiful! I’ve never used transfers on a pumpkin before, pinning it for future reference!
This is absolutely gorgeous, Marieza! I’d love to share this idea in my weekly roundup this Saturday!
That would be awesome! Thank you so much, Kim!
This is gorgeous! Pinned
Thank you so much, Cindy!
I love your pumpkin, Marieza! So inventive and beautiful!
Thanks, Pam! I’m so glad you like it!
This is such a great idea when the usual fall colours do not match the rest of your decor. What an inspiration! I love it. It is a work of art. Once again you did a great job.
Thank you so much!
Wow – that is VERY cool!! I love the look with the transfers – I would have never thought of that! You always inspire me! Thanks – this is brilliant!
Thank you so much for your kind words, Barbara!