A Quick and Easy Easter Craft Making Burlap Carrots
Spring is in the air, and Easter is around the corner! Everywhere you look, it’s just tulips, bunnies, eggs, and pastels. This Easter craft, however, is none of the above. These burlap carrots are perfect for a neutral color scheme.
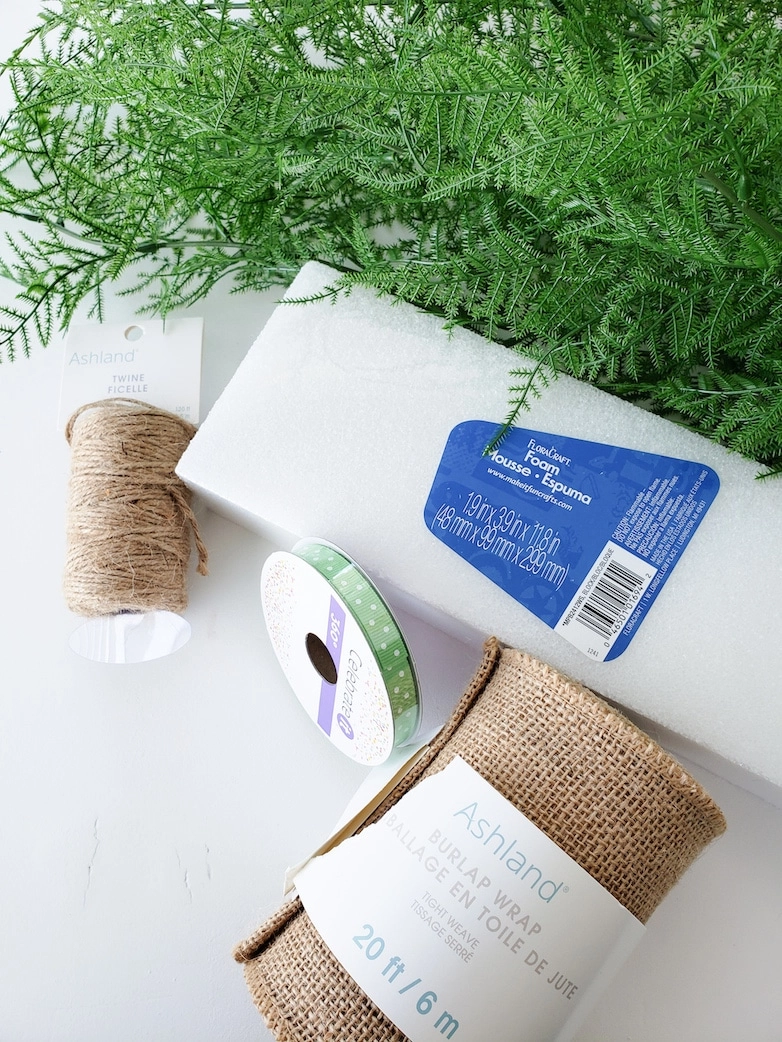
Materials Used to Make the Burlap Carrots:
- Craft/Floral Foam
- A roll of Burlap Wrap
- Twine
- Faux Greenery

Steps to make this spring or Easter Craft
Craft foam was the first thing that came to mind to give my carrots shape.
I began by cutting triangles from the block of craft foam.
An ordinary kitchen knife with fine teeth works great to carve away edges until it resembles a carrot or cone shape.
Use your knife to make a hole in the top of each carrot.
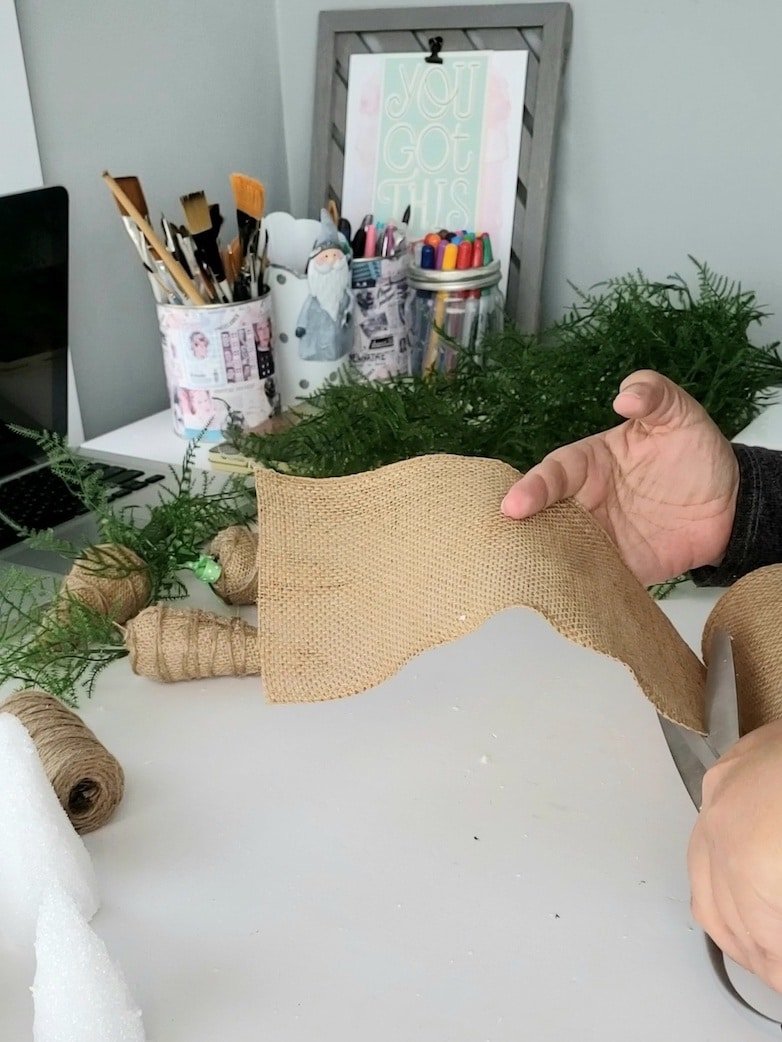
I used about 10 inches of burlap wrap per carrot.
Hot glue is perfect for securing one end of the burlap to the foam.

Tightly wrap the burlap around the foam and secure the end with hot glue as well.
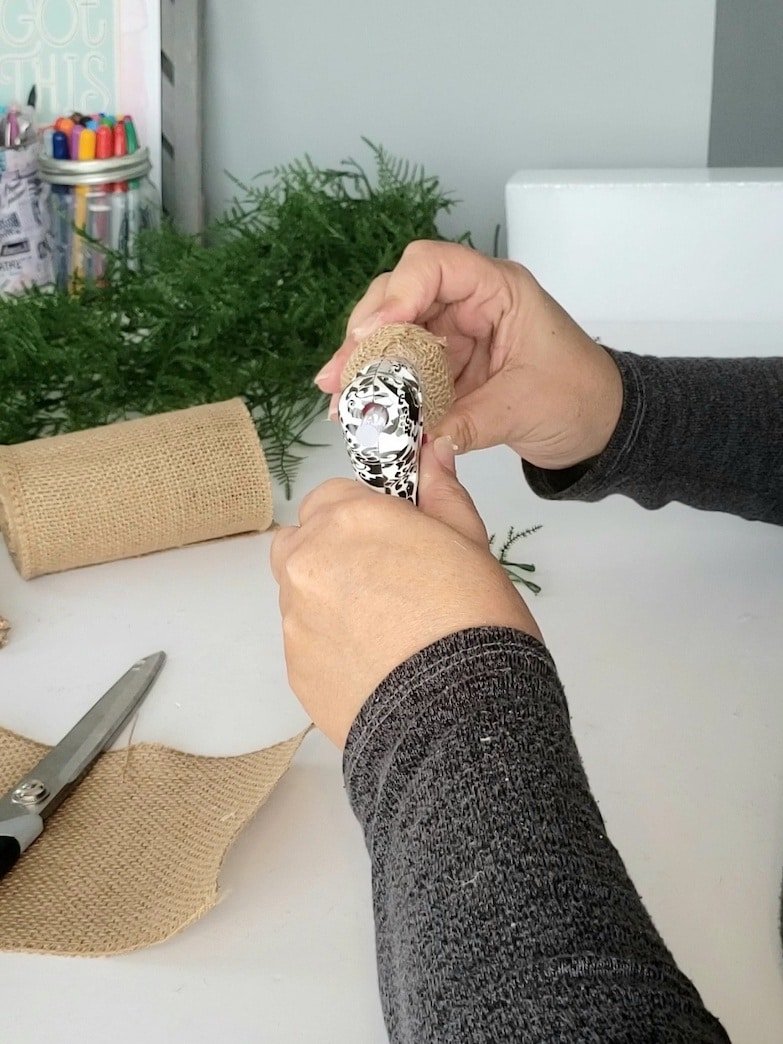
Cut off the excess burlap, leaving just enough to cover the top of the foam.
Put a bit of hot glue in the hole on top and tuck in all the remaining burlap.

For a bit of added texture, I coiled twine around each carrot.
Bottom to top and back again to the bottom to form a few crisscrosses.
A drop of hot glue here and there will keep the twine in place.
Fill the hole at the top with glue to secure the greenery.
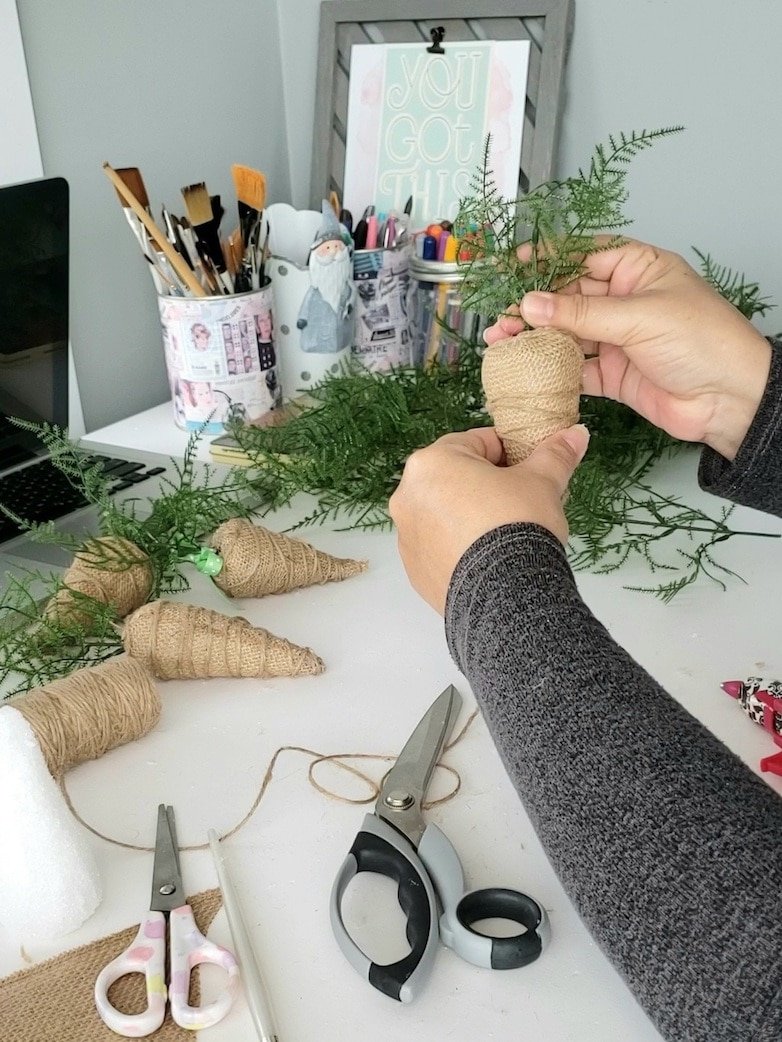
A few sprigs of fine faux greenery will work great as carrot stems and leaves.

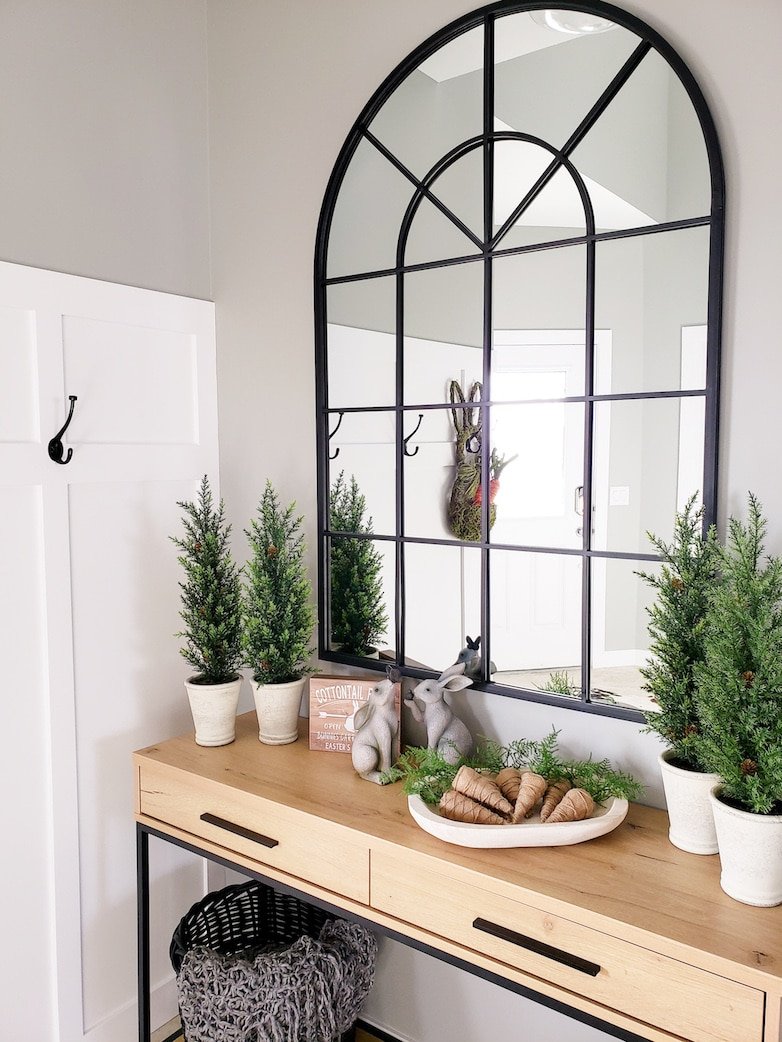
Here they are in a wooden bowl, decorating my entryway. Aren’t they just super cute?

I absolutely love how they turned out. Perfect neutral spring and Easter decor.
This Easter craft was so quick and easy. I don’t think it took me much longer than an hour. It was also super relaxing! I highly recommend it.
Remember to subscribe if you would like to see more posts like this.
Until next time, happy crafting!

posts Related to this Easy Easter Craft:
- Easy Diy Spring Wreath Made With Burlap
- Decorating the Cutest Bunny and Carrot Cookies for Easter
- Wreath Ideas for Spring and Summer
- Storage Ideas for Seasonal Decor
Pin this for later!


Charming! I love these little carrots!!! Thanks for the inspiration…
if you put fresh rosemary in the carrot tops instead of plastic greens and place the decor at your front door, Your guests will get that wonderful scent as they enter you home.
This is such a fun craft. So easy and so cute!
Thank you, Kim! It sure was a lot of fun.
These are so cute! I hope you don’t mind, but I am sharing these on my weekly round-up tomorrow!
Thank you, Jennifer! I don’t mind at all, I would be honoured!
These are adorable! I love that they are neutral but then you can add color to go with your own decor! Brilliant idea.
Marieza, what a fun idea! I love these adorable carrots. Pinned and followed you on Pinterest. Cannot wait to try this!
That’s so very kind of you! Thank you, Misty!
How cute are these?! Good idea to make them neutral.
I’m so glad you like them!
Super cute! I love the neutral colors. Goes great with your decor!
Thank you so much, Christin!
These are absolutely ADORABLE!! Think I need to make them ASAP. Thanks for sharing! 🙂
You are so very welcome! Thanks for stopping by, Carolyn.
These are so cute and easy to make. Love them.
Thank you, Carol! They were so much fun to make!