Landscaping and Planting a Garden from Scratch
When I lived in South Africa, I always had a lush green garden, but when I moved to Alberta (Canada) a couple of years ago, I was in for a big surprise! Going from a place where anything and everything grows most of the time to a place where very little grows for a very short time of the year… Let’s just say all those years of gardening knowledge were worthless.
Facts about gardening in South Africa:
- 90% of plants are evergreen and winters are mild
- The average yard is relatively big
- A lot of people have a gardener at least once a week to mow the lawn and maintain flowerbeds.
- Garden maintenance is almost a year-round activity.
Facts about gardening in Canada (specifically Alberta):
- Fir, juniper and spruce trees are evergreen and not much else because winters are harsh!
- The average yard is on the small side.
- Most people do their yard work themselves.
- Garden maintenance starts mid to late April and ends before the end of September. As for the other months, the garden will probably be covered in snow.
So, what motivated me to attempt gardening under these challenging conditions? Someone telling me that I won’t be gardening in Canada! That wasn’t the only reason, but it definitely helped to get me started. In any case, what’s the use of having a beautifully decorated interior and no curb appeal?
When we moved into our house, it lacked curb appeal in a big way. We had a patchy lawn and a row of columnar Swedish aspens along the southern fence to work with, so, more or less, a blank canvas. We took possession of the house in June, and I had a lot of research to do before even thinking of planting anything. For the rest of that summer, we just maintained and tried to remedy the patchy lawn.
Research
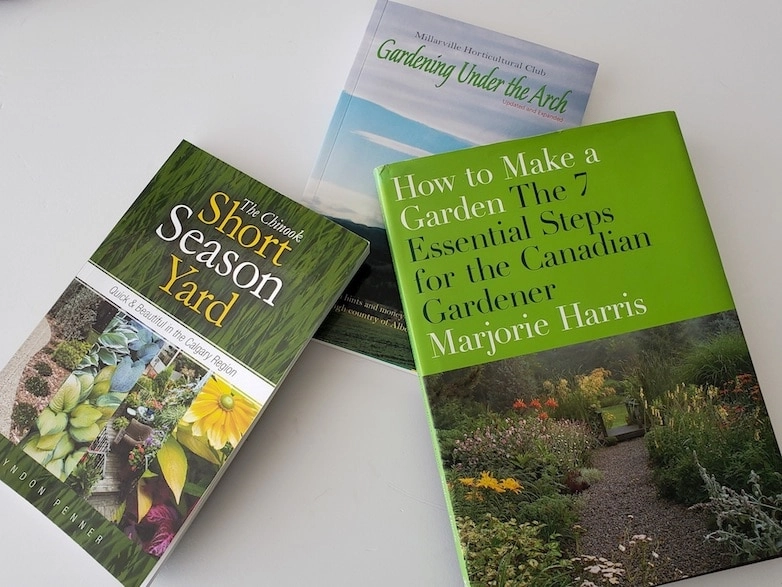
Our laundry renovation (you can read about it here) was completed in March, and immediately after that, I started my research on gardening in Alberta. The first (and best) thing I did was join a Facebook group for local gardeners. They gave me a lot of good advice. Book recommendations from them also led me to the following three books I now use as references:
(these are also clickable affiliate links from which I may earn a small commission at no extra cost to you.)
- Gardening Under the Arch – Millarville Horticultural Club
- The Chinook Short Season Yard – Lyndon Penner
- How to Make a Garden. The 7 Essential Steps for the Canadian Gardener – Marjorie Harris
Things I had no knowledge of and had to learn:
- Hardiness zones – the zone your area falls in determines how hardy a plant has to be to survive in your garden. We fall in zone 3, which means plants have to be able to withstand temperatures as low as -40 degrees Celsius.
- Perrenials – the group of plants between evergreens and annuals (these guys look dead in winter but grow again every summer)
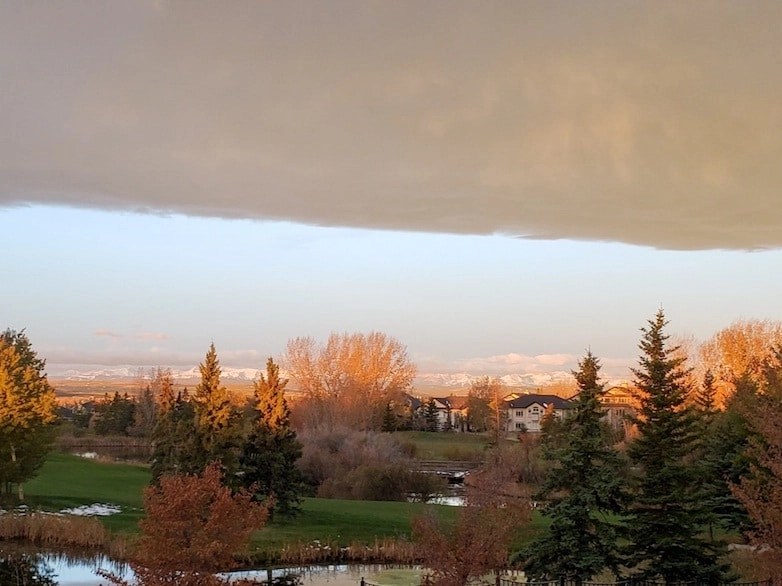
- Chinook winds – also called snow eaters, are warm winds blowing over the prairies from the Rockies that can melt a ton of snow in a matter of hours. It is great for the winter blues, but it can have a devastating effect on plants.
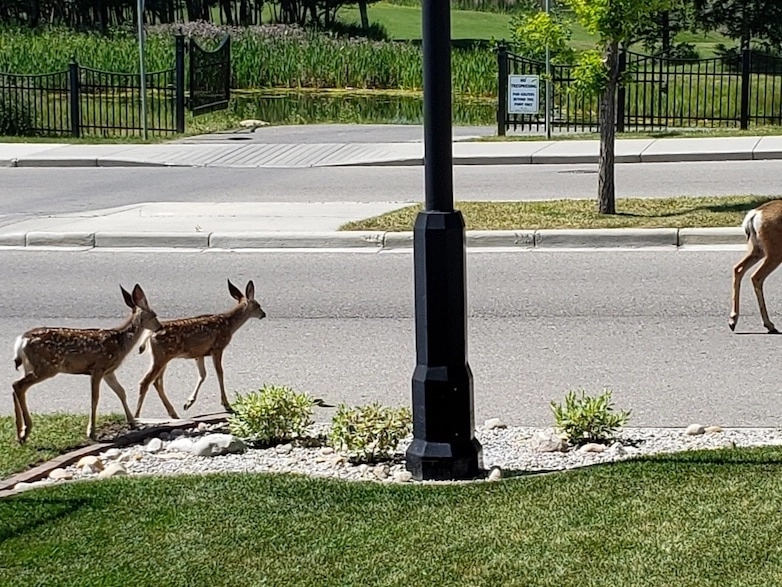
- Deer – I love that these cuties live and roam among us, but they devour plants at an alarming rate. We have a combination of white-tails and mule deer, and the plants that one dislikes, the other will usually like to eat. Even the stuff they hate will get tested first, and that alone can already cause a lot of damage. I spray a product (Bobbex) on the plants that kind of scares them off. It stinks to high heavens and has to be re-applied often.
- The right time to plant – in our area, everyone will tell you: no planting before May long! (Referring to the long weekend at the end of May). Before then, a hard frost can strike at any time.
Planning
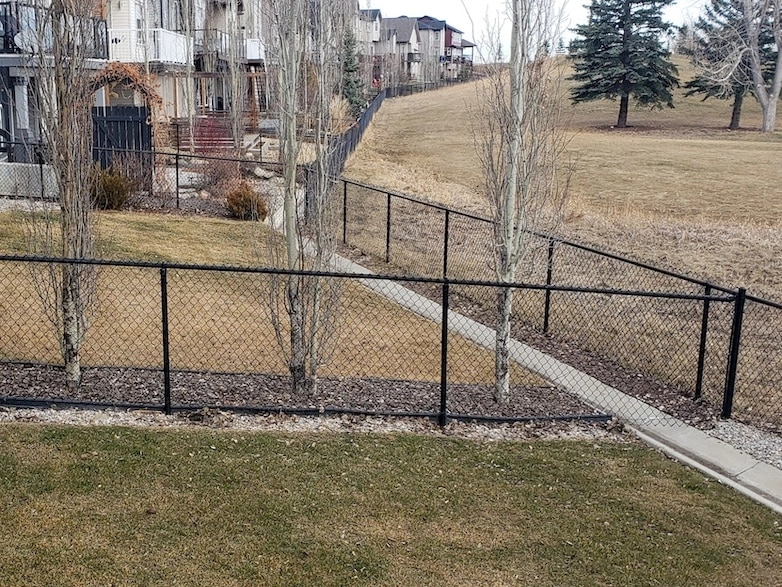
Our yard is enclosed on three sides by a chainlink fence. This is the only type of fence permitted in our neighborhood since we live on a golf course. It makes sense because we have great views, but I’m not a fan of chainlink at all. The only solution for this is to plant a hedge all along the fence. For this purpose, I chose Alpine Currants. They are hardy up to zone 2 and should do well during the winter. I got mixed reviews on the height they can reach, and I’m crossing my fingers that they will at least grow up to 4 feet, which is the height of the fence.
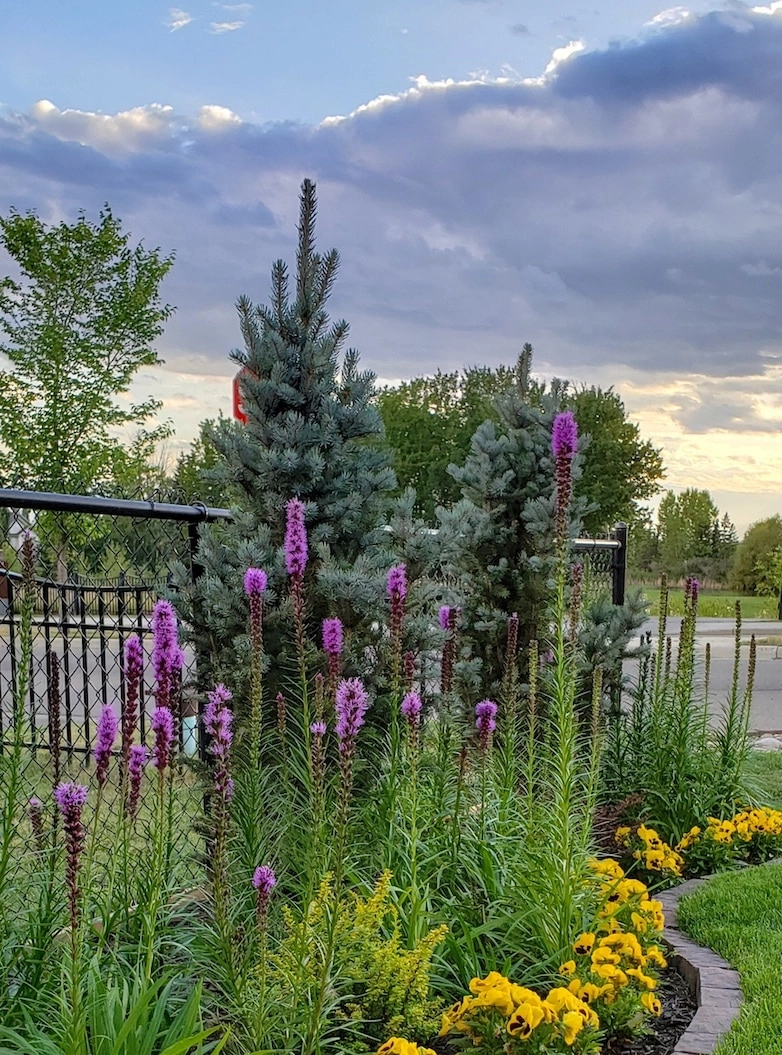
Since moving to Canada, I fell in love with Colorado blue spruces, but our garden is way too small for how big these trees get. Fortunately, I found a columnar variety that doesn’t grow as wide but still has the same blueish needles.
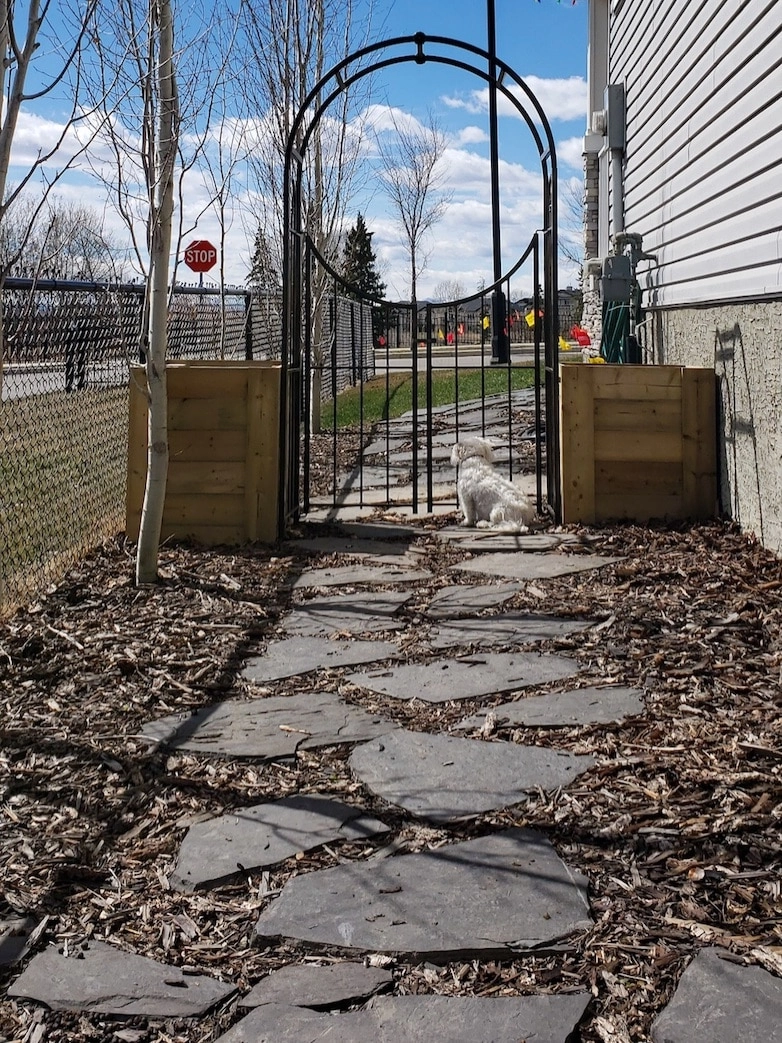
We also needed gates at the sides of the house to keep the dog from roaming the streets, but it had to be a budget-friendly option. I decided to buy inexpensive arbours with gates attached. It was the perfect size for the north side of the house to fit between the house and the fence. The opening was much wider on the south side, and I built wooden planter boxes to fill the gaps and anchor the arbour.
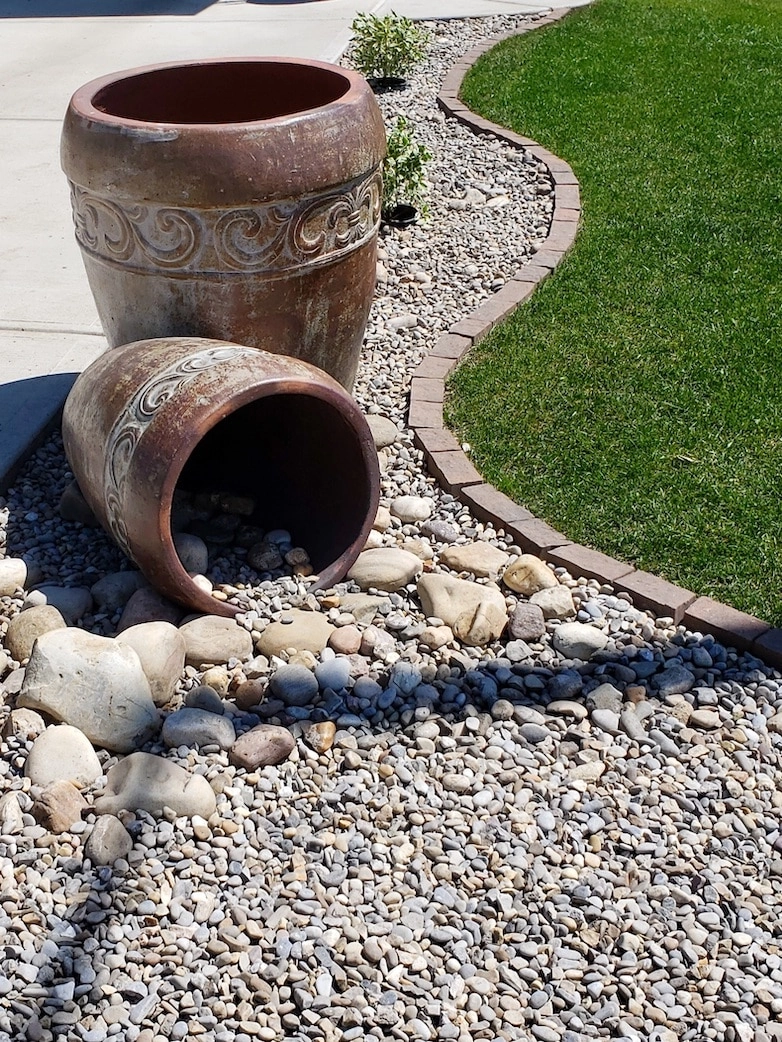
One bonus I did find in our yard was lots and lots of pebbles. They were placed all along the fence on the northern and eastern sides, about a foot wide. The only problem was that I wanted to make flowerbeds and plant my hedge there! I definitely wanted to use the pebbles to create a nice feature, just not there.
It took me weeks, but I picked them all up, washed them and kept them aside for my front yard project. I realized that this was the fourth landscaping and garden planning project I’ve done in my life, and somehow they all had pebbles incorporated somewhere. I guess I really do love pebbles! For the edges of the flowerbeds, I decided to use edging stone. Not only does it give a finished look, but it also makes mowing easier.
Executing the plan
There are a few ways to get rid of sod. Step one was to mark out the flowerbeds and remove the sod (a term I only came to know in Canada, used instead of lawn or grass). Most people lay down thick layers of newspaper and kill it off over a long period. If you need it gone quickly, you cut it out with a spade or shovel with a sharp blade and then you use a garden fork to lift it out with as many roots attached as possible. This way, it can be rolled up and ready to be planted elsewhere.
I’m not going to lie; it’s a terrible job. Rolls of sod are extremely heavy, and it seems to keep multiplying until you don’t know where to go with it anymore. Luckily I found someone who needed sod, and they were keen to haul it away. A year after the fact, my wrists and elbows are still recovering from the strain it took.
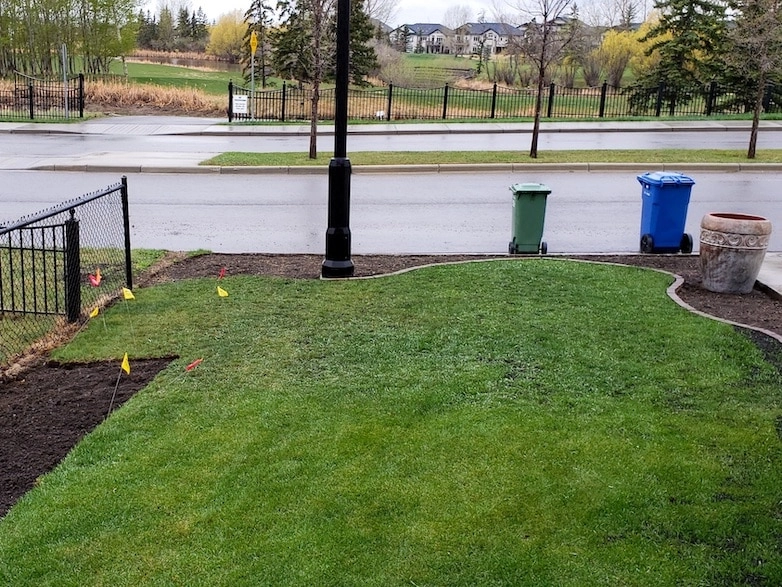
The front yard was my starting point. I removed all the unwanted sod and formed borders with the stone edging. I built up the flowerbeds and topped them up with good quality soil from Big Yellow Bag. Before I bore you to death, I’ll instead list everything I used for the whole project.
All purchases made to complete the project:
- 202 edging stones (my calculations were spot on)
- 3 Huge cubes of quality soil
- 25 Bags of mulch
- 5 Columnar Colorado blue spruces
- 37 Alpine currants (for the hedge)
- 4 Honeysuckles (shrubs not climbers)
- 7 Rose bushes (a variety)
- 12 Daylilies
- 5 Alliums
- 7 Foxgloves
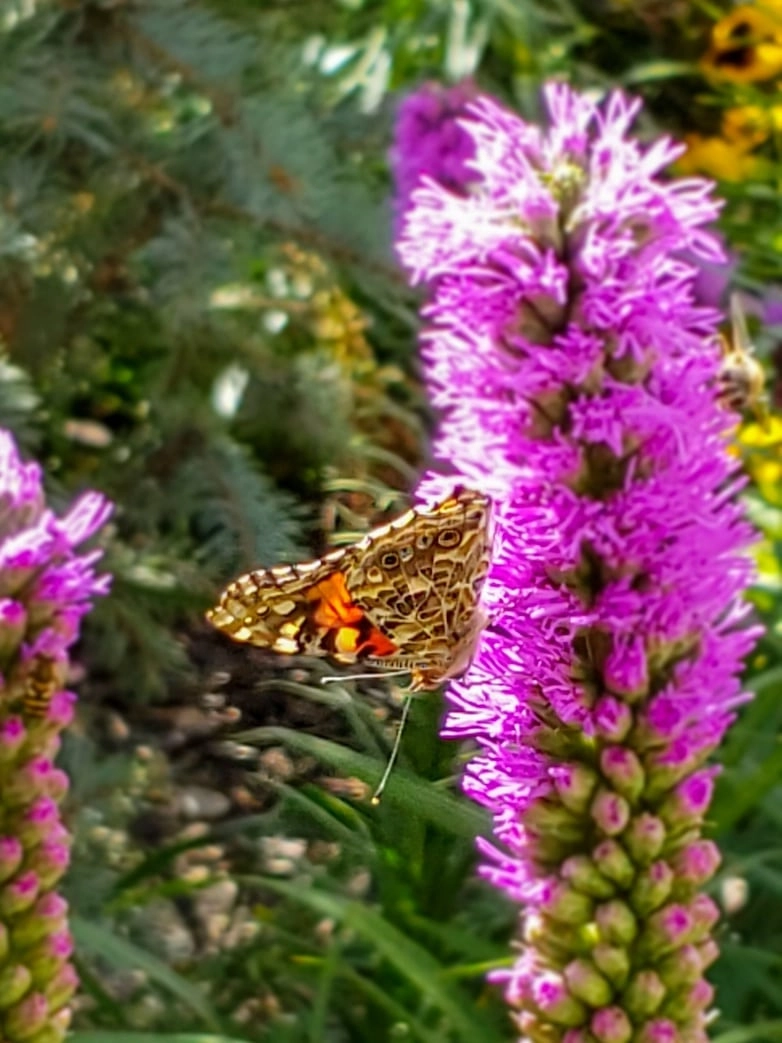
- 4 packs of Blazing Star (gayfeather) bulbs
- 5 Ivory Halo Dogwood
- 2 Cherry bomb Barberries
- 2 Golden Nugget Barberries
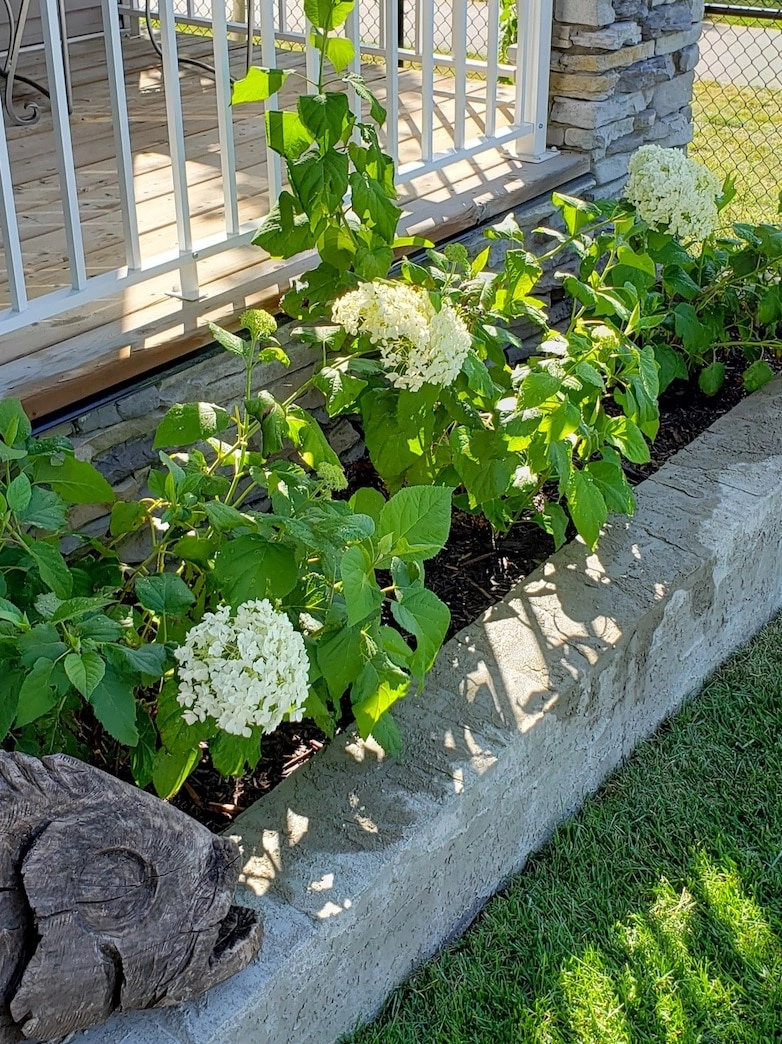
- 3 Annabelle Hydrangeas
- 7 Trays of yellow pansies
- 2 Ornamental clay pots
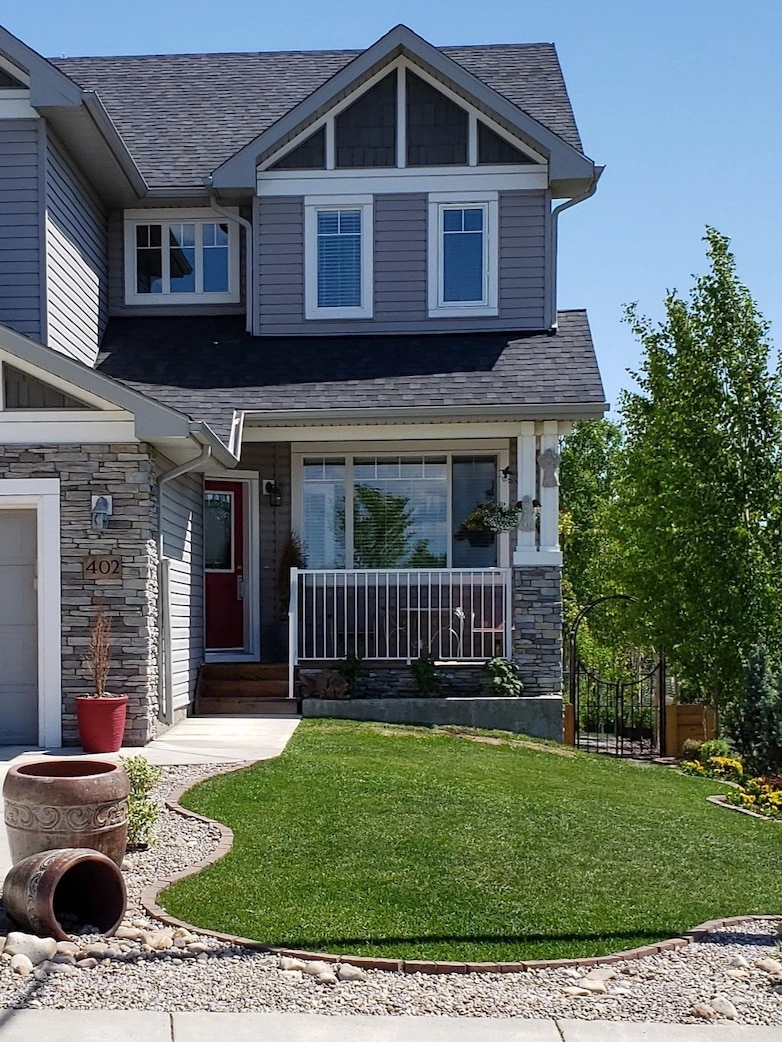
For the front yard, I used all the repurposed pebbles, clay pots and dogwood plants to form a feature along the driveway and front edge of the yard. I used spruces, bulbs, barberries, pansies, and hydrangeas for the rest of the front yard. I know many people plant mainly annuals, but I’m way too frugal to spend money on plants that have to be replaced every year. The only annuals I bought were trays of pansies for a colourful border and hanging baskets for the porch.
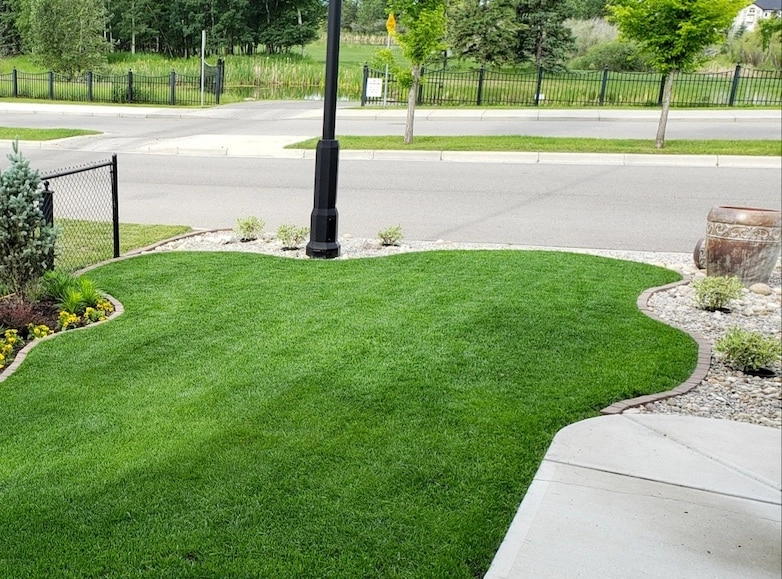
I spread out the alpine currants (for the hedge) from the one side gate, all around to the other side gate for the backyard. The roses and daylilies were planted together in the flowerbed that faces south. The honeysuckles, alliums and foxgloves were planted together on the opposite side.
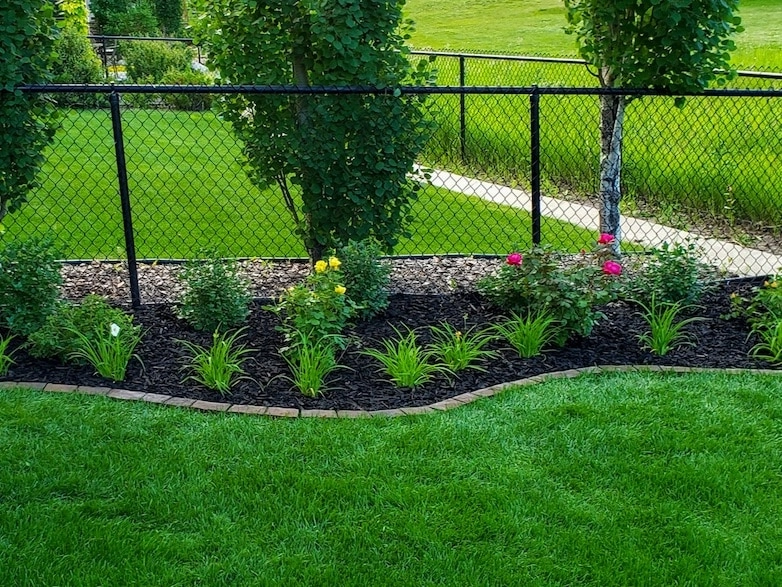
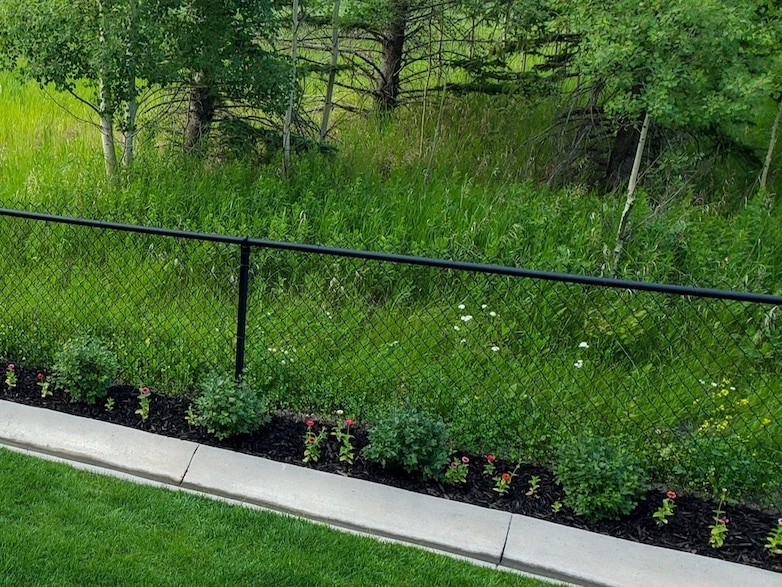
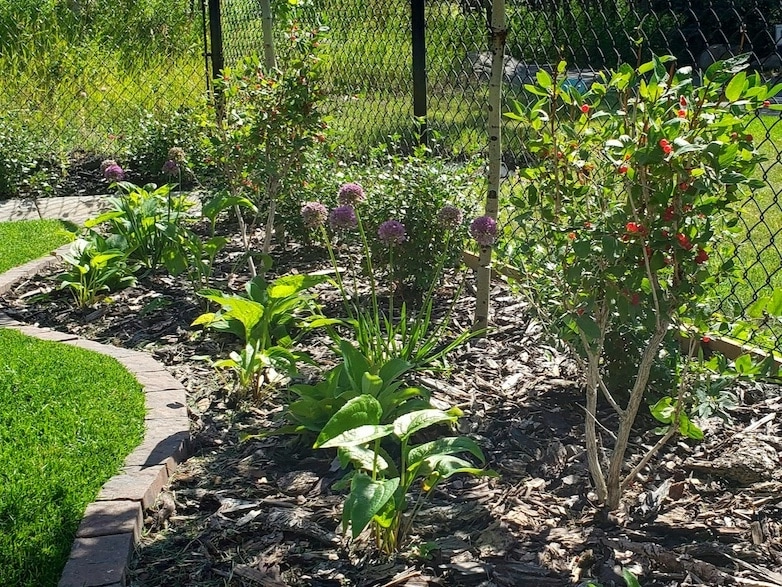
This little garden of ours is tiny until you start to work on it, then it suddenly feels massive! It took me all summer to complete, but I am pleased with how it turned out. All the plants are still young and small, so it looks a bit skimpy, but give it three to four years, and I think it will be quite something for the eye.
