DIY Christmas Village Built from Scrap Wood
This DIY Christmas village made with scrap wood is a quick and easy craft that you can finish in one afternoon. Plus, it costs almost nothing!
If you have ever done any home renovation requiring 2 x 4 studs, I bet you have at least a few offcut pieces stacked away together with other pieces of scrap wood. Well, let’s use some of those!
This fun craft will take you no longer than an afternoon, costs next to nothing, and you will have a cute, DIY Christmas village to decorate with. It sounds like a winner to me!
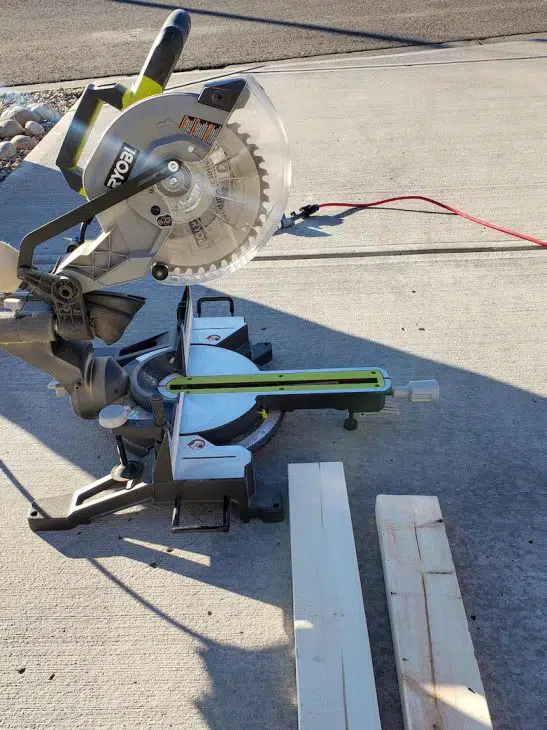
If you have offcuts from framing studs, chances are you also own a miter saw, am I right?
Grab a few scraps and cut them into random sizes varying from 6 inches to 12 inches long. No measuring is required!


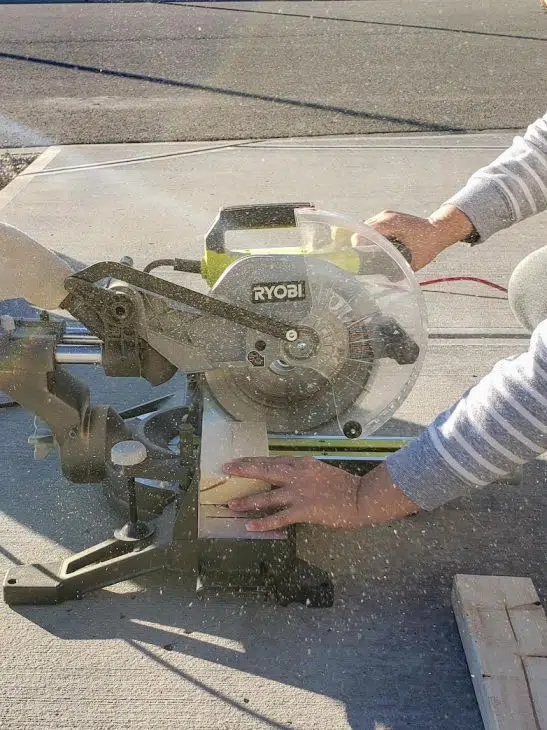
After cutting as many pieces as you’ll need or want, It’s time to cut each one a roof.
Set your miter saw to 45 degrees. I marked the center of each block’s width because I didn’t trust myself to eyeball that accurately! Your roofs don’t need to be perfect. It just makes positioning your piece of wood before cutting easier.
When all your tiny houses are cut and shaped, use a sanding block to give each one a quick sanding to get rid of splinters and rough edges.
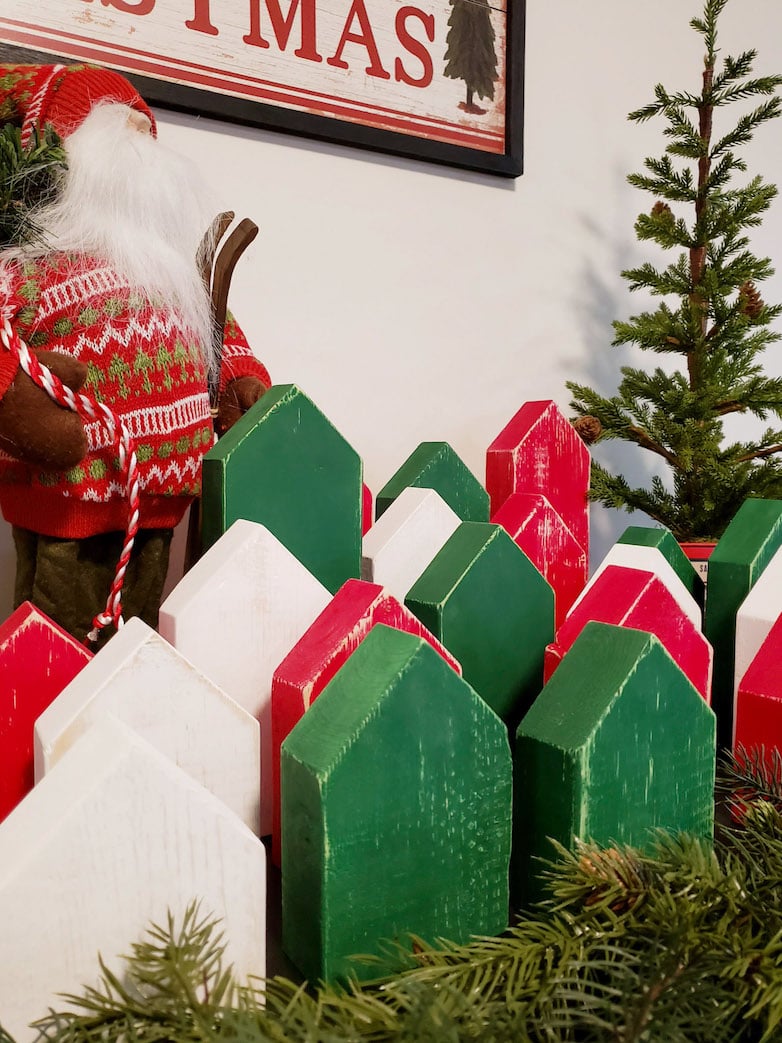
Painting Your Tiny Houses


Your village is now ready to be painted. You can also leave it natural if that suits your decor.
I used green, red, and white craft paint. The paint dried super quickly, as I didn’t bother priming the raw wood blocks or tint houses.
If you need to work on your OCD, this is the project for you, trust me! Don’t measure how long you cut your wood pieces and do not count how many houses you have when dividing them into groups to paint different colors. It’s like therapy, I tell you!
I’m totally joking, but do not measure and count – it will not look natural.


I still don’t know how many houses I made! If I have to guess, about 22. Once you have painted them all, the first ones will already be dry enough for the next coat.


Two coats of craft paint are enough to cover the wood well. Once they are completely dry, use a sanding block to distress them a bit. Scuff the edges of a few houses and rough some of them up a bit more. You can take off as much paint as you like or skip this step entirely if you do not like a distressed look.
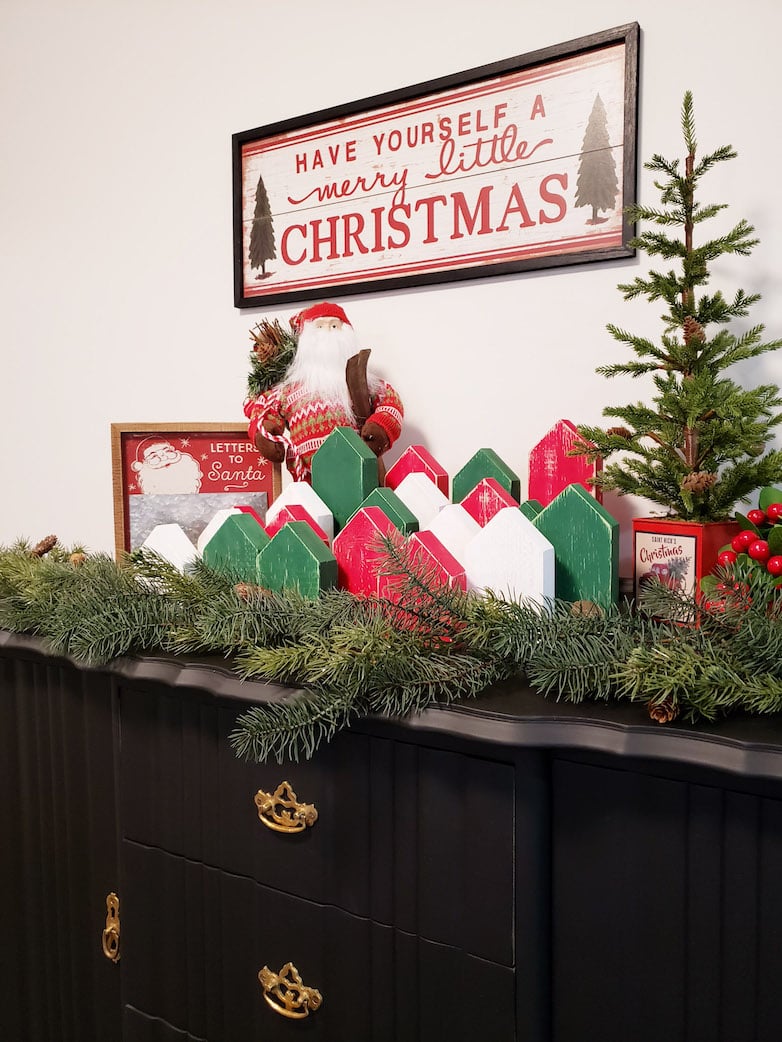
And that, my friends, is all there is to this project!
I could not be happier with my DIY Christmas village. It makes quite the statement on my grandma’s black sideboard.
Posts Related To The DIY Christmas Village
- DIY Window Wreaths
- A Christmas Home Tour
- Easy DIY Christmas Village Houses: Budget-Friendly and Beautiful

How cute! Pinning!
Thanks Leslie!
I love your houses! They really do look great all together
Thank you so much, Debbie!
I absolutely love this project! We always have scrap wood hanging around so you may see this showing up in my home soon! Thanks for hopping along with me!
I bet you will make your own creative version of these!
Magnificent! Love it!
Thanks, mom! I’m glad you like them!
What a fun project Marieza! I love the idea because I don’t’ have a lot of space on my mantle and something like this would work so well! It was so much fun to join the blog hop!
They would be perfect for you then! They hardly take up any space. Thanks for hopping over!
This is adorable Marieza! Not only did it turn out so cute, but I love a craft that makes use of extra materials. Waste not want not and all. Your comment on OCD gave me a chuckle. Thanks for hopping with me!
Thanks, Marie! I agree with you on everything! Glad I could make you chuckle on a Monday!