
Nothing says custom kitchen like a custom range hood instead of an over-the-range microwave.
Over the last year or so, our builder-grade kitchen has slowly been transformed into a custom kitchen, one DIY project at a time, and as budget-friendly as possible.
I am no fan of an over-the-range microwave, and replacing it with a range hood was inevitable.
There was only one problem – an insert range hood is way more expensive than an under-cabinet range hood!
An under-cabinet range hood isn’t a bad option; I just really didn’t want more stainless steel in this kitchen.
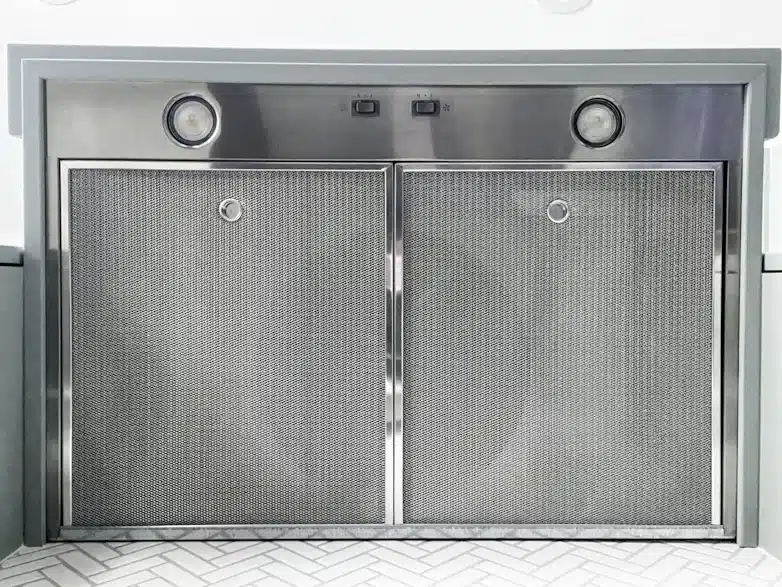
I decided that the only to get what I wanted was to look for an under-cabinet range hood with controls and switches at the bottom instead of the front. I could then build a casing around it and create the look of a custom vent hood. They are few and far between, but I found one and made it work! Here’s what I did…
Uninstalling the Over-the-range Microwave
I removed the insulation around the vent to the outside, unplugged the unit and removed the cabinet doors.
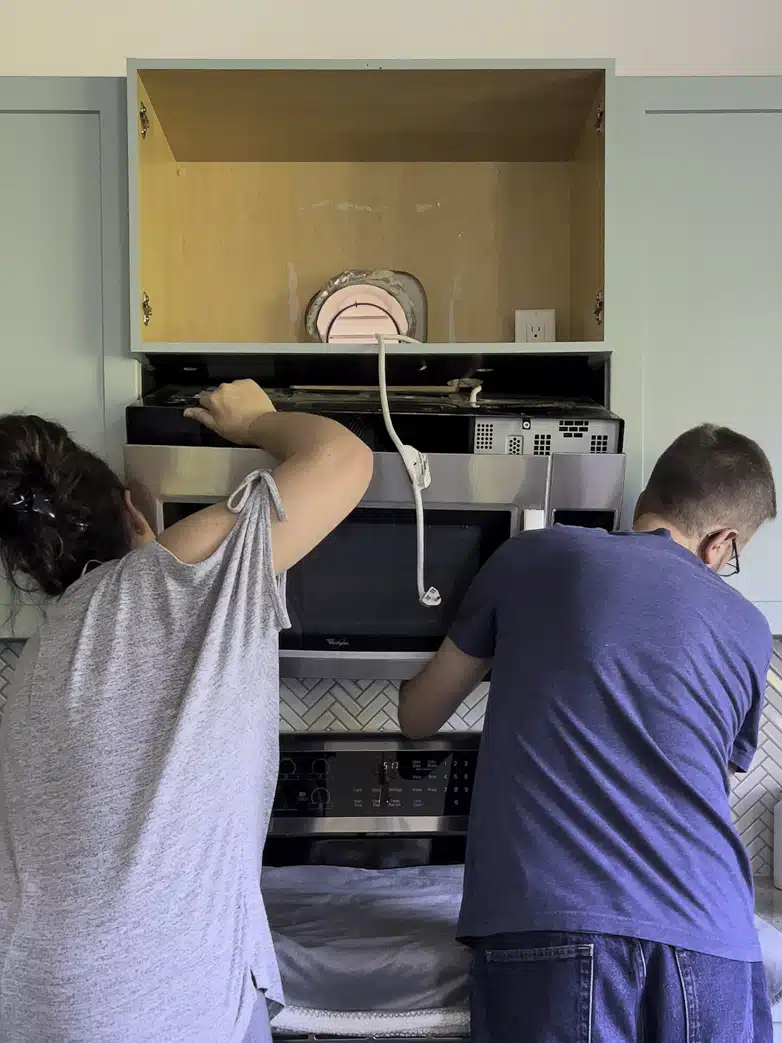
Inside the cabinet above the microwave (towards the front), there are two long bolts that need to be unscrewed. Don’t worry; the unit won’t fall down when you take them out!
I asked Stephen to help me with the next step because this was too heavy to handle alone. We tipped the microwave’s top forward and lifted it off a wall bracket. That’s it, done!
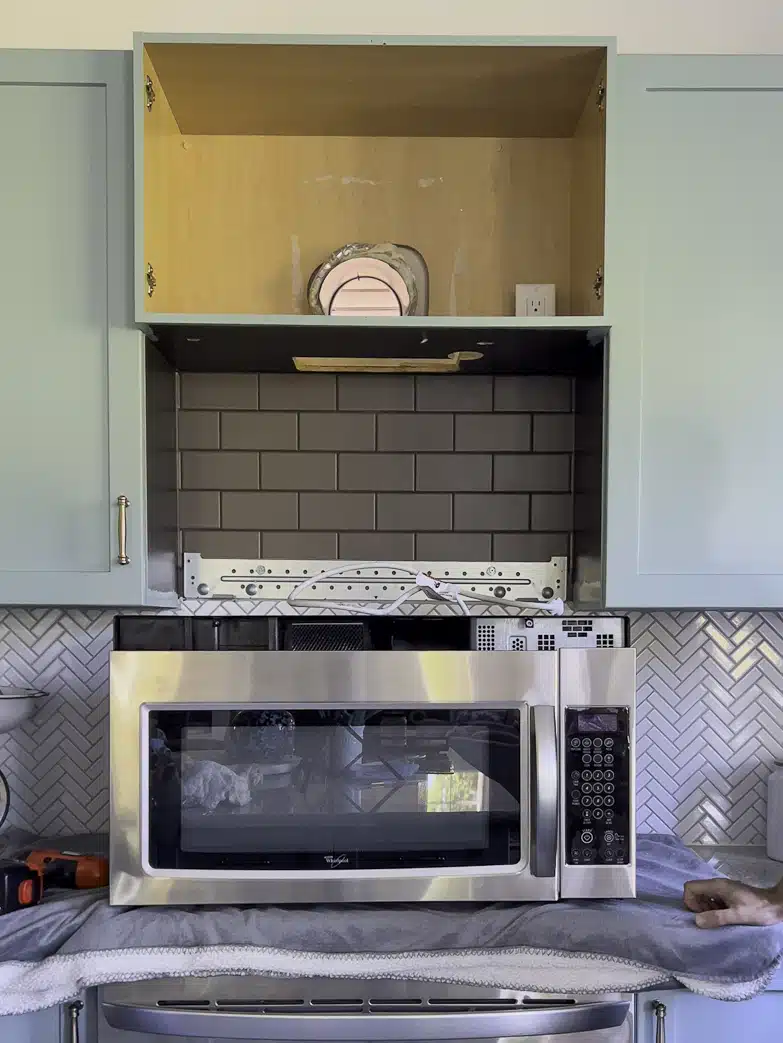
Hello, ugly brown tile!
Someone tiled the new backsplash over the old tile, up to the bottom of the microwave (It’s me, I’m someone).
Fear not! When I tiled this backsplash four and a half years ago, I knew this day was coming, and I saved enough mosaic sheets to fix this area. It was the first thing I did after we moved in and also one of my very first blog posts.
Filling in and Matching the Backsplash
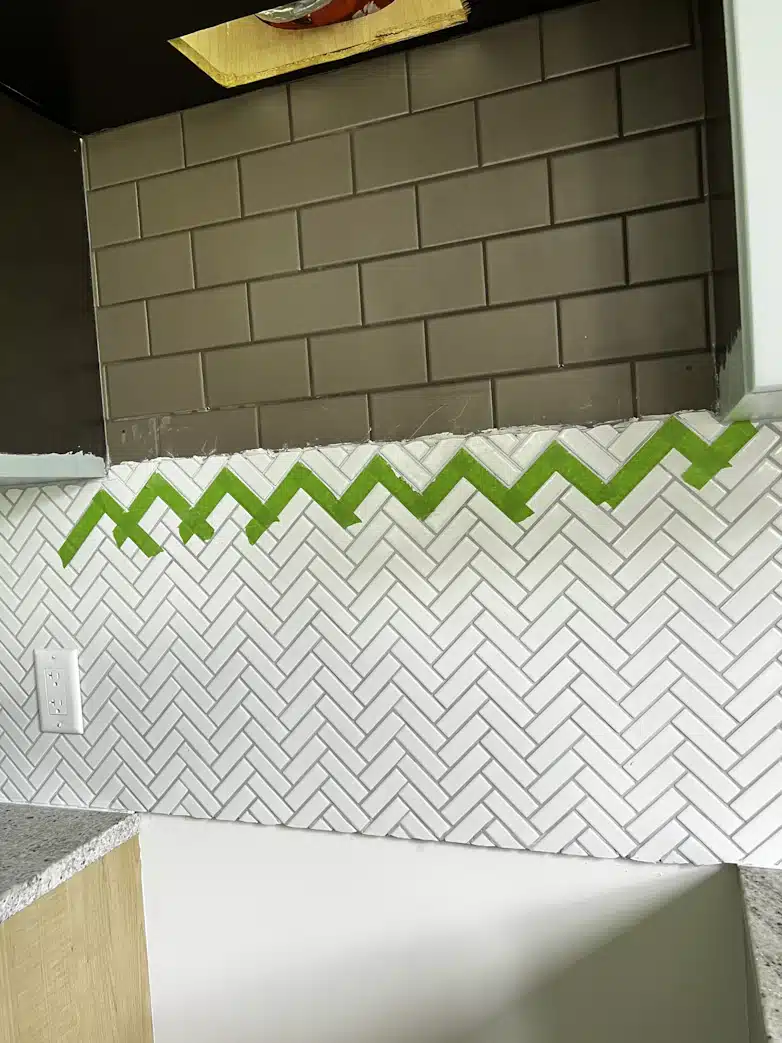
I used frog tape to cover and mark all the whole tiles to remove all the partial pieces above them quickly.
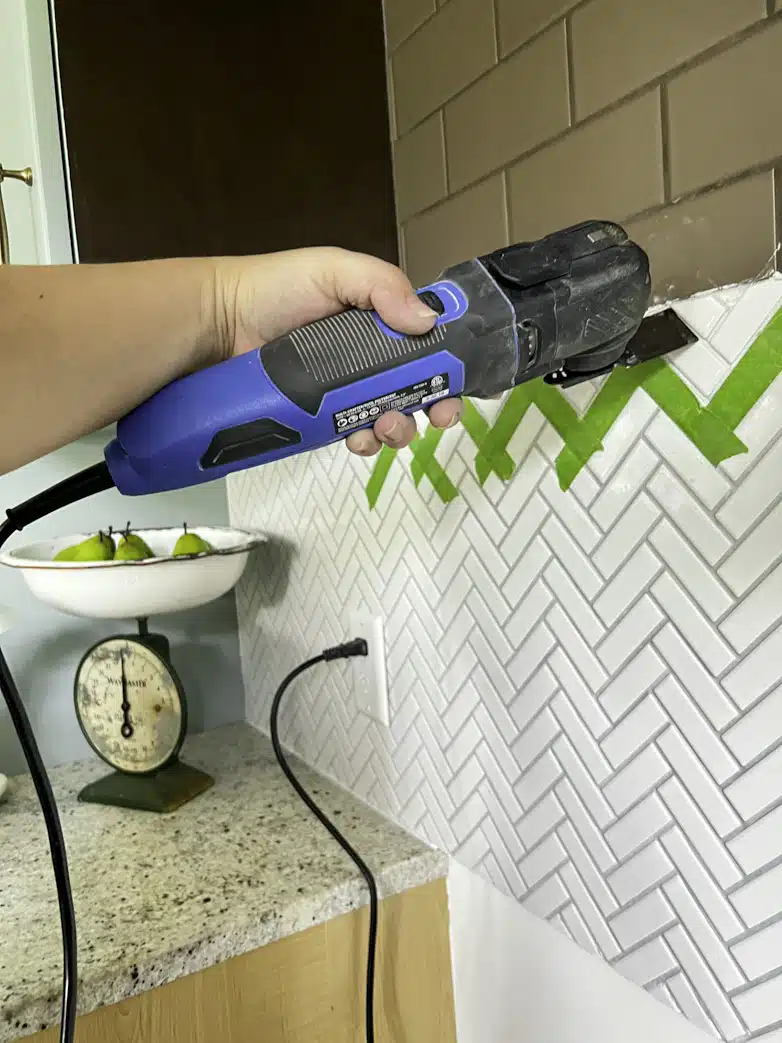
It was actually a blessing in disguise to remove tile over tile. I can tell you from experience that taking down tile and adhesive from sheetrock or drywall destroys the wall. Whether using a power tool or manually chiseling away, there’s no way to avoid it.
That’s what happened with the first wall in this kitchen! Therefore, I decided to do the backsplash on the second wall over the existing tile.
Yes, it can be done! As long as the original tiles aren’t loose, it won’t compromise the adhesion of the new tile.
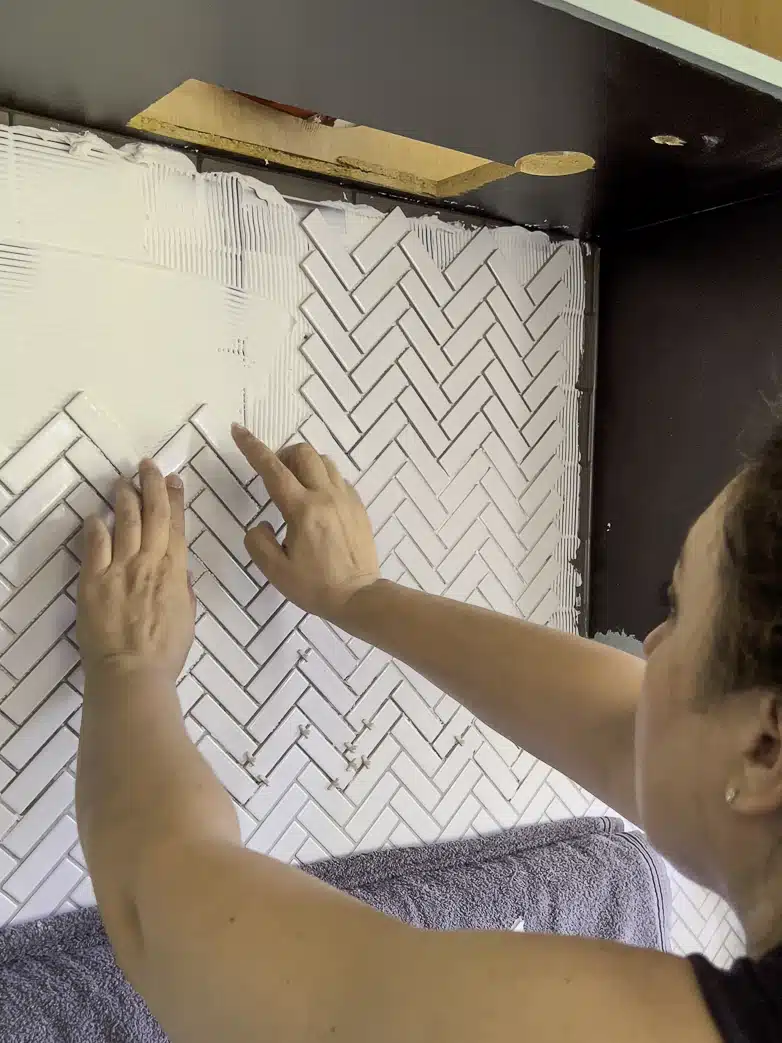
The tiling went quickly since I already had the tile and tile adhesive, spacers and grout left over from a previous project.
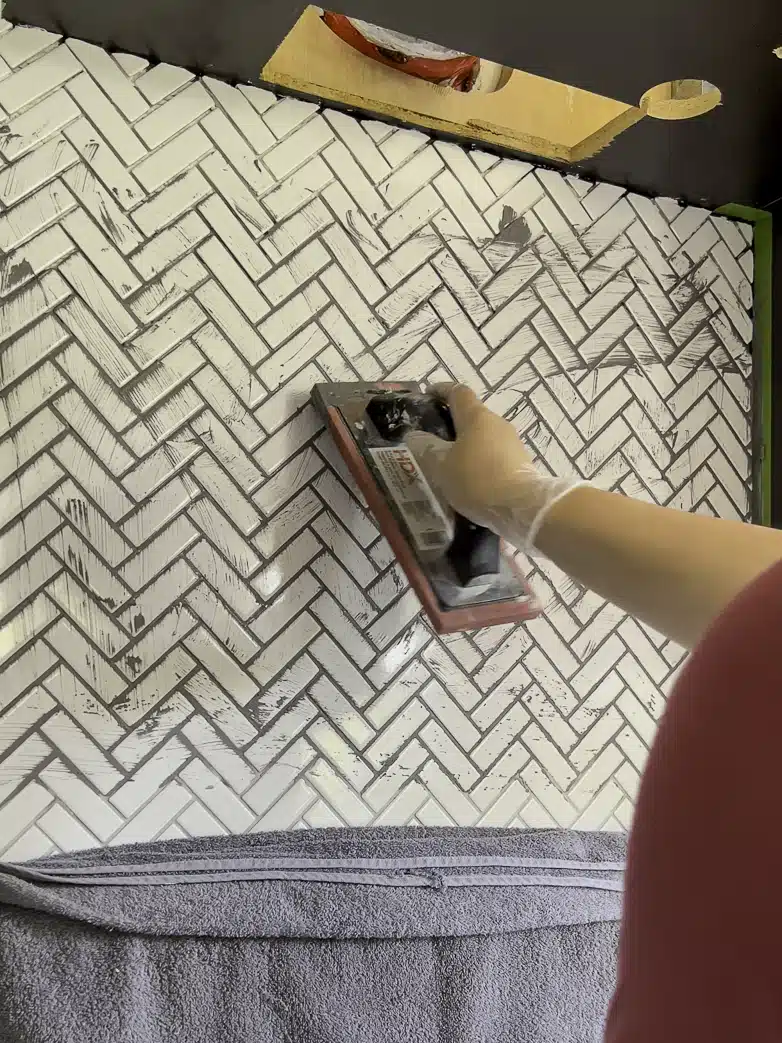
As soon as I started grouting, I realized that it was a darker shade of grey left over from the basement bathroom – OOPS!
I wiped and washed most of it off while still wet. Luckily, I remember which brand I used, and there’s only one shade of grey lighter than the one I started with.
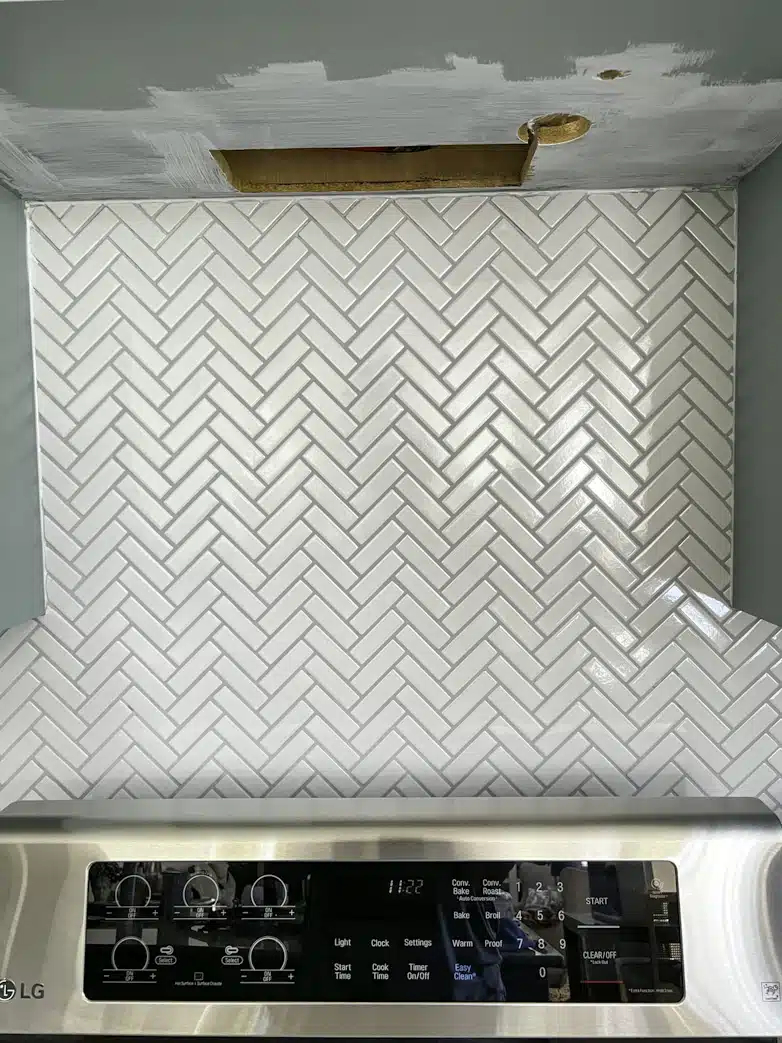
After the grout was fully dry, the tiles were cleaned, and the edges were caulked, it was a perfect match!
Installing the New Range Hood
For months and months, long before this project became a reality, I was planning and scheming how I could build a wood casing around a stainless steel appliance. My biggest worry was if there would be enough space to cover the sides. It sure was a challenge, but it all worked out perfectly!
Removing the over-head cabinet would have been a huge hassle, so I decided to keep it and add on to create the new design I had in mind.
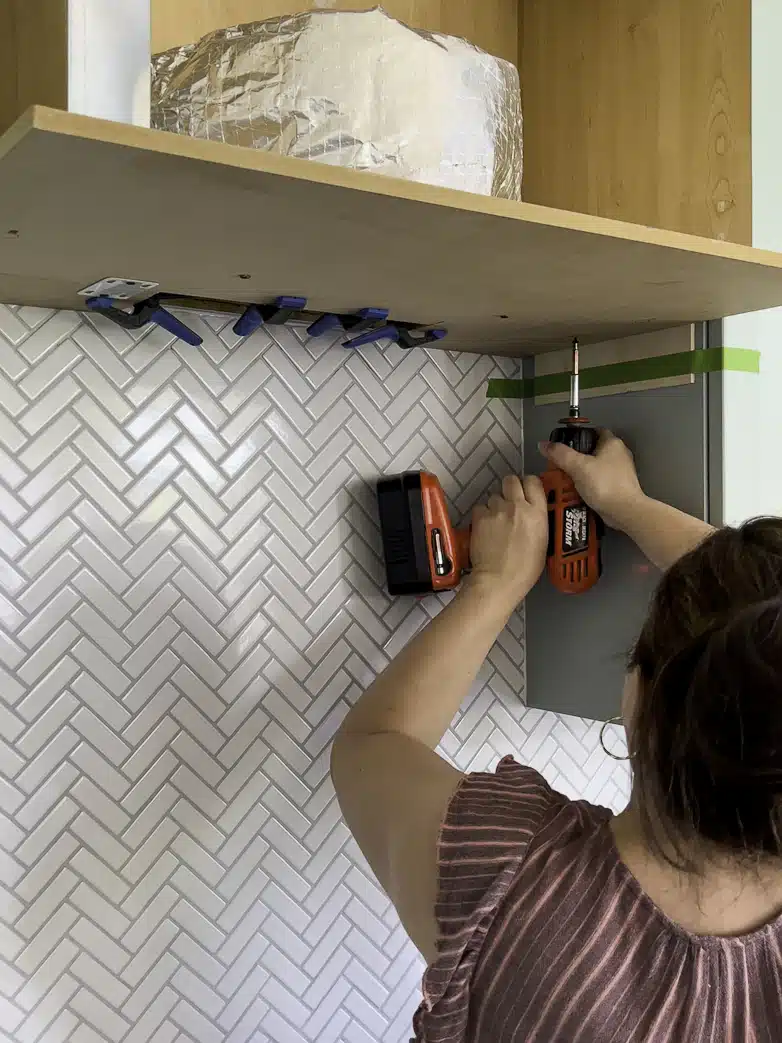
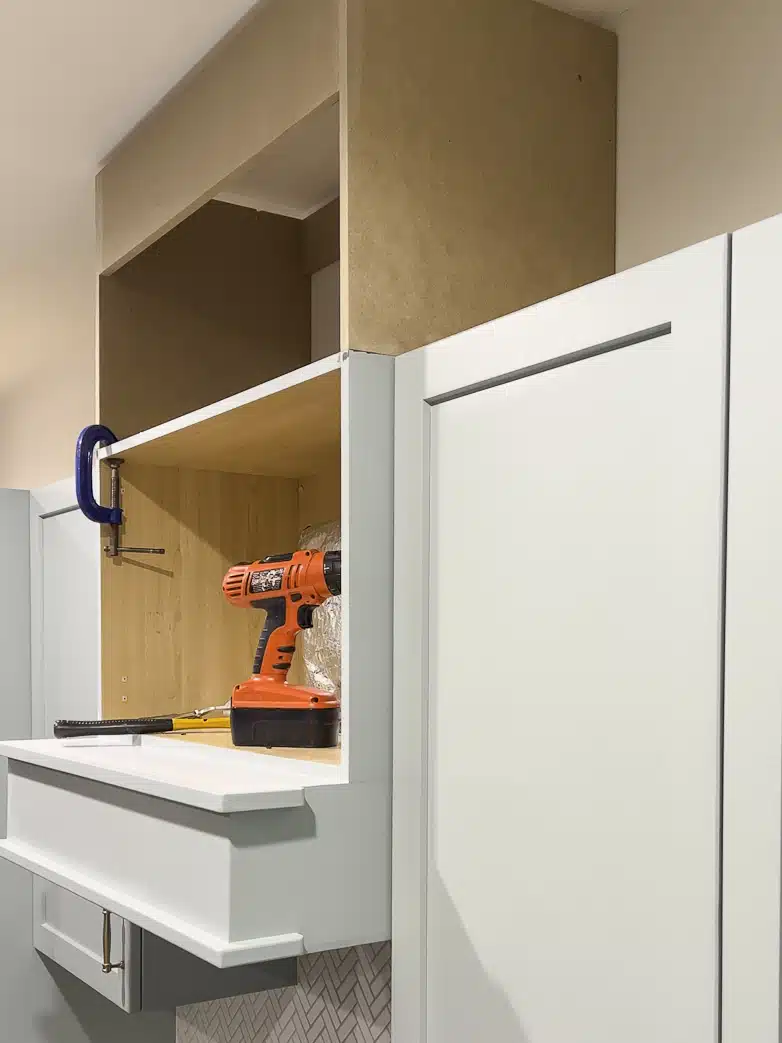
Before installing the range hood, I cut a piece of MDF to the exact size of the bottom of the appliance. (The top is the same size as the cabinet above.) I used clamps to keep the MDF in place while screwing it to the base of the cabinet.

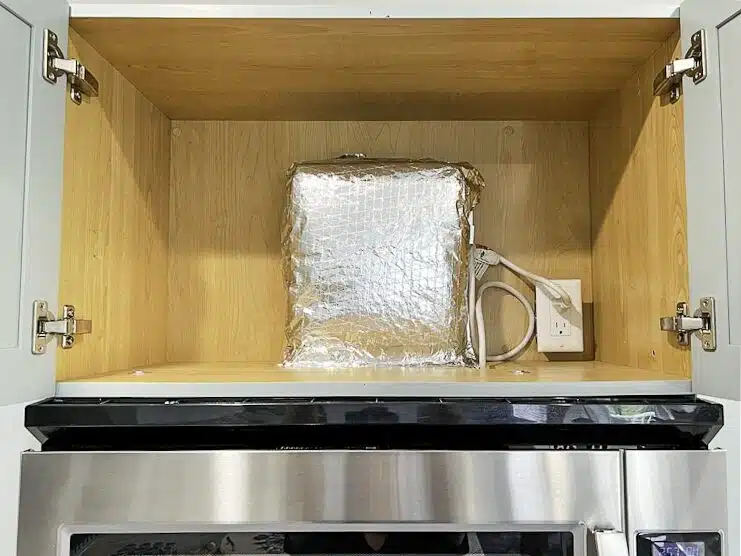
Installing the range hood was easy. It came with thorough installation instructions. The unit is so light that I could easily balance it on one arm while feeding through the electrical cord.
This particular range can also be used without an outside vent! Carbon filters are available to place inside the unit and trap odors. I don’t know how effective that is, but I guess it’s better than nothing. I will link the range hood and the filter at the end of the post.
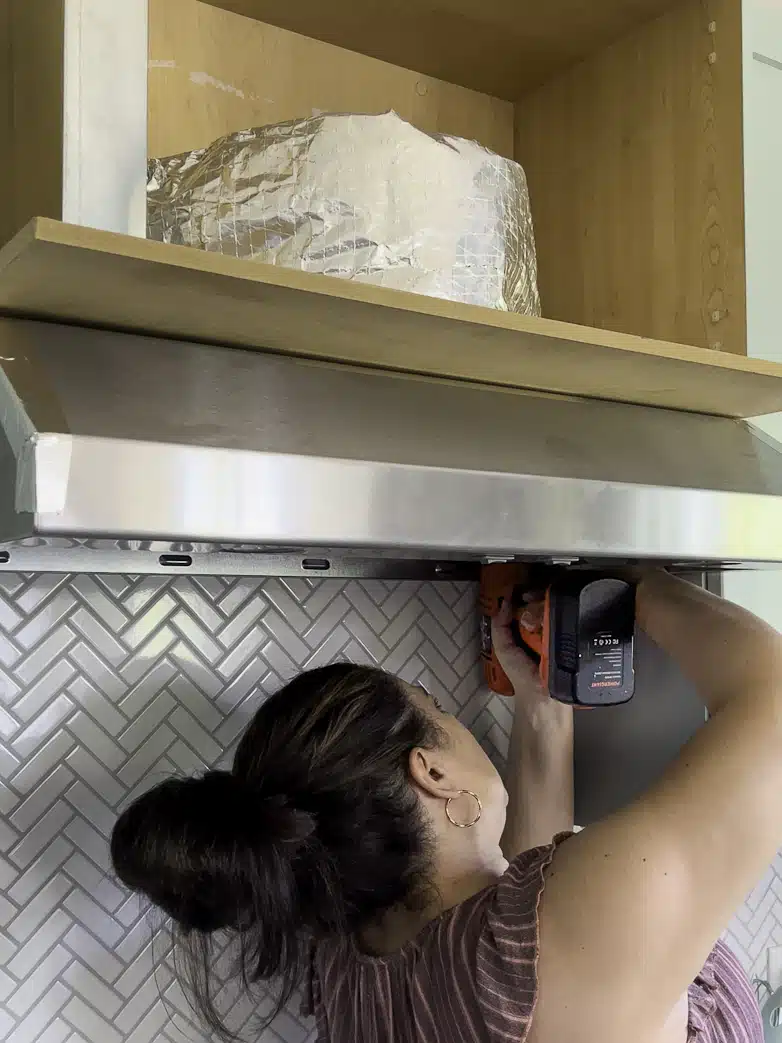
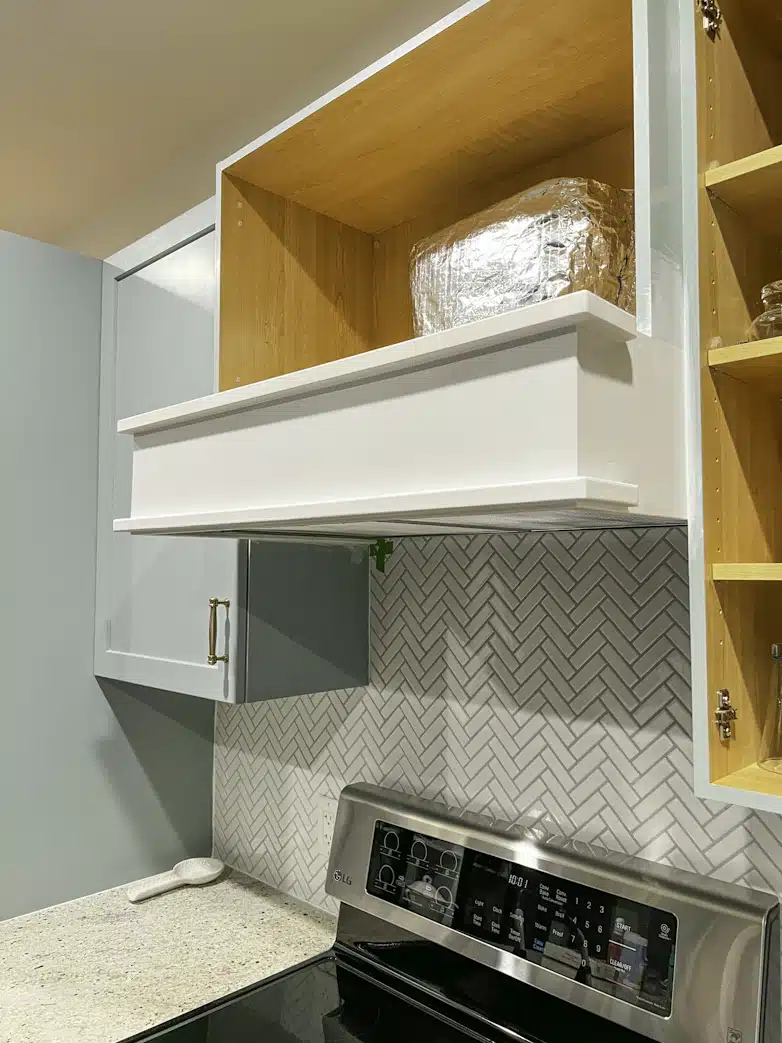
You might be wondering why a brand-new appliance is covered in aluminum tape. Well, that was me getting a bit carried away, making sure there wasn’t a single gap for moisture or odors to get trapped. The only way to go is outside! I’m sure it’s unnecessary, but it puts my mind at ease. (I have a very sensitive nose and an obsession with fresh air after cooking indoors.)
Encasing the New Range Hood
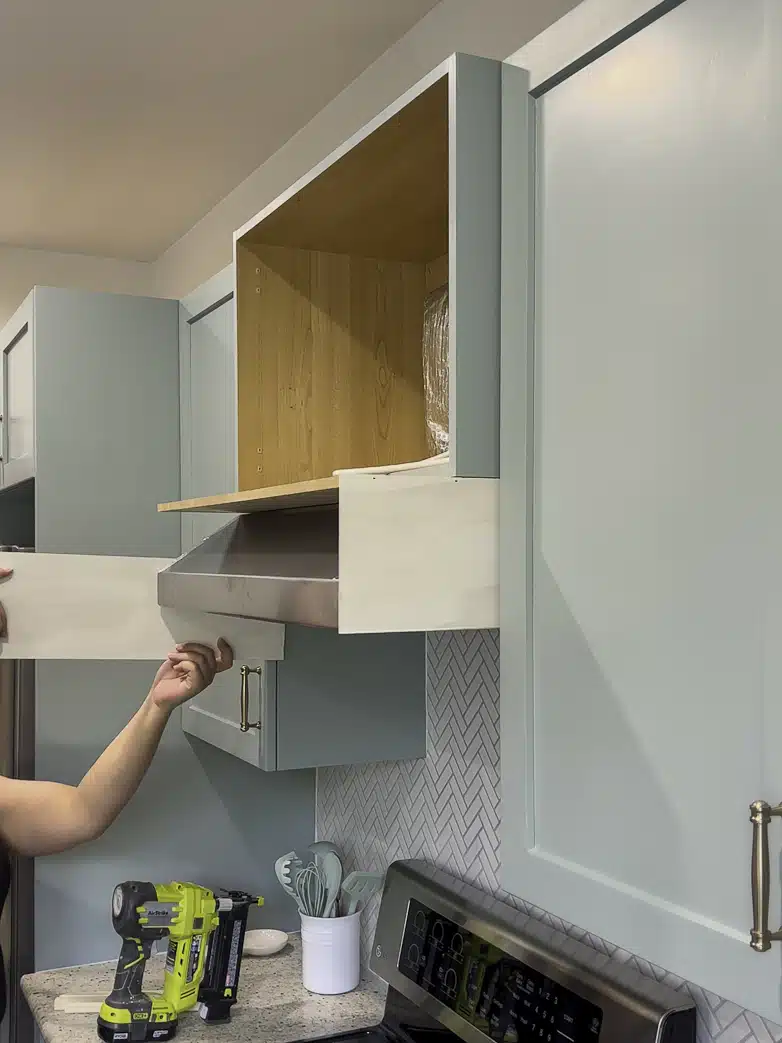
The range hood is 1/2 an inch smaller than the opening. By centering it (see my spacer taped to the side a few images back), I could slide a piece of 1/4-inch plywood in on both sides. They fit in snugly, not needing a lot of nails to keep them in place. I covered the front with the same plywood.
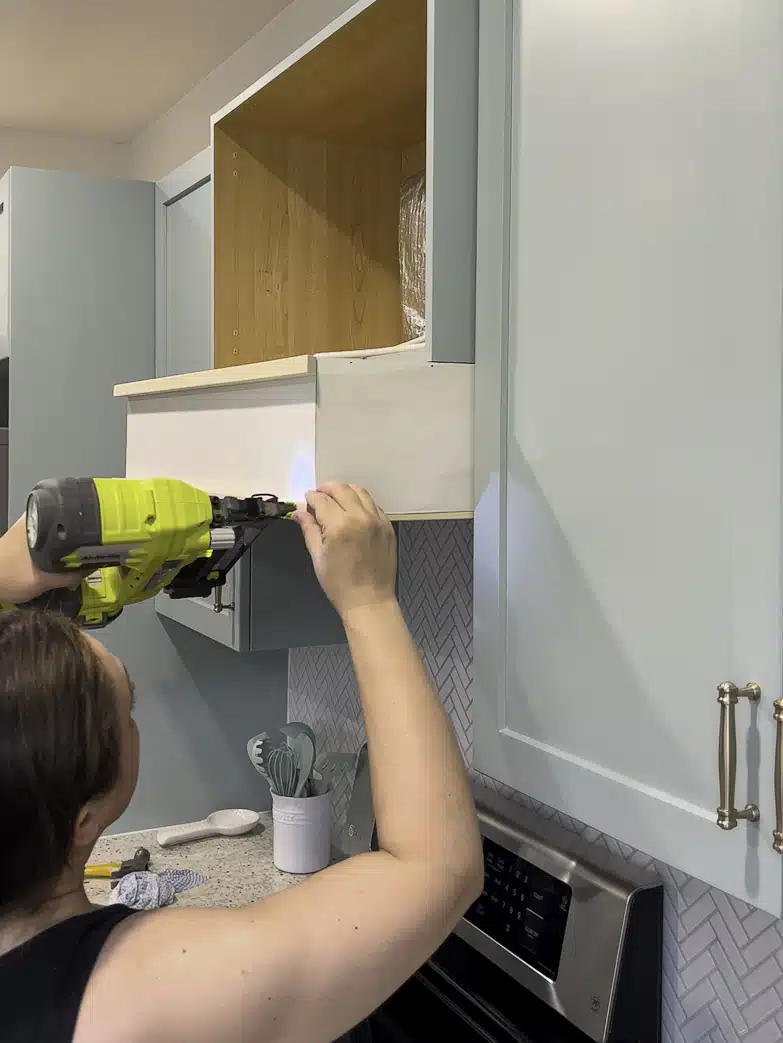
I added 3/4-inch thick edging around the top and bottom of the new casing. On the sides, I couldn’t install the trim all the way to the back because of the adjacent cabinet doors. By opening the door on the left, I tested how far back they could go without being an obstruction.
I was worried that this would look odd, but after living with it for a while now, I can honestly say that I don’t even notice it.
It was starting to look pretty good with all the seams caulked, the holes filled, and the entire casing primed.
Did you notice the joint between the new plywood and the old cabinet on the side? I live for these little challenges! It took several rounds of patching and sanding, combined with lots of patience, but I smoothed it out flawlessly.
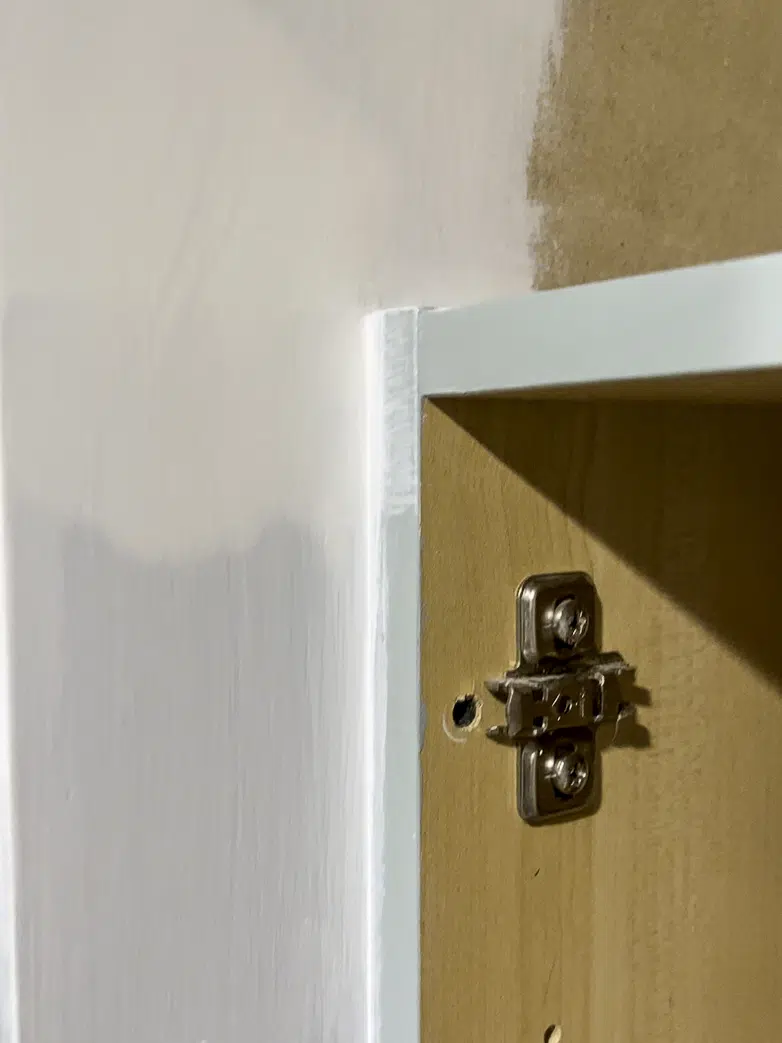
Let’s take a closer look. Pretty cool, eh? If nothing else, this is sooo satisfying!
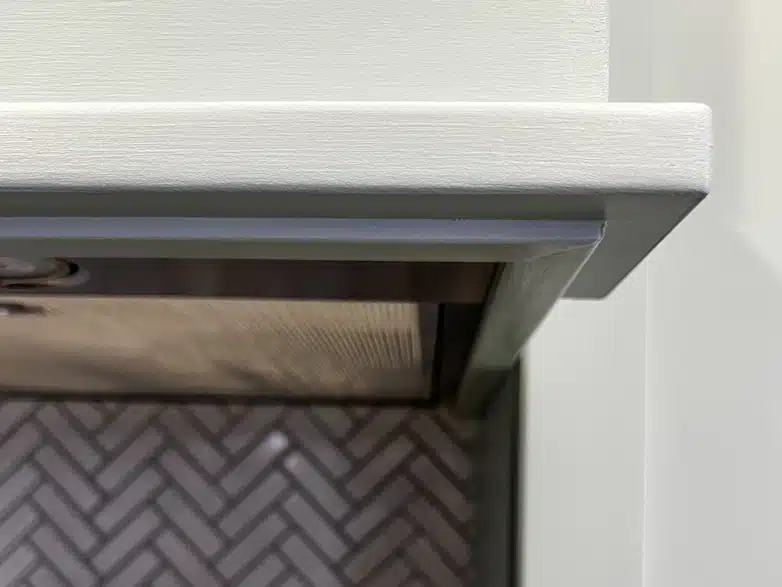
To cover the rough edges of the plywood facing down, I added a small frame at the bottom. The thin pieces of wood I used were off-cuts from the trim I added to the front and sides. They were the perfect size and looked like they were planned as part of a fancy design.
This is how the vent hood looks from underneath.
There is one downside to this casing I built around the range hood. If the range hood ever needs to be replaced, the casing will have to be taken apart – unlike one that is made to be inserted into a custom-built hood.
Am I worried? No, that is future Marieza’s problem, and she knows how all the pieces fit together. And who knows, it might keep going until it’s time for another kitchen remodel.
Building The Upper Half of the Custom Hood
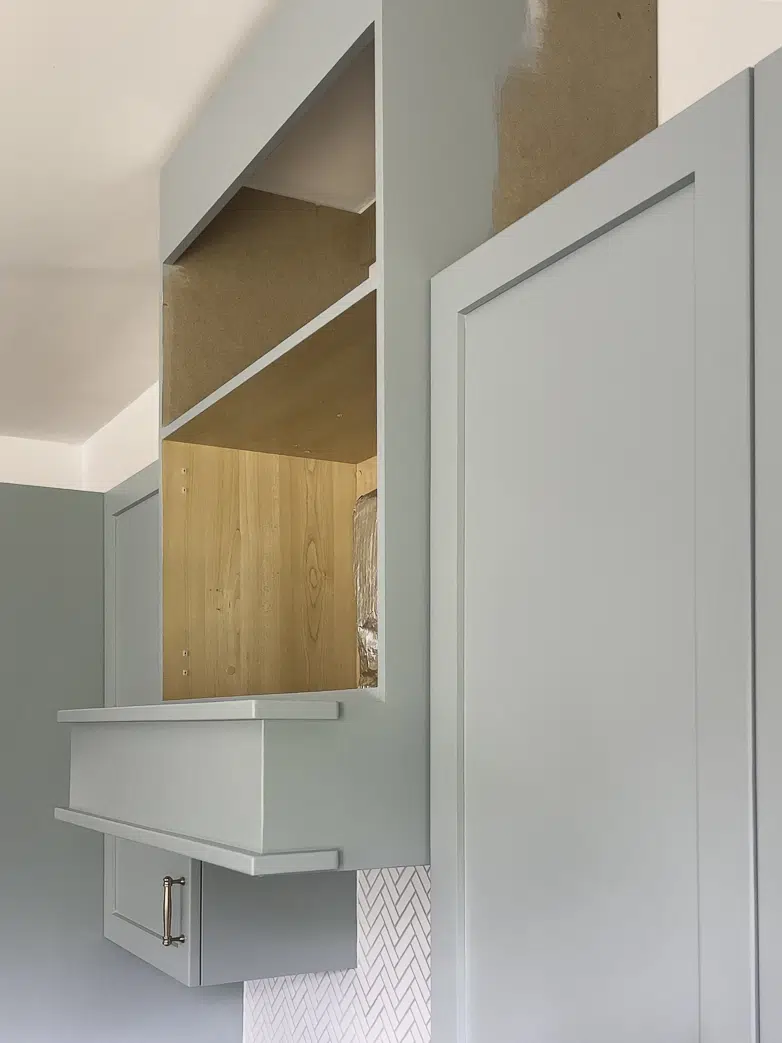
Above the old cabinet, I built a box extending up to the ceiling. (There is a tiny gap that will be covered with crown molding when the rest of the cubbies are in place.)
Closing the Front of the Range Hood
I still need access to the electrical outlet inside the original cabinet, so the front of the range hood can’t be permanently fixed.
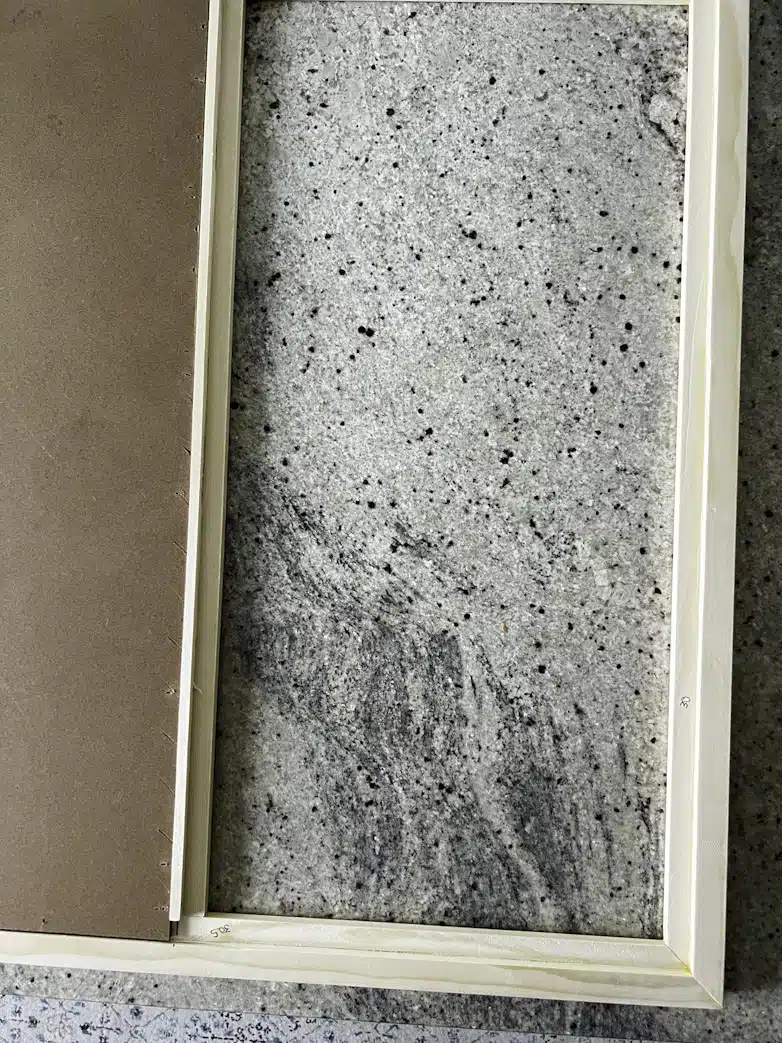
I built a simple frame with a divider in the middle. Sinking two sturdy, 1/4-inch thick masonite boards into the openings mimics the look of the shaker-style cabinet doors.
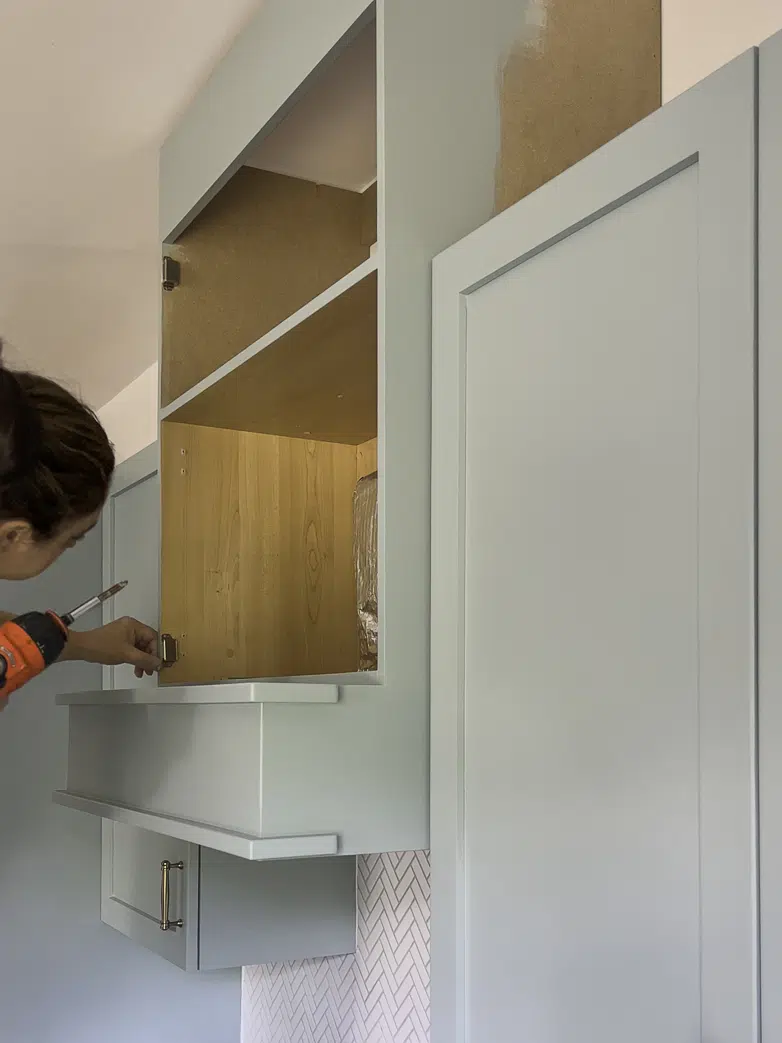
I installed cabinet magnets in each corner of the opening to keep the frame in place. (The magnets grab onto small metal plates on the back of the frame.) They are super strong and can handle a much heavier load than this frame.
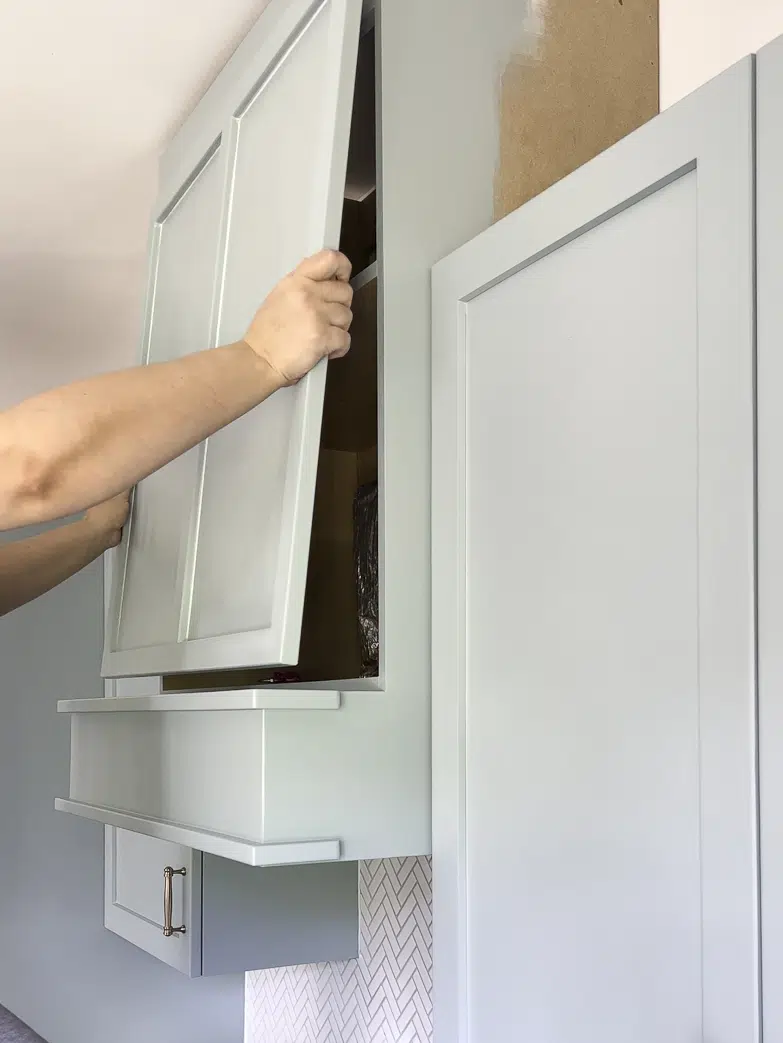
The frame simply “pops” into place!
The Complete Custom Range Hood, Replacing the Microwave
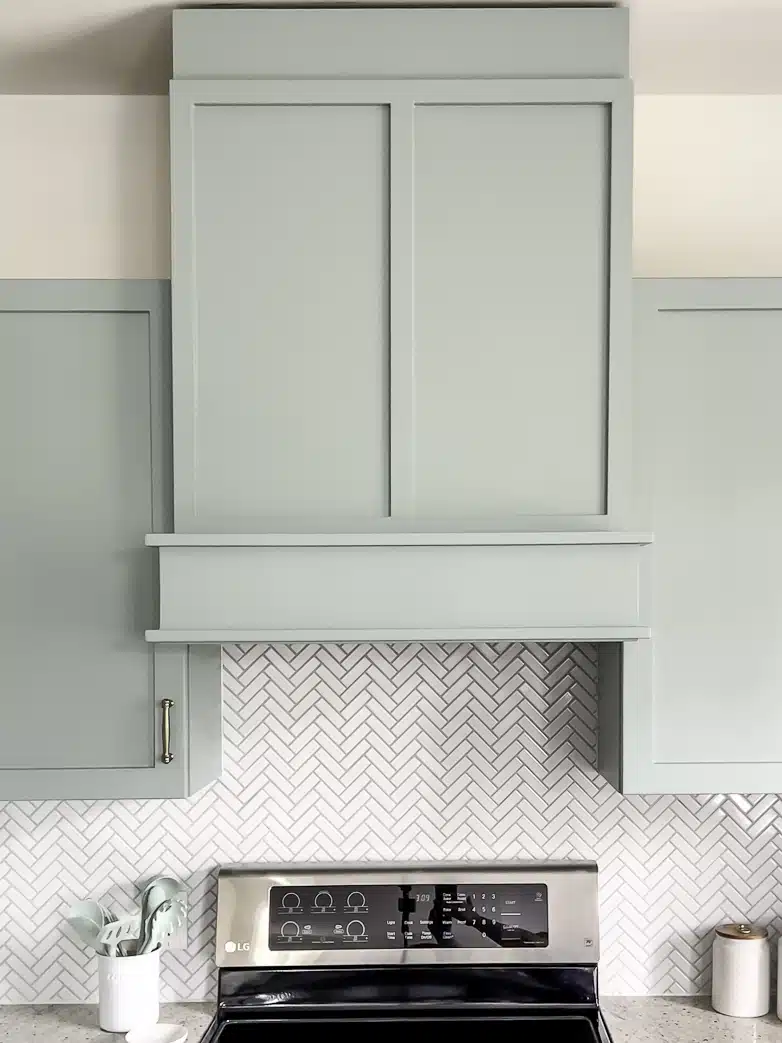
What do you think of the new look? I am over the moon!
You are probably wondering what we are doing now without a microwave. For the most part, we don’t miss it at all. On the odd occasion we need to reheat something, we use the microwave in the basement that is part of the dry bar we built.
A future project I have planned is to turn our pantry into a beautiful mini butler’s pantry. I will probably add a countertop microwave to that.
What is next?
The kitchen makeover is nearly complete, and my next update will be about the cubbies closing the gap between the ceiling and cabinets.
Trust me, you do not want to miss that one! If you are not already subscribed to be notified by email, there’s a box at the bottom of this page.
As promised, here are the links to the range hood I installed and a carbon filter that can be used if your hood doesn’t vent outside your home.
Until next time, happy DIYing!
